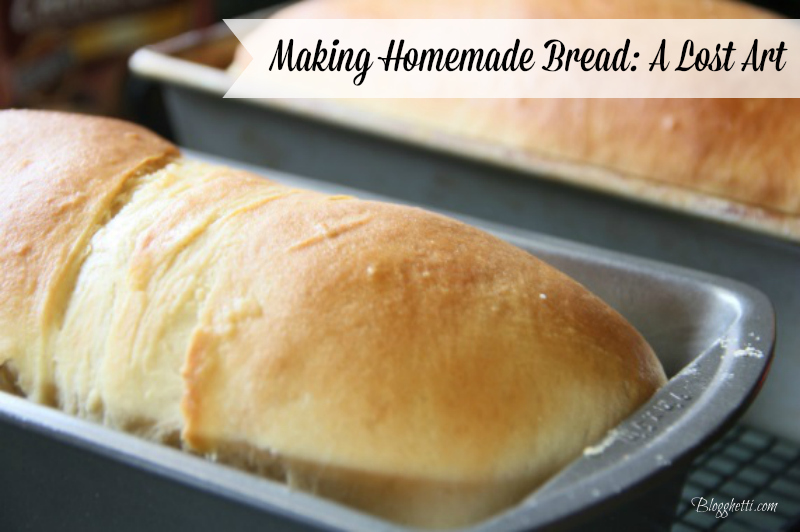
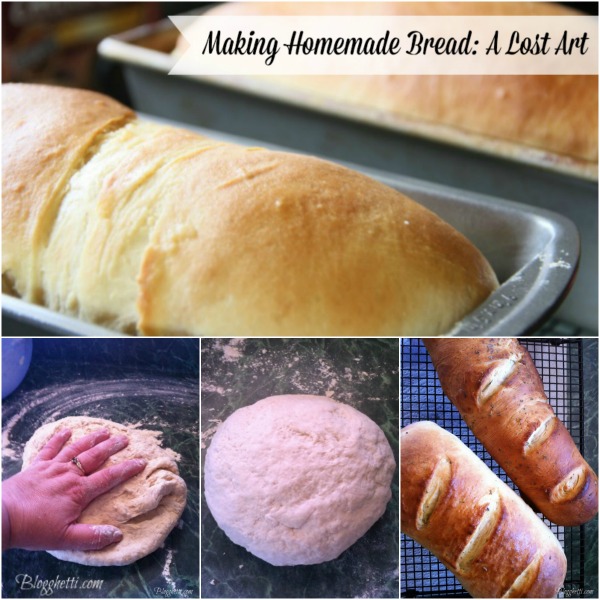
Making Homemade Bread: A Lost Art
Today I’ve got a treat for you! My wonderful friend, Debbie from Life of a Georgia Artist, is giving us a reminder that baking bread from scratch is easy and fun! On with the recipe…
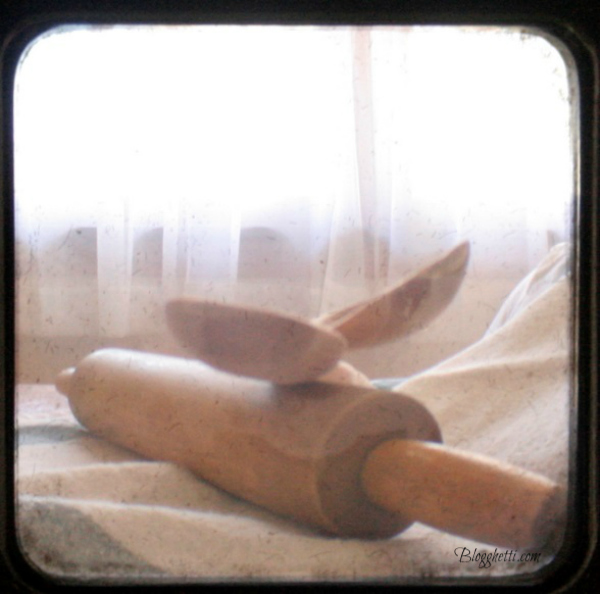
Making homemade bread is a lost art. With the world revolving quickly and all of us becoming instant gratification hogs, cooking has gone out the door, much less spending four to five hours baking homemade bread. I am here to tell you I still own a rolling pin, I still bake homemade breads, and I absolutely encourage you to as well.
The smell that fills your home as you bake bread is amazing. It is a smell that is filled with comfort, love, and all sorts of emotions rolled into the flour. This is a typical white bread recipe with a little magic thrown in. Add all your ingredients, sprinkle with love, knead with kindness, roll with muscle, and you will make the most mouthwatering bread for your family, friends, or co-workers.
So this recipe will take your hours, but it is not all your work, the bread is also doing a lot of work as well. You are both in this together. The bread rises, you rise too. Bread making is fun to me. To take all these raw ingredients, to strive to place them together in order, and to achieve some amazing bread, is a blessing!
Clean your kitchen counter and get ready to make a mess!!! I do wear an apron when I make homemade bread. The flour tends to have a mind of its own. When you do your measurements ALWAYS use something to make sure the top is flat. This is a specific recipe and estimation of any ingredient will cause failure.
[socialrocket-tweet quote=”It’s easy to make homemade bread” tweet=”The smell that fills your home as you bake bread is amazing. It is a smell that is filled with comfort, love, and all sorts of emotions rolled into the flour. #bread #homemade #yeast #baking ” style_id=”default”]
Ingredients
- About 6 cups all-purpose flour and more for dusting the counter with it to roll it out.
- 3 tablespoons sugar
- 1 tablespoon salt trust me it seems like a lot, but it is perfect
- 2 tablespoons shortening yes that grease like substance
- 2 packages regular or quick-acting active dry yeast (I use the two packages no measuring and with yeast you have to measure very very carefully.
- 2 ¼ cup very warm water (hot tap water works nothing hotter or yeast will not work like it is supposed to.
Instructions
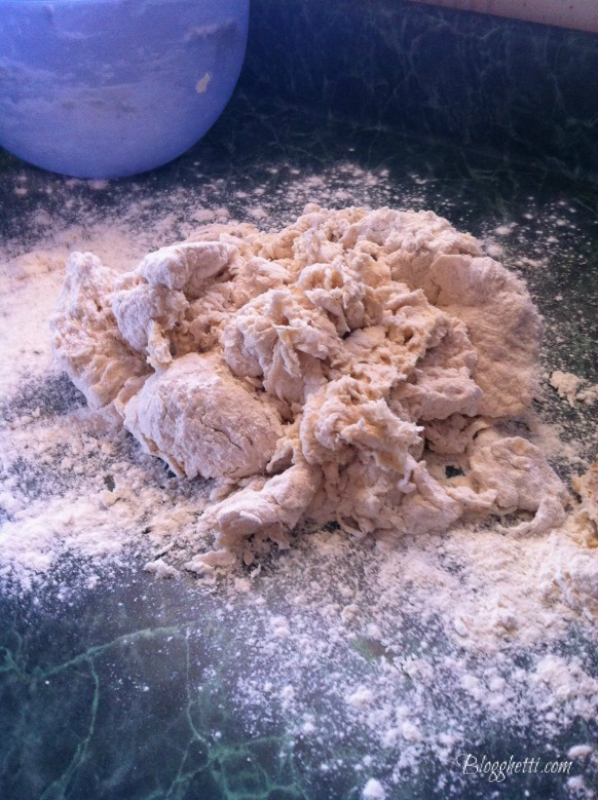
- Mix (in large bowl) about 4 cups of flour, the sugar, shortening, salt, and yeast. Mix well because you want that yeast to be mixed thoroughly to activate through all the flour mixture.
- Add warm water. (yeast will activate when you add the water) Mix for about a minute and still in a little flour at a time, so that the dough is easy to handle. Once you dust your counter top with flour your mixture will absorb that into it as well.
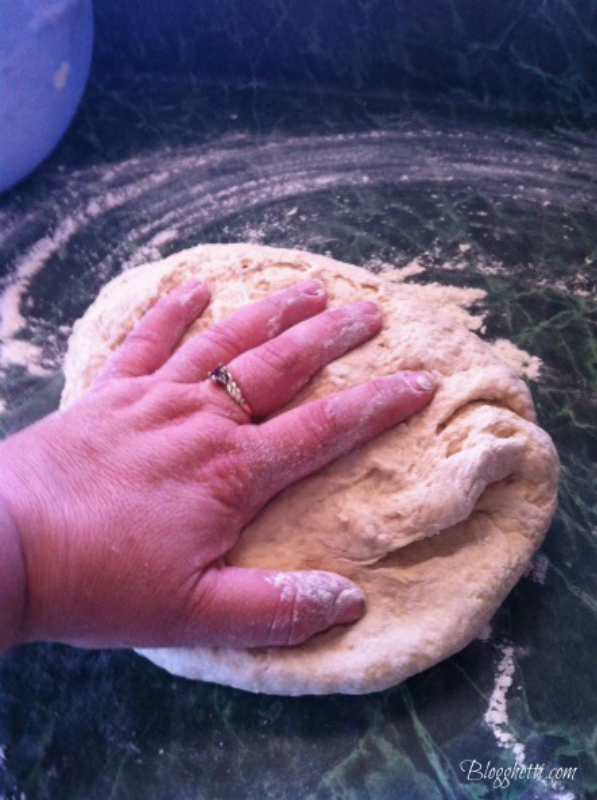
- Flour your counter with handful of flour. Coat your hands as well with it. This helps keep the dough from attaching to you.
- Knead the dough about ten minutes.
- At this point: ***You can knead in additions. If you like cinnamon you may add about 1/4th a cup here. If you like raisins and cinnamon, add raisins too. One of my favorite additions is herbs. I like to add dried oregano from my garden and thyme. You could add any that you like. Rosemary would be marvelous in this bread. All sorts of herbs would be heavenly in this bread. You can add to taste.***
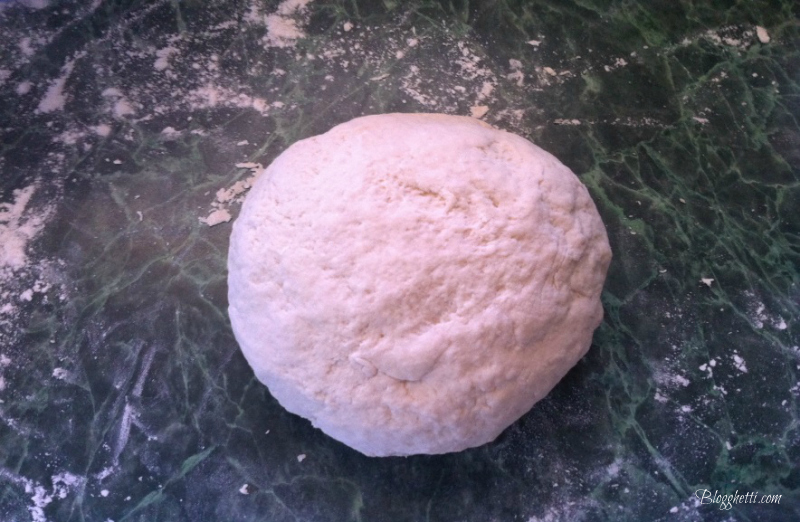
- Place the ball of dough in a greased bowl. And I used extra virgin olive oil. I coat the sides of the bowl. Drop my dough in, coat the bottom, flip it and coat the top.
- Put a dry towel on top of the mixture for about 50 min or till it has doubled.
- Now comes the fun part. After the 50 min or so you poke it gently with your finger to see if the indentation stays. If it stays, your dough is ready. NOW PUNCH IT!!! Yep take your aggravations out on your bread. Right why are more people NOT baking bread from scratch?
- After you punch it down, take dough out of the bowl and divide it into two. It ends up making two loafs of bread. After you divide let the dough rest for about five minutes.
- Pick one & flatten. Using those old things our grandmas used called rolling pins. Flatten your first half. Now again this is another great place for additions. If you like cinnamon and sugar sprinkle tons on. I once used ¼ cup and that barely touched your taste buds. I would try at least half a cup of the mixture cinnamon and sugar. Also if you have other flavors you like of some dry mix sprinkle away.
- Ok so roll out to a large rectangle in size. Then fold in thirds, fold first third down, tuck sides in, then roll the remaining dough down. Leave the seam on the bottom. Do for the other half of the dough as well.
- Get two loaf pans and grease them both. Place seam side down in the pan and if desired melt some butter and brush on loafs in pans.
- Let rise AGAIN for about 40-45 min. Till about doubled again. Now when you do both risings bread needs to be in a draft free area and somewhere warm. I usually preheat oven now and let them rise on the oven as it warms.
- Turn oven to 425. Place loaves on bottom rung of oven.(tops should be about middle of the oven) Bake until golden which is about 25-30 min. If you knock on the bread it should sound hollow.
- Flip out of pan to cool on rack and eat before you explode. Spread more melted button on loaves if you like, or cinnamon and butter.
Nutritional Disclaimer
“Blogghetti” is not a dietician or nutritionist, and any nutritional information shared is an estimate. If calorie count and other nutritional values are important to you, we recommend running the ingredients through whichever online nutritional calculator you prefer. Calories and other nutritional values can vary quite a bit depending on which brands were used.
More great ideas for your bread dough:
When you make your loaf of bread, if you are in the mood for some fun you can roll it out then use a pizza cutter (make sure you have cutting board under if you do this) and cut long thing slices. Twist slices and place on greased cookies sheet for bread sticks. They are great for dipping, but when they come out sprinkle with a little oil and Parmesan cheese.
You can also put the breads on a cookie sheet and let it free form into a loaf of bread.
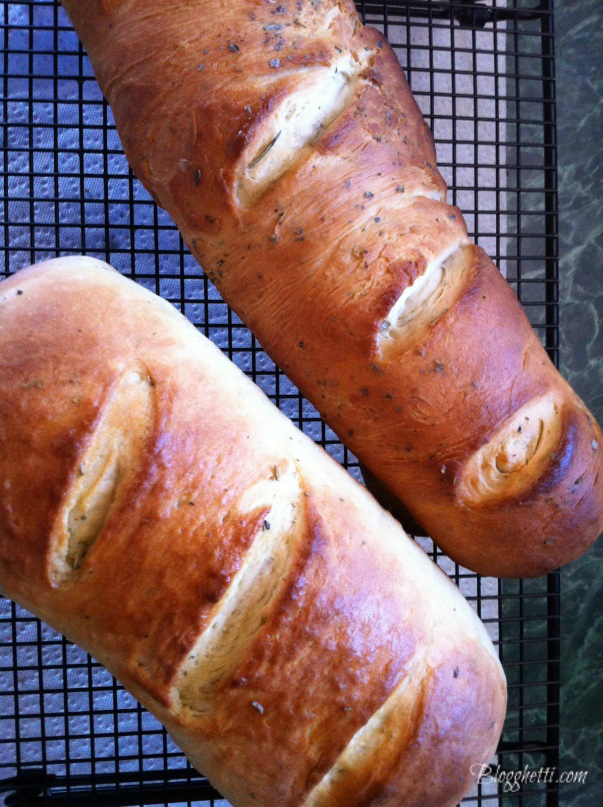
You can put little slices into the top before you place in the oven to cook. You can do so many things with this recipe. This bread can be made in the pans, loose on a cookies sheet, or you can bread it, cut it, make little bread dipping nuggets (cut the strips then cut into smaller pieces), and you can enjoy adding different things as you go.
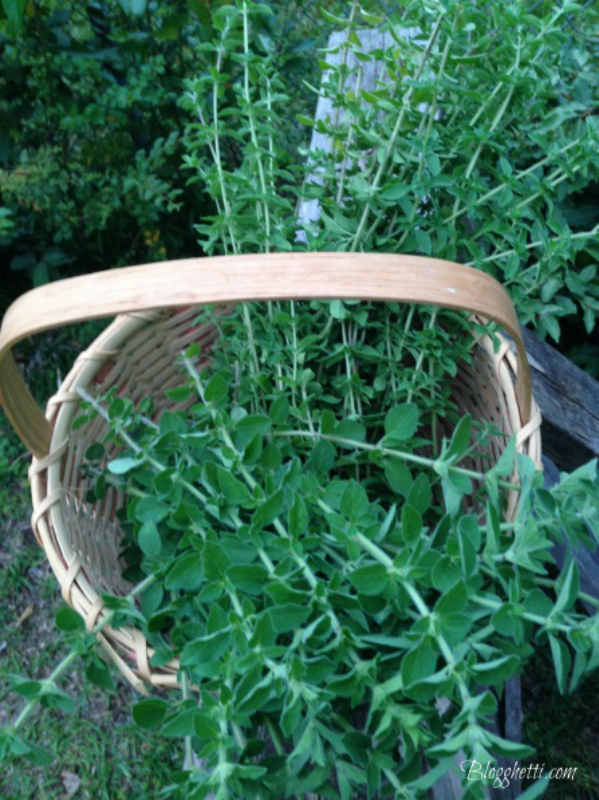
If you do the herbs add them the first kneading to have them throughout. You could sprinkle garlic and put rosemary in the dough.
So many different types of bread from one single recipe that I hope you get creative and enjoy your baking. See I told you baking homemade bread was fun and now your home smells amazing!!
About the guest blogger:
Debbie Aruta is a writer of short stories and poetry. She is a photographer as well as a writer. She has led both writing and reading groups and loves to write from her heart. She is an avid book reader who wears her heart on her sleeve. She hopes one day to start her own online magazine and travel the world again writing about her adventures. Right now she is busy writing her blog and for multi-professional writing platforms.
Enjoy!


Awww Thank you Lisa, This looks amazing!! And you can bring me ANY of your photo anytime 😀
Thank YOU, Debbie for sharing your recipe and wonderful post with us! It and YOU rock!
I love love love making homemade bread, and I am adding this recipe to the list. With the heat wave here, it is a no-baking zone, and I really miss the bread making the most! Thanks for sharing!