Monster Nutter Butter Cookies

Monster Nutter Butter Cookies are colorful, no-bake treats with silly faces and plenty of Halloween personality. They are a fun addition to my Nutter Butter Decorated Cookies when you need something cute for a party, movie night, or dessert tray. Since every little monster looks different, the entire batch is fun to arrange and serve.
Monster eye cookies fit right in with the ghosts and pumpkins found on Halloween dessert tables, but their bright colors help them stand out. Their small size makes them easy to tuck into goodie bags or add to party plates. They are simple enough for an afternoon project with the kids and cute enough for an October celebration.
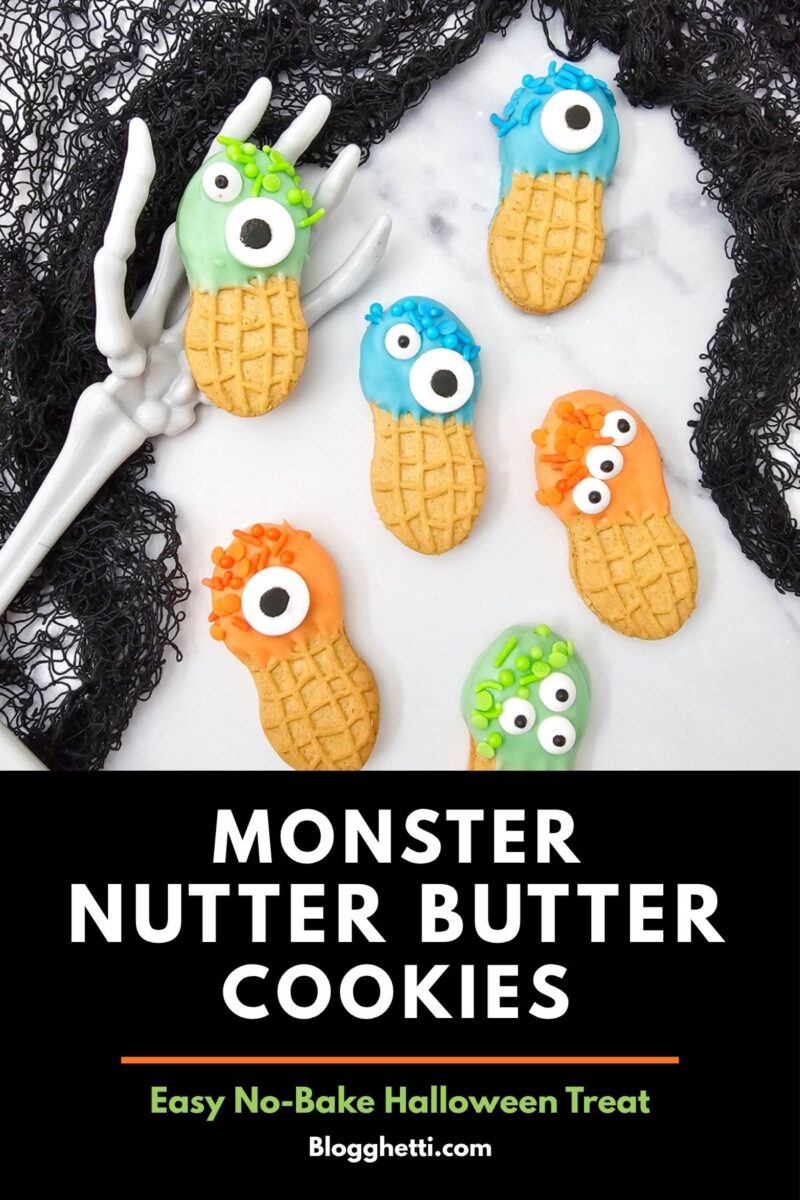
Monster Nutter Butter Cookies remind me of the cute, colorful creatures from a certain animated monster movie. After making Acorn Nutter Butter Cookies for fall, I wanted a Halloween version that was colorful, goofy, and a little different. The candy eyes give each one its own expression, and these little critters would look cute beside my Pumpkin Cookie Dough Bites and Halloween Spider Donuts.
Monster Nutter Butter Cookies
Because only half of each Nutter Butter is coated, the classic peanut butter flavor still comes through in every bite. Bright blue, green, and orange melting wafers bring the Halloween fun, and matching sprinkles give them a nice extra crunch.
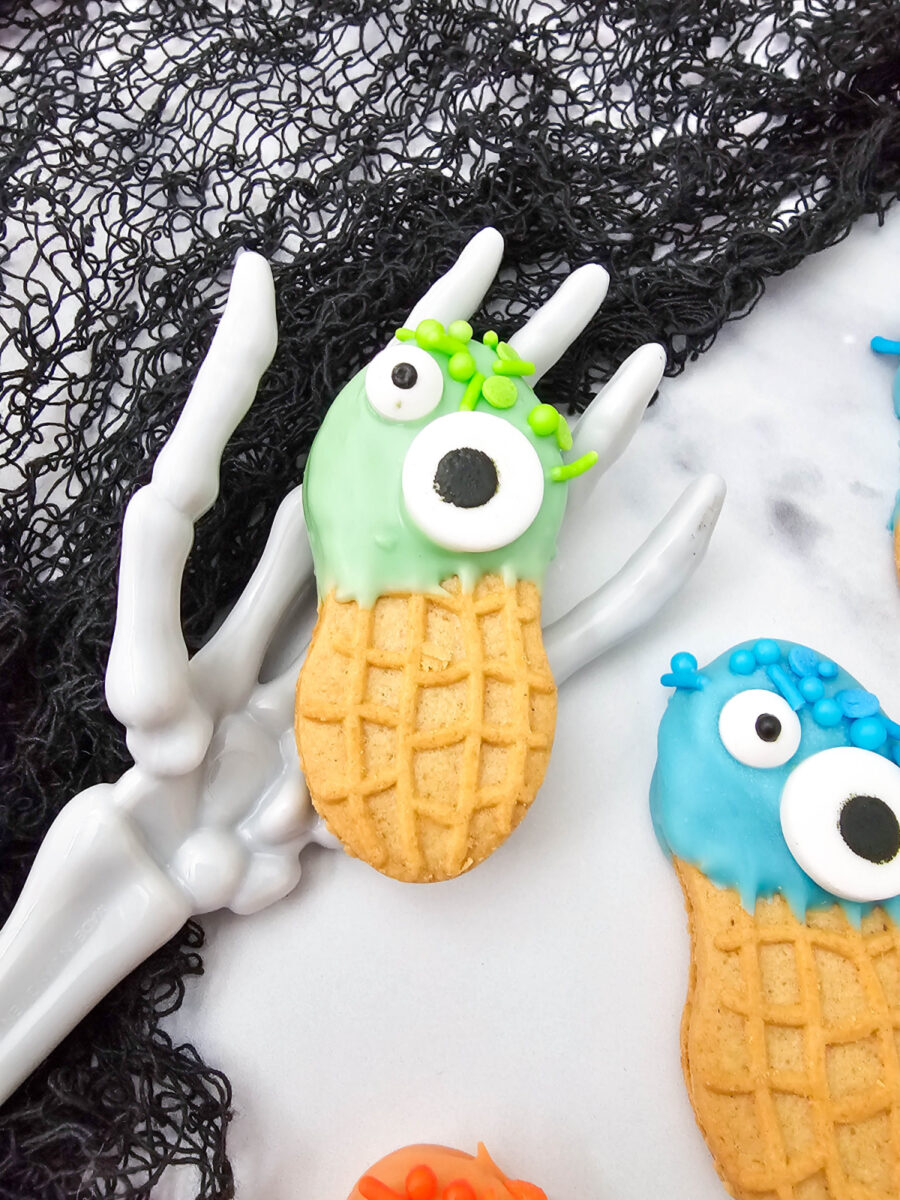
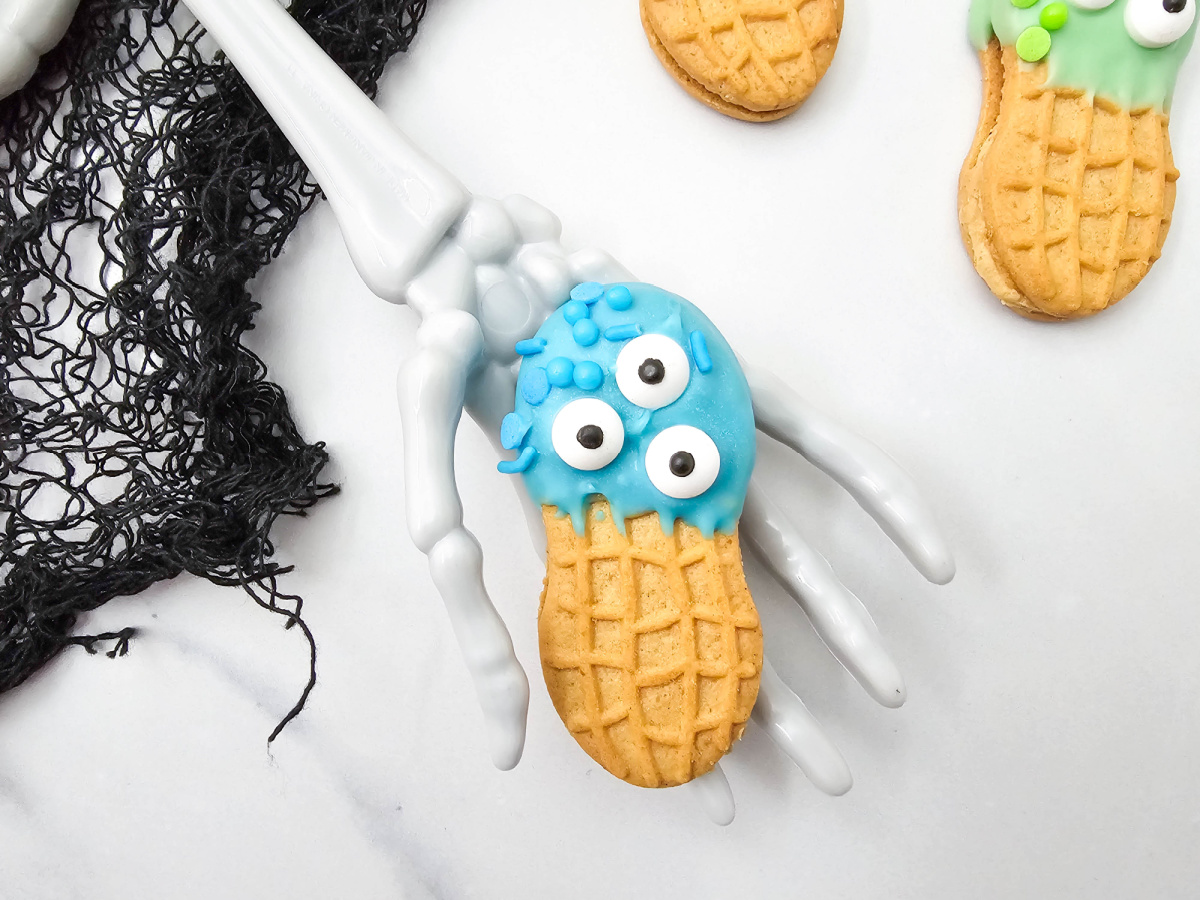
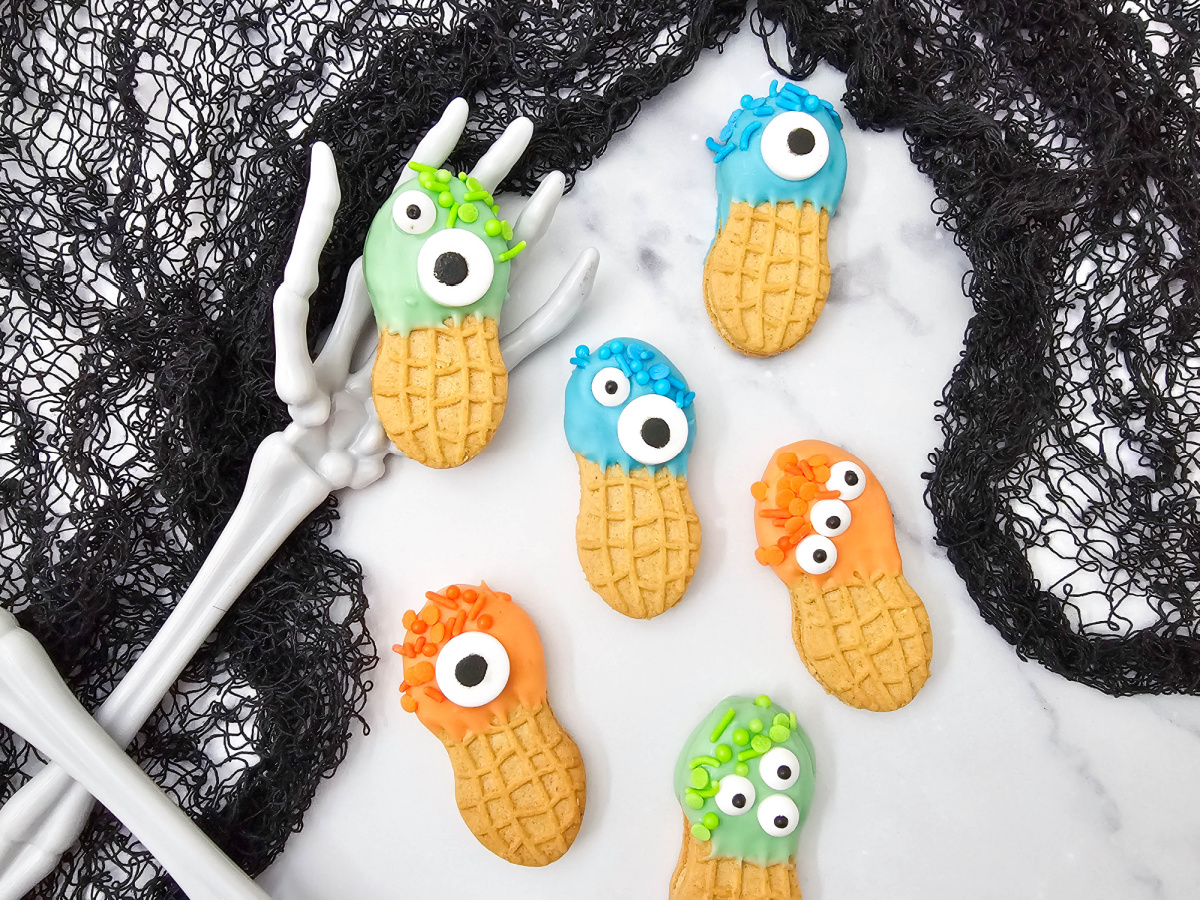
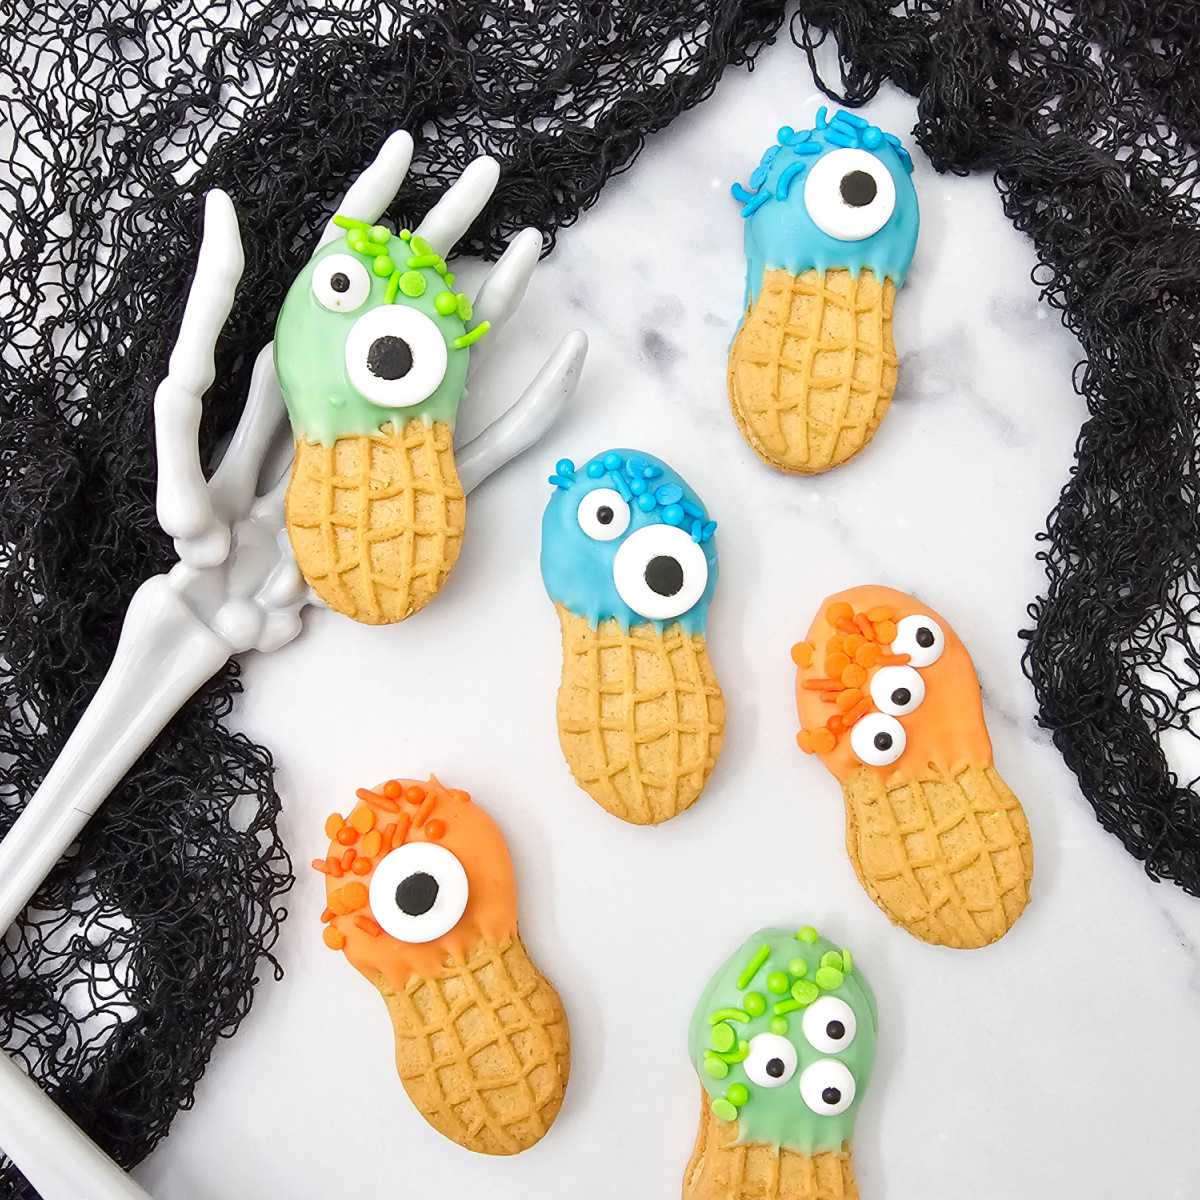
This recipe makes nine treats, which works out to three of each color. You can use one eye on some, several eyes on others, or copy the combinations shown in the pictures. Kids can help choose the decorations and create the faces once the candy melts are ready. Since the decorating is supposed to look goofy, there is no pressure to make each one perfect.
Timesaving Tips and Variations
The decorating moves quickly once the candy coating is melted. Have the eyes, sprinkles, and prepared tray ready before you begin dipping. Working in small batches also prevents the coating from setting before the decorations are added.
- Open the sprinkles and sort the candy eyes before melting the coating.
- A small, narrow bowl gives you enough depth to cover half of each cookie without melting extra candy.
- Lightly tap the cookie against the side of the bowl to remove extra coating without breaking it.
- Finish dipping and decorating one color before melting the next.
- Add the eyes and sprinkles while the coating is still wet so they stay in place.
- Purple, pink, black, or white candy melts can be used in place of any of the colors.
- Use one large eye, several medium eyes, or a mixture of both to give every character a different look.
- If the candy coating begins to thicken as it cools, microwave it for another 10 seconds and stir.
- Keep the finished treats in an airtight container in a cool, dry place for up to four days.
Try Halloween sprinkles, nonpareils, sanding sugar, or a mixture of several shapes and colors. Let the finished treats sit on the tray until the candy coating is completely firm.
More Halloween Treats to Enjoy
These cookies can be served with a mix of other Halloween sweets. They would also look cute tucked onto an Easy Halloween Charcuterie Board. Arrange them in different directions so every goofy face is visible.
- Halloween Candy Bark
- Candy Corn Cupcakes
- Easy Strawberry Mummies
- Halloween Chocolate Covered Pretzels
- Easy Halloween Popcorn Candy Balls
A mixture of crunchy, chewy, and chocolate-covered treats will keep the dessert table interesting. Place the smaller sweets in bowls and arrange the cookies on a platter. This also makes everything easy to grab during the party.
Frequently Asked Questions
Store the cookies in an airtight container at room temperature for up to four days. Place parchment paper between the layers to protect the candy eyes and sprinkles. Avoid refrigerating them because condensation can make the coating sticky and cause the colors to bleed.
You can prepare the cookies one or two days before serving them. Once the coating has set, place them in an airtight container at room temperature. Add parchment paper between the layers if they need to be stacked.
Candy melts can thicken as they cool, but overheating can also make them seize. If they have cooled, warm them for another 10 seconds and stir until smooth. If they are still too thick, follow the package directions for thinning rather than continuing to heat them.
Add the decorations immediately after dipping each cookie. The candy coating needs to be wet so everything will stick as it hardens. If the coating sets too quickly, use a small dab of melted candy to attach any loose decorations.
Essential Kitchen Tools to Use
No special equipment is needed for this recipe. The tool list is short and filled with everyday kitchen basics. You may already have everything you need.
- Baking Sheet
- Parchment Paper
- Small Microwave-Safe Bowls
- Spoons
- Airtight Storage Container
That is the complete equipment list for these cookies. The simple setup works well for a small batch or several batches. Next, gather the ingredients and start decorating.
This post may contain Amazon or other affiliate links. As an Amazon Associate, I earn from qualifying purchases. For more information, see my disclosure policy.
Ingredients for Monster Nutter Butter Cookies
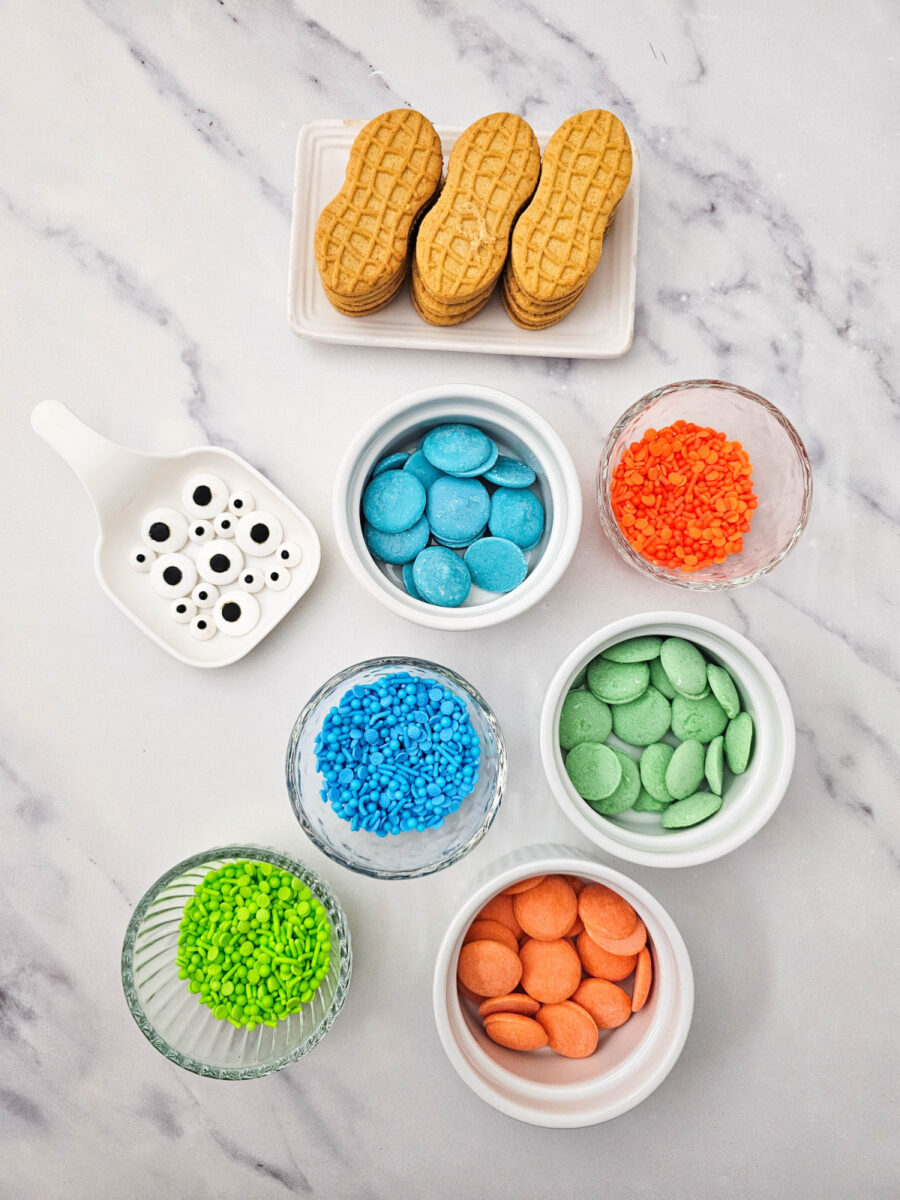
Only four ingredients are needed to make these colorful Halloween monsters. Have the candy eyes and sprinkles ready to use before you start dipping. I’ve linked to items on Amazon for your reference.
- Nutter Butter Cookies: These form the base of each monster.
- Candy Melts: Blue candy melts, bright green candy melts, and orange candy melts give the batch a bright mix of colors.
- Candy Eyes: A combination of large and medium eyes creates different expressions.
- Sprinkles: Blue, green, and orange sprinkles add matching color and a little crunch.
Seasonal decorations are usually found in the baking aisle or with the Halloween supplies at your local craft store. Feel free to change the colors or sprinkle shapes as needed.
How to Make Monster Nutter Butter Cookies
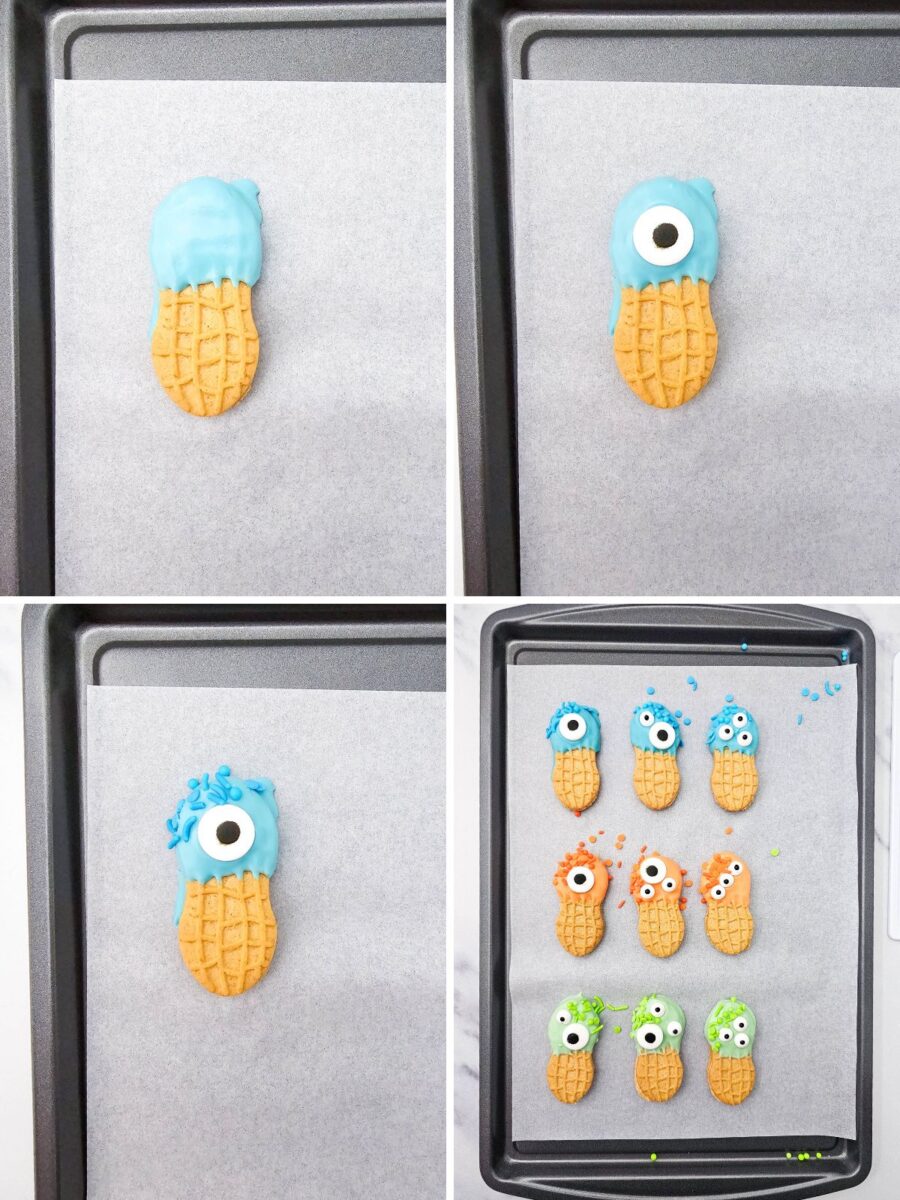
Line a baking sheet with parchment paper. Working with one color of candy melts at a time, add them to a small bowl and heat in 30-second intervals until melted, stirring between each heat session.
Dip half of a Nutter Butter into the melted coating, then gently tap off the excess before placing it on the parchment paper. Immediately add one or more candy eyes and the sprinkles. Repeat with the remaining cookies and colors, then allow the coating to set before serving or storing.
These Nutter Butter monster cookies are only the beginning. My Easy Halloween Treats will help you plan the rest of the party table.
Monster Nutter Butter Cookies
Equipment
- Small microwave safe bowl
- Tray or baking sheet
Ingredients
- 9 Nutter Butters
- ¼ cup each of blue, green and orange candy melts.
- Assorted candy eyeballs – big and medium used
- Blue, green and orange sprinkles
Instructions
- Line a baking sheet with parchment paper. Open the candy eyeballs and sprinkles, then place them within easy reach so they are ready to add before the candy coating begins to set.
- Working with one color at a time, place ¼ cup of candy melts in a small microwave-safe bowl. Microwave in 30-second intervals, stirring well after each interval, until the coating is completely melted and smooth.
- Hold one Nutter Butter by the bottom and dip the top half into the melted candy coating. Lift the cookie from the bowl and gently tap off the excess, allowing it to drip back into the bowl.
- Place the dipped cookie on the prepared baking sheet. Immediately add one or more candy eyeballs and matching sprinkles while the coating is still wet.
- Repeat with the remaining cookies, melting the blue, green, and orange candy separately. Leave the finished cookies at room temperature for 10 to 15 minutes, or until the candy coating is completely firm.
Nutritional Disclaimer
“Blogghetti” is not a dietician or nutritionist, and any nutritional information shared is an estimate. If calorie count and other nutritional values are important to you, we recommend running the ingredients through whichever online nutritional calculator you prefer. Calories and other nutritional values can vary quite a bit depending on which brands were used.
Enjoy!