Nutter Butter Ghost Cookies

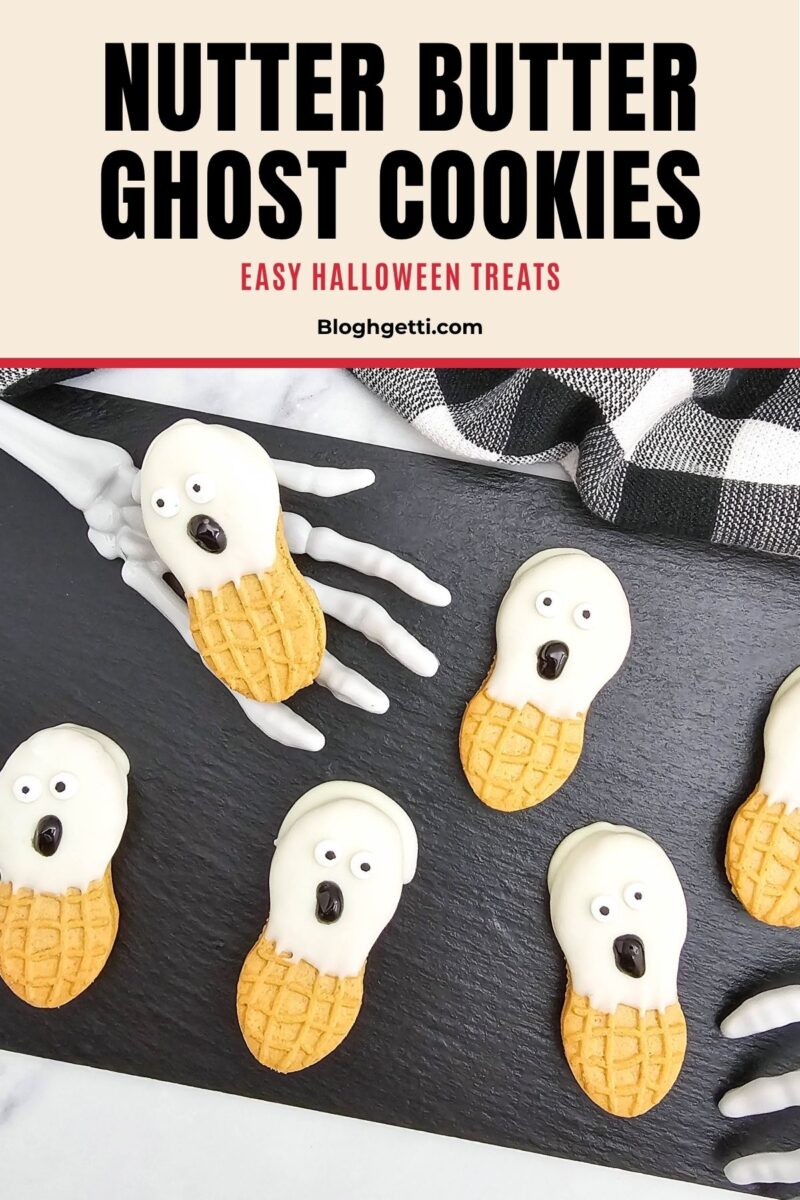
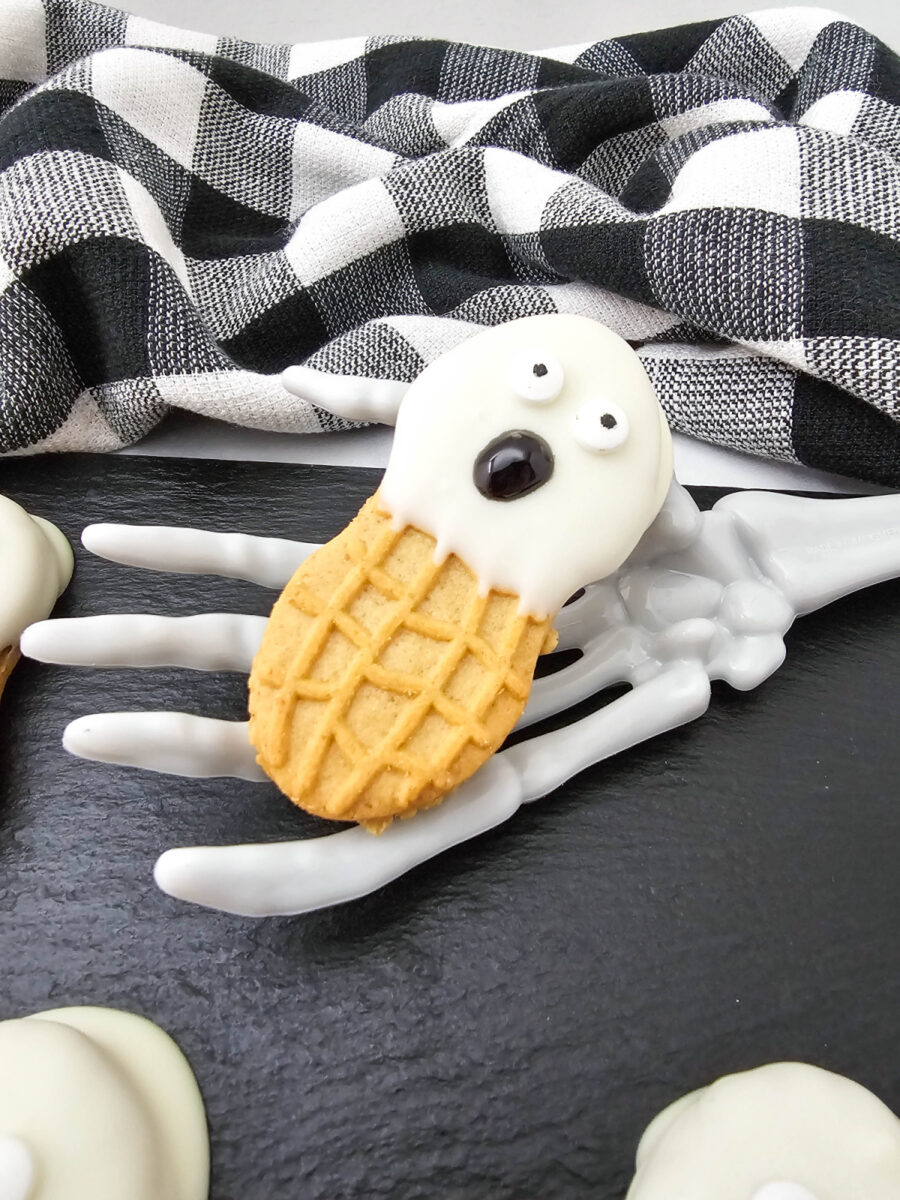
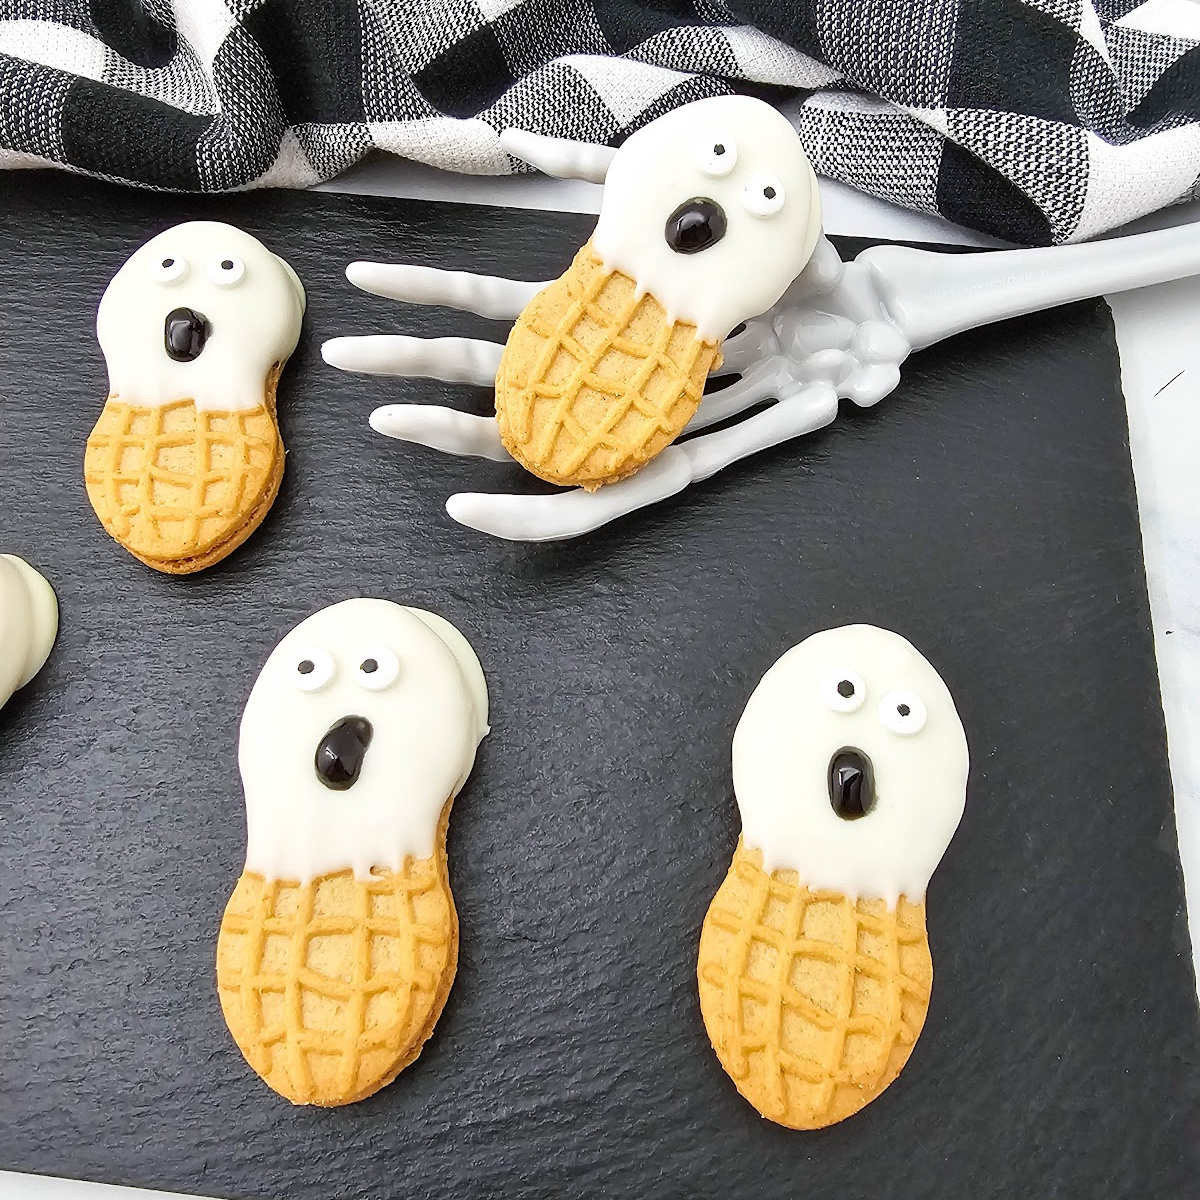
Nutter Butter Ghost Cookies are one of my favorite Nutter Butter Decorated Cookies when I need a fun, no-bake, kid-friendly snack fast. A quick dip in melted white candy coating transforms classic peanut butter cookies into adorable little spooky sweet treats with zero fuss.
These ghost cookies with Nutter Butters make decorating super simple because every goofy smile and crooked eye just adds to their cuteness. Kids will love getting in on the action to create their own silly characters. Whip up a batch for a Halloween party, trick-or-treat favors, or an after-school treat.
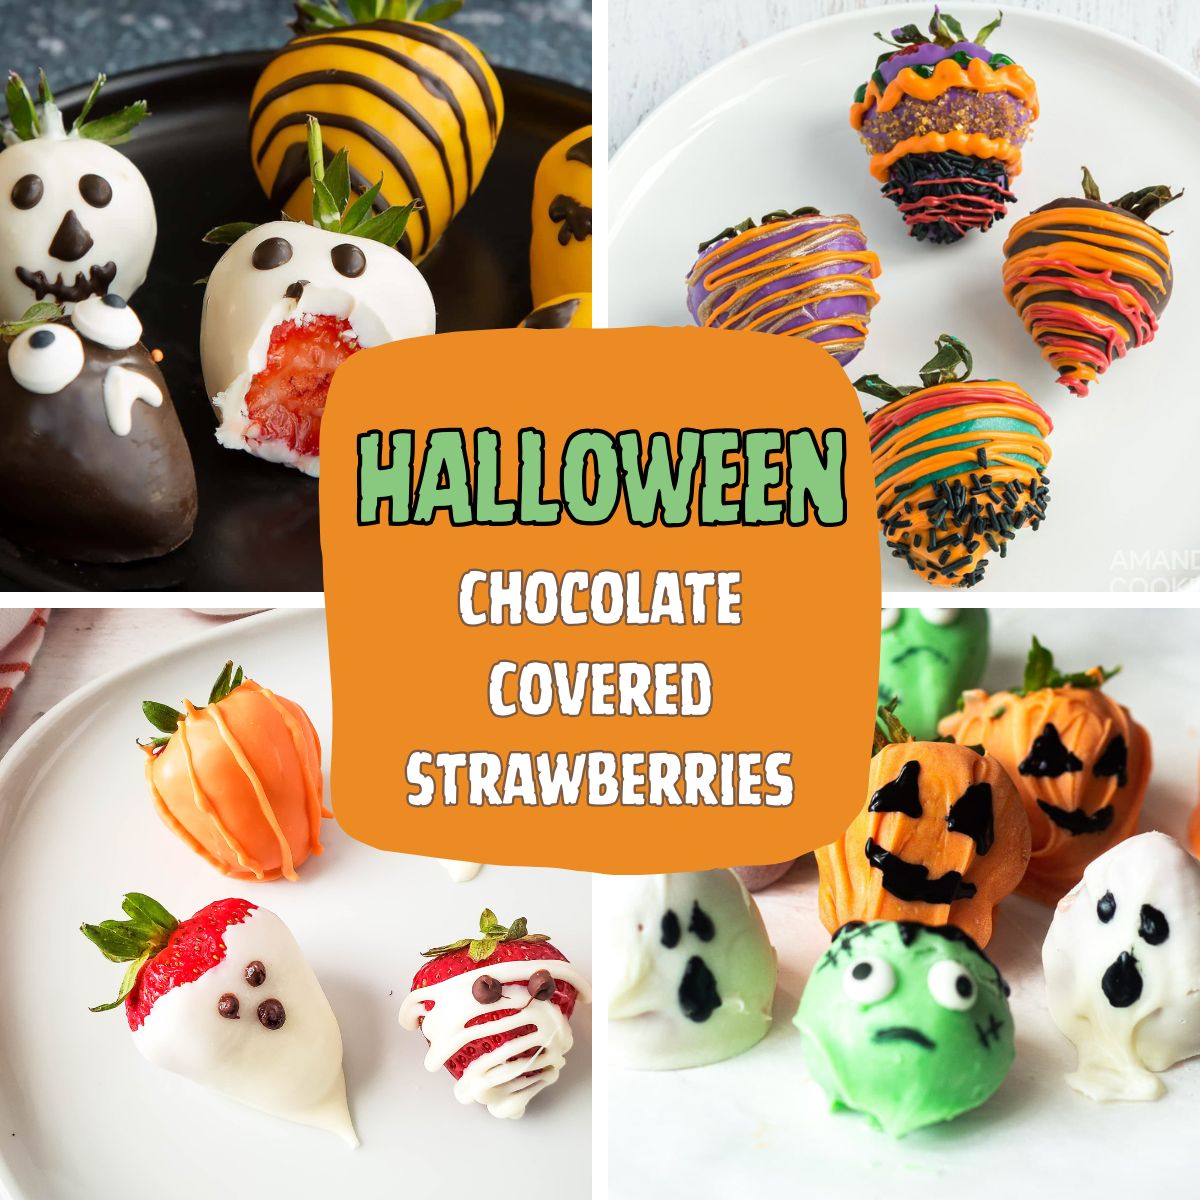
I had some white chocolate candy wafers to use up, and they were just enough to make these Nutter Butter Ghost Cookies. I had just made another batch of my Halloween White Chocolate Strawberry Ghosts, so it was a win-win. Love when that happens! If I’m honest, it was more about using only one coating color, which also means fewer bowls and less cleanup.
I try to use the extra decorating supplies before they disappear into the back of the pantry. Candy, sprinkles, and candy eyes can usually be worked into Halloween Candy Bark, Halloween Spider Donuts, or Easy Halloween Popcorn Candy Balls. It saves a little money and gives me another excuse to make something fun.
Nutter Butter Ghost Cookies
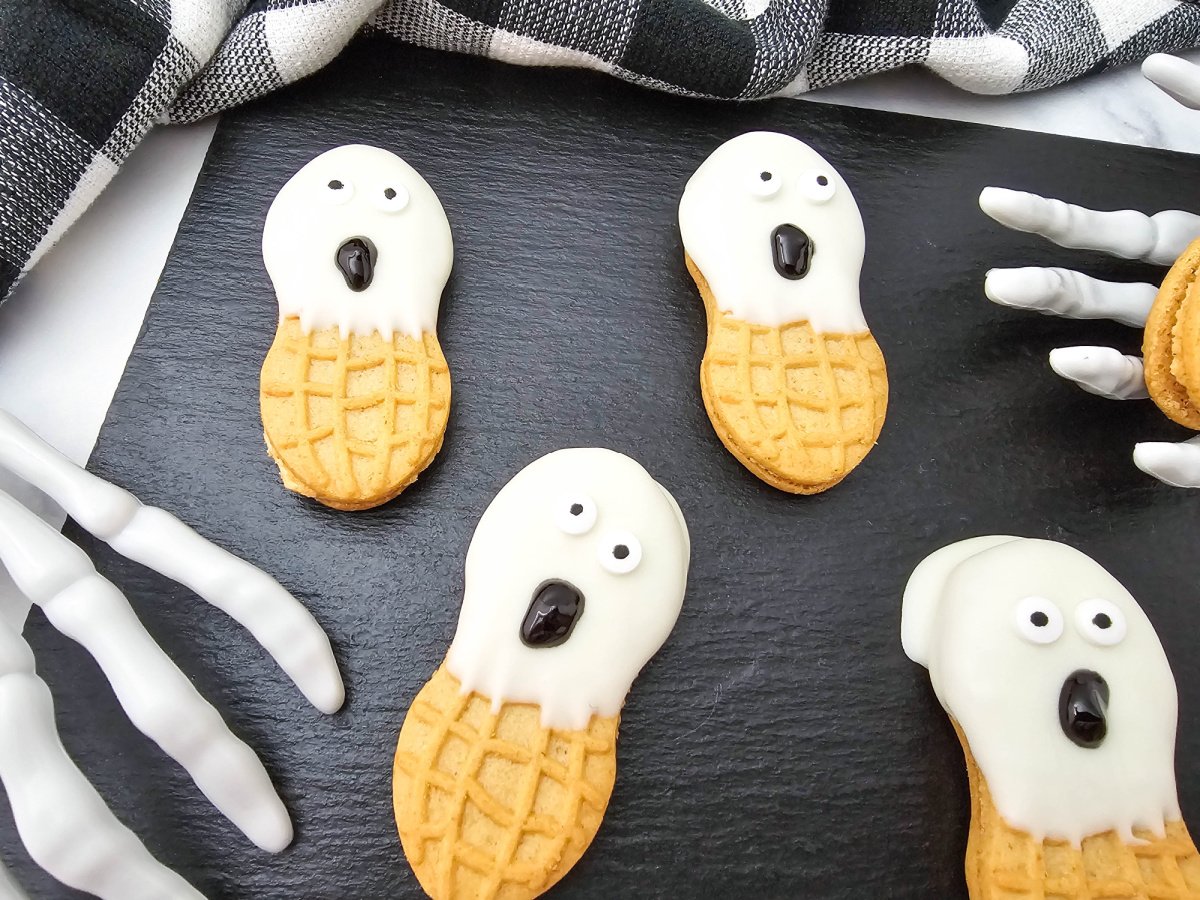
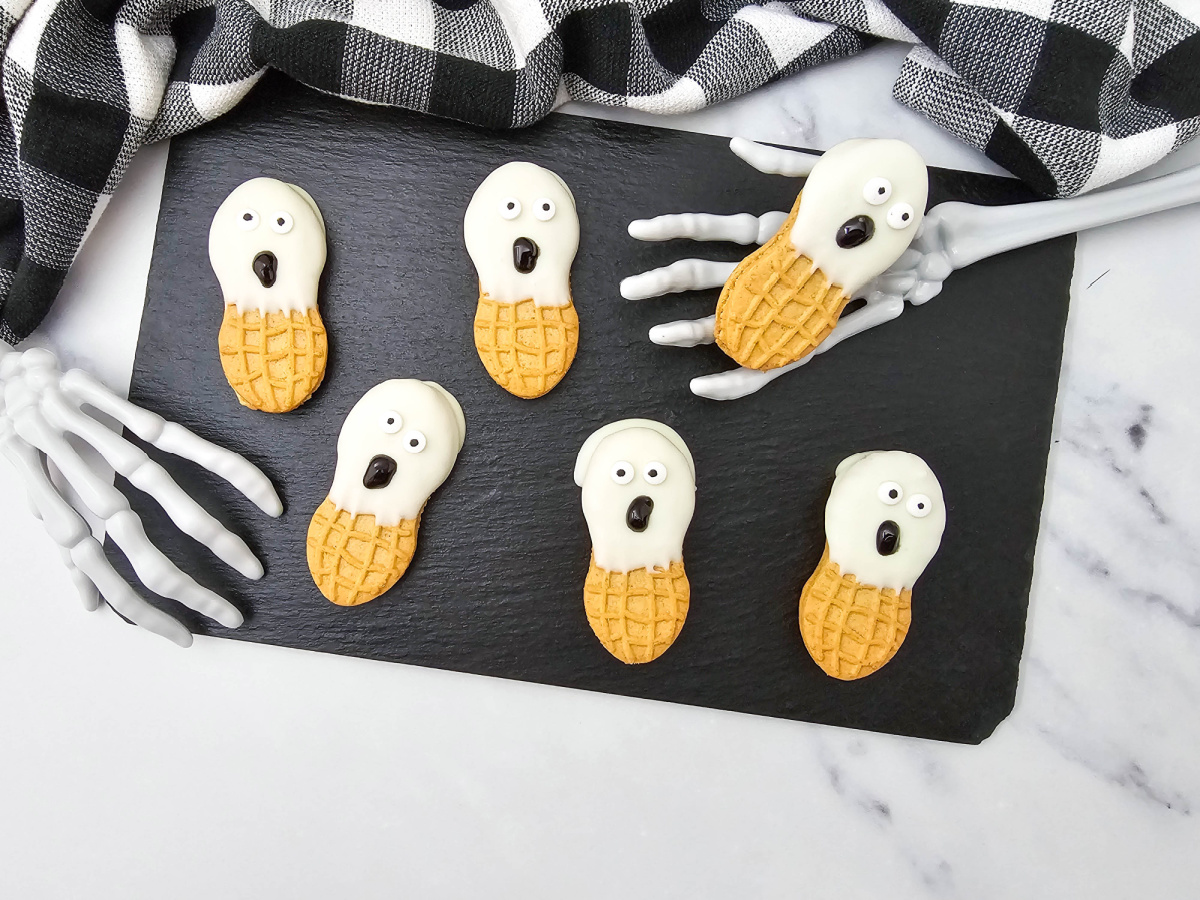
The crunchy peanut butter sandwich cookies taste even better with a smooth layer of sweet white candy coating. Candy eyeballs and black decorating gel turn the dipped cookies into funny Halloween characters. Leaving part of each cookie uncovered also keeps the peanut butter flavor from being overwhelmed by the coating. With four ingredients and no baking, a batch of six comes together quickly. The amounts can be doubled or tripled without changing the process.
Timesaving Tips and Variations
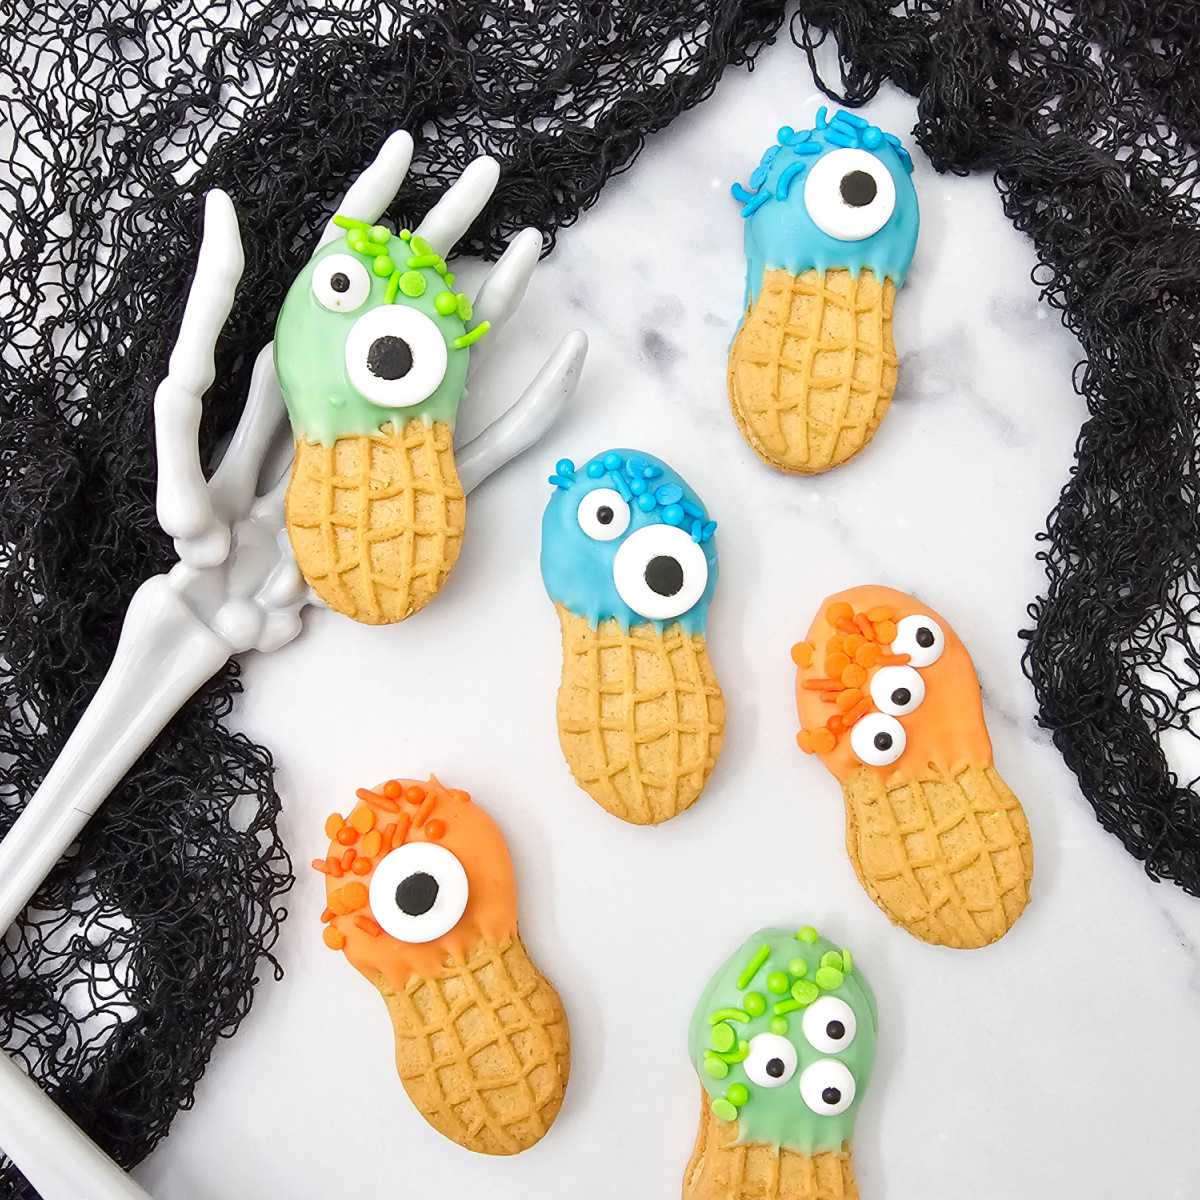
Don’t be afraid to put your own spin on these cookies using whatever you already have in the kitchen! It’s super easy to swap the eyes, tweak the expressions, or switch up the coating. Here are a few helpful tips to make decorating a breeze.
- Use a small, deep bowl to make it easier to dip enough of the cookie without melting more than you need.
- Microwave the white chocolate melts in 30-second intervals and stir well after each one to prevent overheating.
- Hold the cookie over the bowl for a few seconds so extra coating does not puddle around it on the tray.
- Dip the cookie and add the eyes immediately before moving on to the next one.
- If the melted chocolate begins to thicken, warm it for another 10 seconds and stir until smooth.
- Use different sizes or place them slightly off-center to give the characters different expressions.
- Draw small circles, ovals, or wavy mouths with the decorating gel.
- Melted black candy wafers or dark chocolate can be piped onto the cookies instead.
- Vanilla almond bark can replace the white candy melts.
Even with a few changes, the basic recipe remains quick and easy. The small differences give each cookie more personality. Once they’re together on the tray, they’ll look like a whole group of silly little ghosts.
More Halloween Party Food Ideas
Halloween party food is more fun when the table has a mix of sweet and savory choices. The recipes below make it easy to plan the rest of the menu without spending the whole day in the kitchen.
- Air Fryer Halloween Mummy Dogs
- Apple Cider Punch
- Spider Deviled Eggs for Halloween
- Halloween Chocolate Brownies
- Easy Halloween Jalapeño Popper Mummies
A couple of these recipes are plenty for a family night, while a larger mix works for a Halloween party. The sweet and savory choices give everyone something different to enjoy.
Frequently Asked Questions
Store the cookies in an airtight container at room temperature for up to three days. Arrange them in a single layer so the gel mouths don’t smear. Keep the container away from heat and direct sunlight to prevent the coating from softening. They do not need to be refrigerated.
Most decorating gels remain slightly soft instead of becoming completely firm. This is why the cookies should be stored in a single layer. Use melted black candy wafers or dark chocolate if you need a mouth that will harden.
Place the candy eyes on the cookies while the white coating is still wet. Once the coating firms up, it will hold them in place. If it sets too soon, use a small dab of melted coating to attach each eye.
This post may contain Amazon or other affiliate links. As an Amazon Associate, I earn from qualifying purchases. For more information, see my disclosure policy.
Helpful Tools and Supplies
No special equipment is needed, and the tool list is short and filled with everyday kitchen basics. You may already have everything you need.
White Vanilla Flavored Melting Wafers 16oz Pouch Reynolds Kitchens Unbleached Parchment Paper Roll, 45sq ft | Chlorine-Free, Nonstick Baking Parchment Paper, Microwave and Oven Safe To 425F, Fits Standard Baking Sheets, 12 in x 45 ftEdible Candy Eyes Sprinkles for Cake Decorating 4.6oz, Halloween Eyeball Sprinkles for Cookie Baking Ice Cream Brownie Cupcake ToppingsWilton Black Gel Tube, 0.75 Oz.6 Pack Black Plastic Serving Trays – 9 x 13 Party Serving Trays and Platters – Black Serving Tray – Serving Platter Tray for PartyMALACASA 8 Oz Ramekins with Lids Set of 6, Porcelain Creme Brulee Cups | Oven, Microwave, Dishwasher Safe, Lead-Free, For Creme Brulee, Souffle, Custard, Baking, Stackable and Lid for Fresh Storage3PCS Wooden Halloween Charcuterie Board Set – Boo Letters (with 14 Balloons) – Halloween Party Table Decoration & Food Tray Platter


Ingredients for Nutter Butter Ghost Cookies
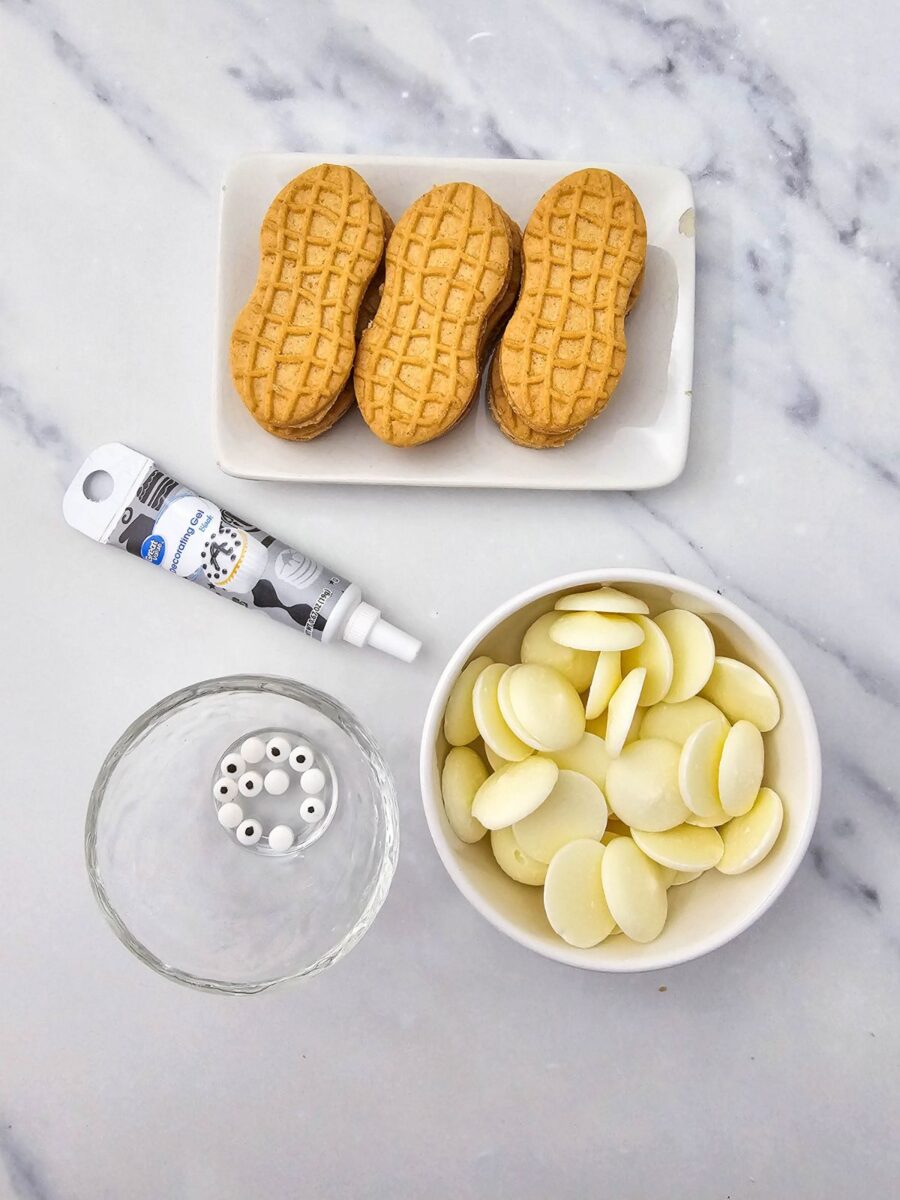
Only four ingredients are needed to make these treats. Each one helps create the peanut butter flavor, white coating, and silly expressions.
- Nutter Butter Cookies: Provide the base and familiar peanut shape.
- White Chocolate Candy Wafers: These melt into a smooth coating that firms as it cools.
- Candy Eyeballs: Two candy eyes give each cookie its funny expression.
- Black Decorating Gel: A small amount creates the open mouth on each character.
How to Make Nutter Butter Ghost Cookies
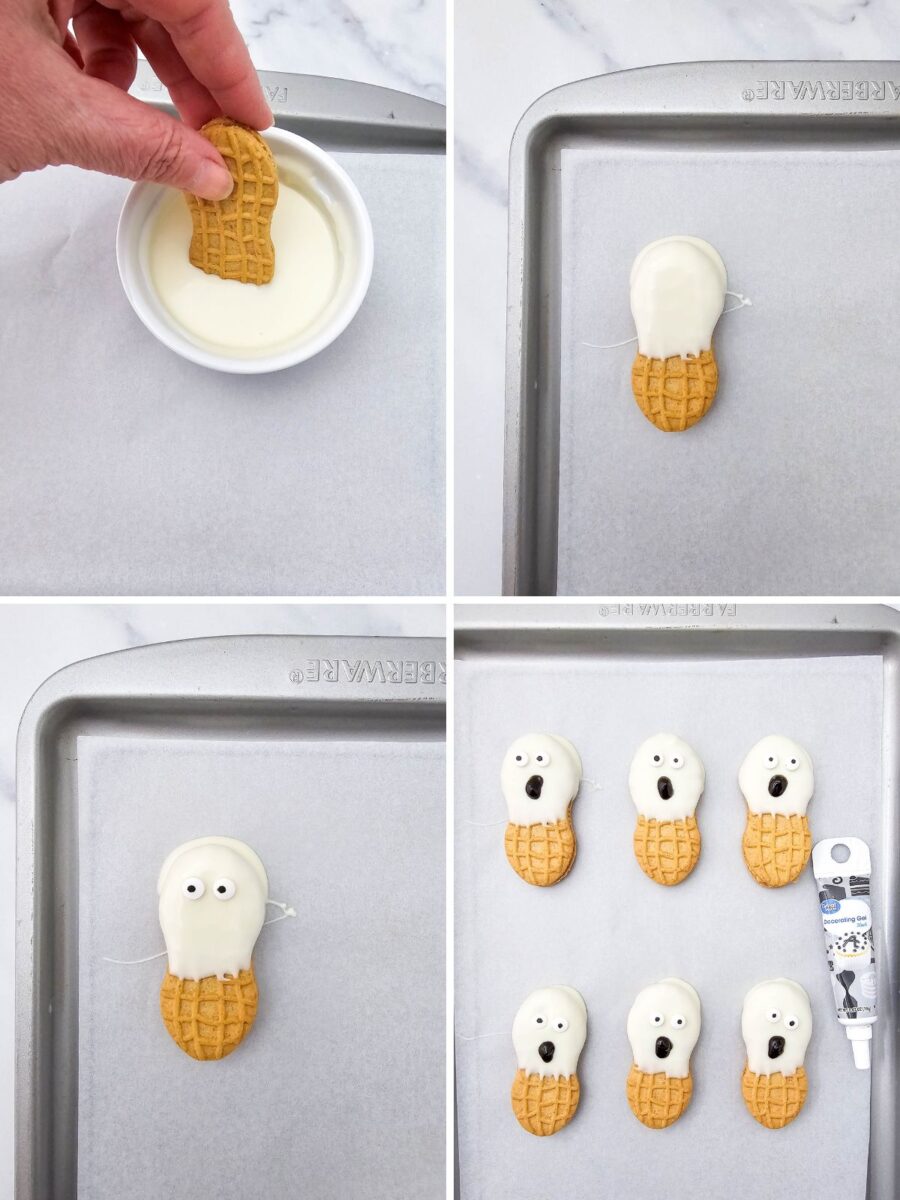
Line a baking sheet or tray with parchment paper and set out the candy eyes. Melt the white candy wafers in a microwave-safe bowl, stirring until smooth. Dip a little more than half of each cookie into the melted coating, then place it on the parchment paper. Immediately add two candy eyes near the top. Once the coating has set, add a small dab of black decorating gel for the mouth.
If you had fun making this recipe, check out these Easy Halloween Treats for more cute and spooky recipes to try.
Nutter Butter Ghost Cookies
Equipment
- Tray or baking sheet
- Small microwave safe bowl
Ingredients
- 6 Nutter Butters
- ⅓ cup white candy melts
- 12 candy eyeballs
- Black decorating gel
Instructions
- Line a baking sheet or tray with parchment paper. Set out the 6 Nutter Butter cookies, 12 candy eyeballs, and black decorating gel so everything is ready.
- Place ⅓ cup of white candy wafers in a small microwave-safe bowl. Microwave in 30-second intervals, stirring well after each one, until the coating is completely melted and smooth.
- Hold one Nutter Butter by the bottom and dip a little more than half of the cookie into the melted coating. Let the excess drip back into the bowl, then place the cookie on the prepared tray.
- Immediately place two candy eyeballs near the rounded top of the cookie while the coating is still wet. Repeat the dipping and decorating process with the remaining cookies.
- Let the cookies sit at room temperature for about 15 minutes or until the white coating is completely firm.
- Use the black decorating gel to make a small circle or oval mouth below the eyes. Serve immediately or store the cookies in a single layer in an airtight container.
Notes
Nutritional Disclaimer
“Blogghetti” is not a dietician or nutritionist, and any nutritional information shared is an estimate. If calorie count and other nutritional values are important to you, we recommend running the ingredients through whichever online nutritional calculator you prefer. Calories and other nutritional values can vary quite a bit depending on which brands were used.
Enjoy!