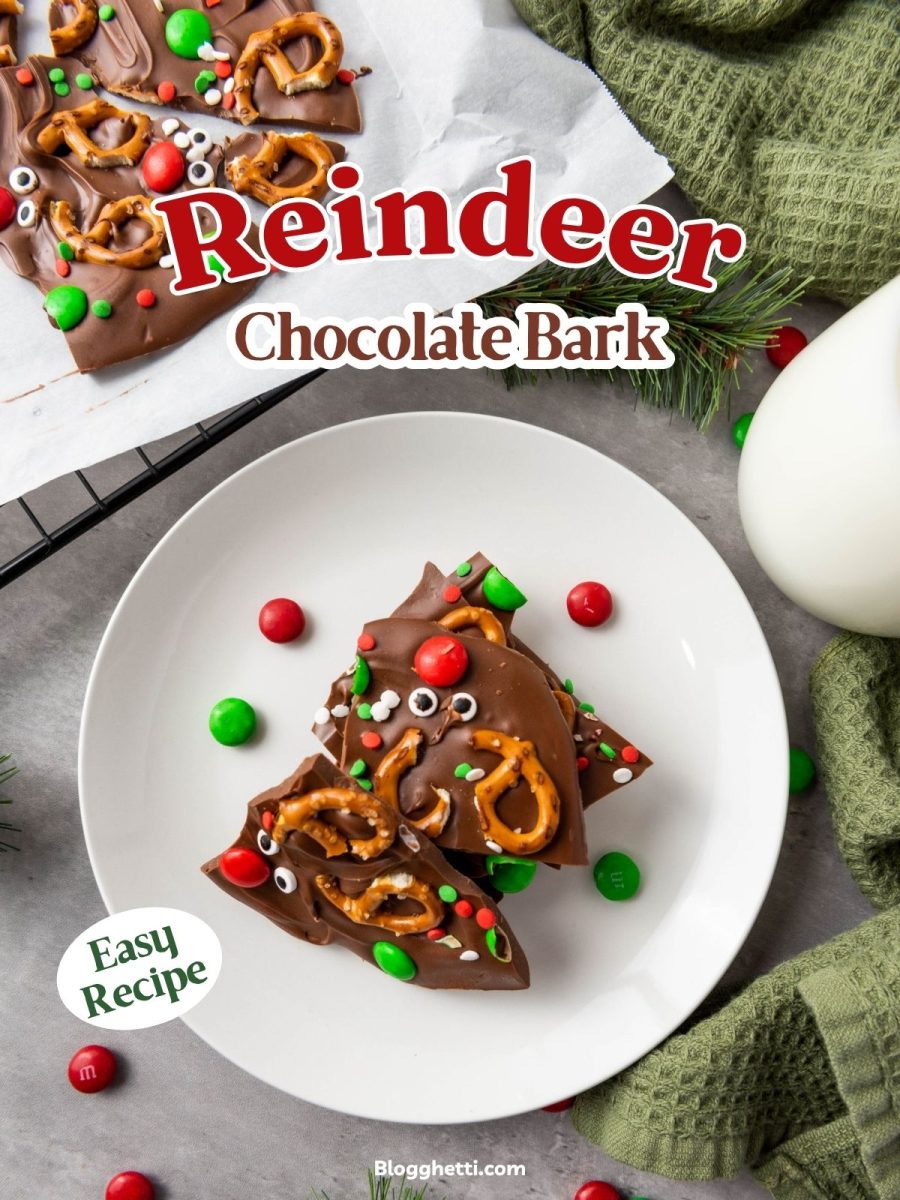
Reindeer Chocolate Bark
Reindeer Chocolate Bark is a fun holiday treat that’s easy to make and always gets a smile. Just like my Christmas Grinch Bark, this recipe is a simple no bake candy recipe. This candy brings together smooth chocolate, crunchy pretzels, and festive candies to create an adorable dessert that instantly brightens any cookie tray.
It’s simple enough for kids to help with and quick enough for busy holiday schedules. Each piece has its own personality thanks to the cute Rudolph faces, making this a perfect option for parties, gifting, or a sweet snack.
I love making this each December alongside Nutter Butter Reindeer Cookies and Santa Munch Christmas Popcorn. While the chocolate sets, we play Bobbing for Candy Canes, turning it into a fun holiday tradition full of laughs and sweet treats. It’s the perfect way to get everyone in the holiday spirit and create lasting memories in the kitchen.
Reindeer Chocolate Bark
Because it uses minimal ingredients and no special equipment, this holiday candy bark is ideal for last-minute entertaining or creating homemade treats for friends and family. It comes together quickly, requires no oven time, and leaves very little mess behind, which makes it perfect for holiday prep.
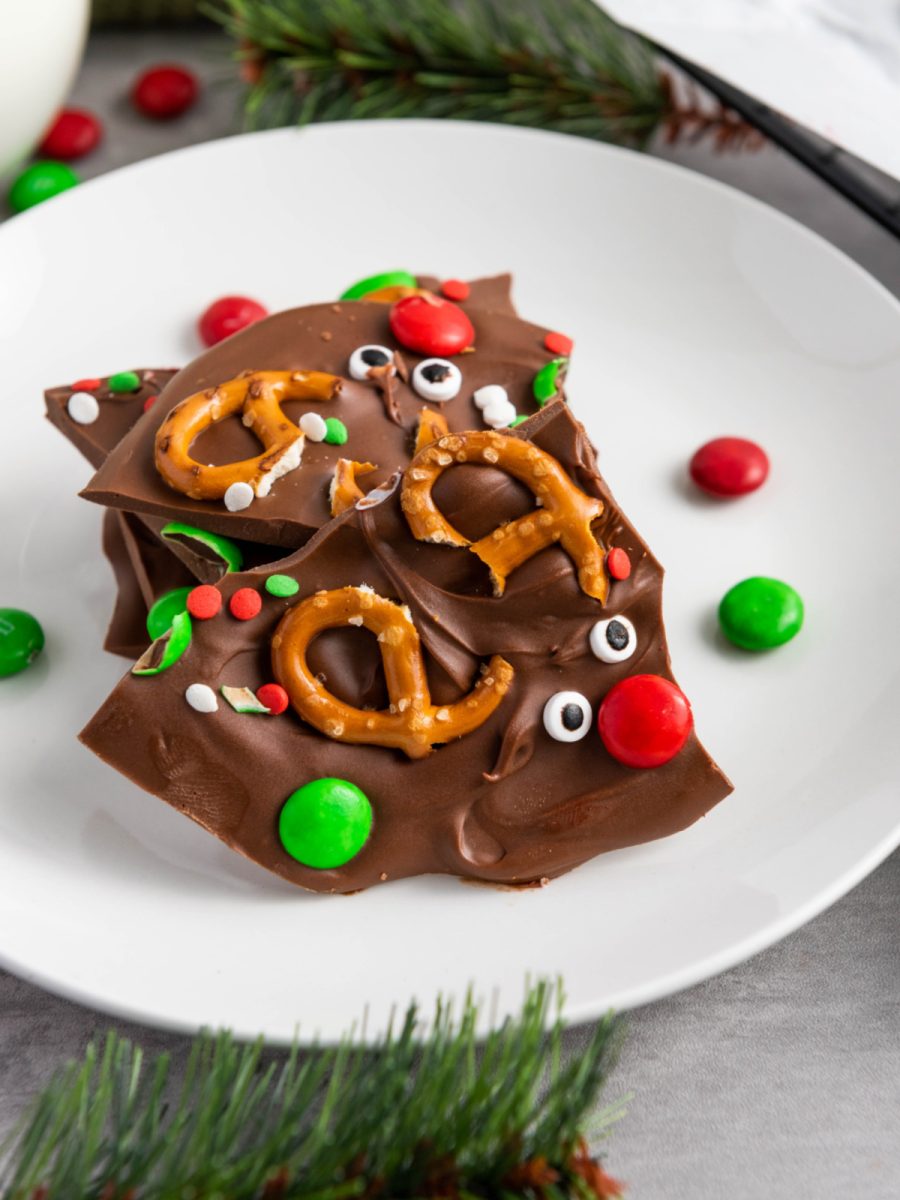
Melted milk chocolate chips form a rich, creamy base. Then comes the fun part: decorating. Mini pretzels become antlers, red M&M’s turn into Rudolph noses, and suddenly you have a tray full of cheerful reindeer faces that are sure to delight kids and adults alike.
Timesaving Tips and Variations
You can also swap ingredients to match what you already have or adapt it for different occasions. These ideas help you keep things fun while staying flexible in the kitchen.
- Use dark or white chocolate instead of milk chocolate.
- Swap pretzels for mini candy canes for a peppermint twist.
- Add crushed cookies or toffee bits for extra texture.
- Change the noses by swapping the red M&M’s or large red candy hearts.
- To set the chocolate in just 10 minutes, use the freezer instead of the refrigerator. Just be sure to remove it immediately once set to prevent condensation from forming on the surface.
These tweaks give you plenty of room to get creative and add your own flair. You’ll still end up with a festive treat that tastes great and looks adorable.

What to Serve with Reindeer Candy Bark
This cheerful candy bark pairs well with a range of festive sweet and savory favorites, including your favorite holiday drinks.
- Gingerbread Latte
- Peppermint Meringues
- Easy Santa Charcuterie Board for Christmas
- Christmas Tree Brownie Bites
- Homemade Peanut Butter Cup Hot Chocolate
It’s a fun little sweet treat to add alongside your savory snacks. Whether you’re sharing it at a party or packaging it for gifting, it always brings a pop of festive cheer and a playful touch.
Frequently Asked Questions
Keep the candy in an airtight container at room temperature for the best texture. It will stay fresh for about a week. Avoid warm spots so the chocolate doesn’t soften.
Yes, it freezes well. Store it in a freezer-safe container with parchment between the layers to prevent sticking. Thaw it at room temperature before serving.
Absolutely. This recipe holds up beautifully when made a day or two in advance. Just store it properly so the decorations stay intact.
To get cleaner breaks, chill the bark thoroughly until it is very firm. You can then use a large, sharp knife to press down quickly onto the chocolate, or simply use your hands to snap it into organic, festive pieces.
This post may contain Amazon or other affiliate links. As an Amazon Associate, I earn from qualifying purchases. For more information, see my disclosure policy.
Essential Tools for Reindeer Chocolate Bark
A few simple tools help the process go quickly and make cleanup easier. You likely already have everything you need on hand. I have added my favorite Amazon links, too.
Anolon Advanced Bakeware Silicone Baking Mat Set, 2-Piece, Clear with Gray Border Anolon Bronze Nonstick Baking Sheet / Cookie Sheet / Cookie Pan with grips – 10 Inch x 15 Inch, BrownPyrex Essentials (3-Piece) Glass Mixing Bowls Set For Prepping, Baking and Cooking, Preheated Oven, Dishwasher, Freezer, and Microwave SafeRubbermaid Commercial Products Scraper Spatula/Food Scraper 13.5-Inch Dishwasher Safe White Heavy Duty Rubber Silicone Spatula for Resturant/Home Cooking/Baking3 PCS Icing Spatulas, Offset Spatula, Stainless Steel Cake Decorating Spatulas Set 6/8/10 inch Professional Angled Cake Spatula Plastic Frosting Handle for Home, Kitchen or Bakery by XEKIGUReynolds Kitchens Stay Flat Parchment Paper Roll, Non Curling Baking Parchment Paper for Baking and Cooking, Oven Safe up to 425 Degrees, 36 Feet x 15 Inches, 45 Total Sq. Ft.


Ingredients for Reindeer Chocolate Bark
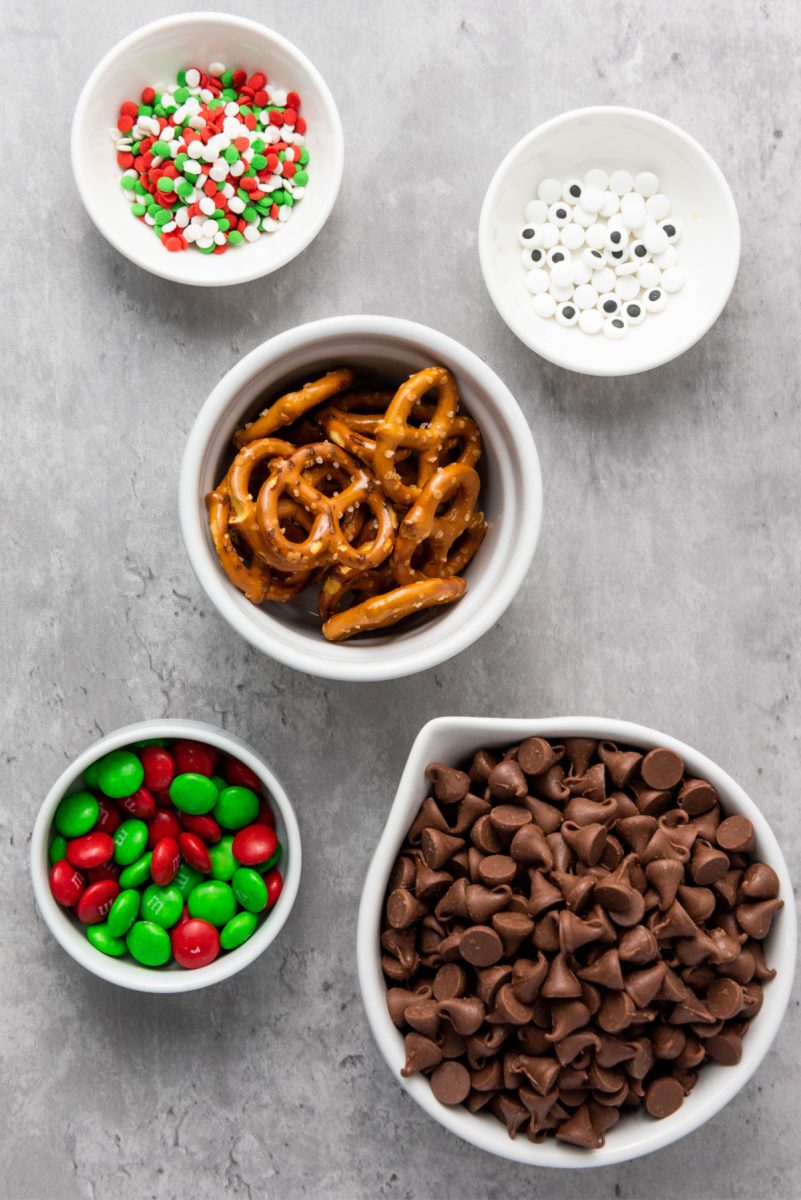
With a few simple ingredients, this festive confection adds texture, flavor, and the signature Rudolph look, making it an easy and affordable option for the busy holiday season.
- Milk chocolate chips – Melt into a smooth, rich base for the bark.
- Mini pretzels – Form the antlers and add a salty crunch.
- Red M&M’s – Creates the cute noses.
- Candy eyes – Brings the faces to life.
- Green M&M’s – Add festive pops of color across the bark.
- Sprinkles – Offer extra sparkle and holiday flair.
How to Make Reindeer Chocolate Bark
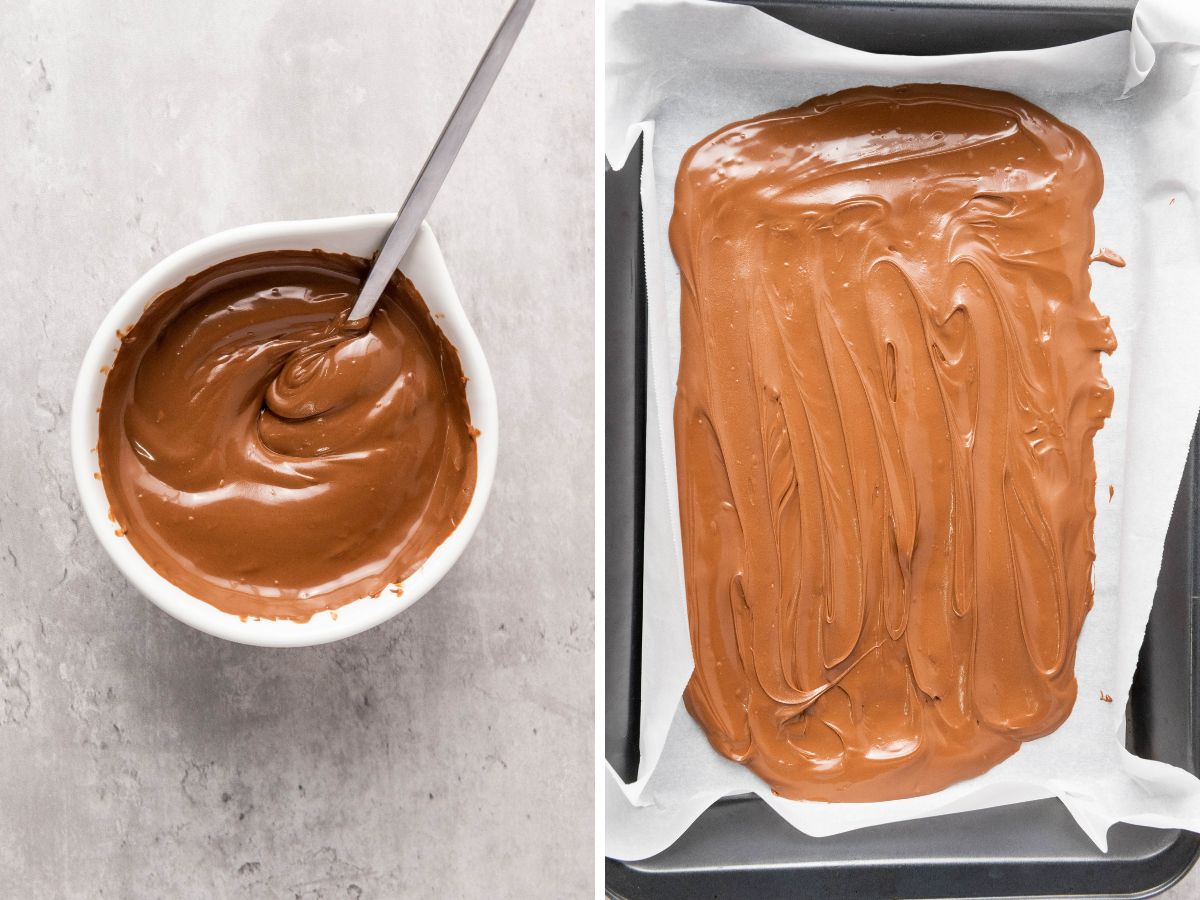
Line a baking sheet with parchment paper or a silicone baking mat to prevent the chocolate from sticking. Melt the milk chocolate in a microwave-safe bowl in 30-second intervals, stirring between each interval until smooth. Pour the melted milk chocolate onto the prepared baking sheet, spreading it out evenly with a spatula to about 1/4 inch thick.
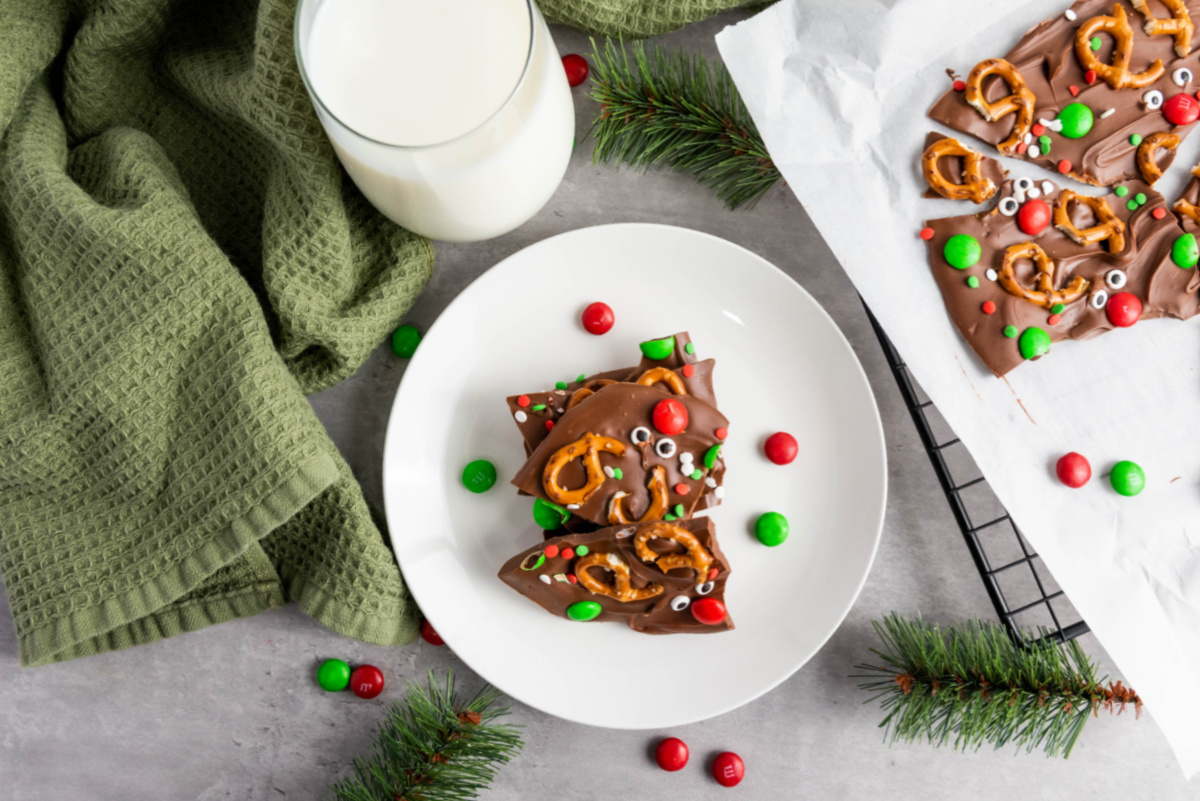
While the chocolate is wet, break each mini pretzel in half and place onto the chocolate for the antlers, add a red M&M below the pretzels for the reindeer noses, and place candy eyes above the noses to complete the Rudolph faces. Scatter the green M&M’s and sprinkles over the bark.

Let it sit at room temperature or chill in the refrigerator for 20-30 minutes until fully set. Once firm, break it into pieces and enjoy!

If you love easy chocolate sweets, this Rudolph bark is sure to delight, but don’t stop there. For another simple, crowd-pleasing treat, try my Easy Homemade Christmas Crack Toffee.
Reindeer Chocolate Bark
Equipment
- medium microwave safe bowl
Ingredients
- 2 cups milk chocolate chips
- 12 mini pretzel twists (broken in half for the antlers)
- 12 red M&Ms (for the noses)
- 24 candy eyes
- 2 tablespoons green M&Ms
- holiday themed sprinkles
Instructions
- Prep Your Pan: Grab a baking sheet and lay down a sheet of parchment paper or a silicone baking mat. This is key because it makes remiving the finished bark away super easy and ensures no sticking!
- Melt the Chocolate: You can melt the chocolate chips either in a heatproof bowl set over simmering water (a double boiler) or quickly in the microwave. If you use the microwave, heat it in short 30-second bursts, stirring really well after each one until the chocolate is totally smooth and creamy
- Spread the Base: Pour the melted chocolate onto the prepared pan. Use an offset spatula to spread it out into a nice, even layer about ¼ inch thick across the sheet. No need to stress over making it look perfect!
- Decorate the Reindeer: While the chocolate is still wet, quickly place your mini pretzels (antlers), red M&M's (noses), and candy eyes onto the surface to create your adorable Rudolph faces. Make sure you work fast so the chocolate doesn't set before you finish decorating.
- Set and Serve: Scatter those remaining green M&M's and sprinkles all over the exposed chocolate for extra festive flair. Let the bark cool until it’s totally solid; you can use the fridge for 20 minutes if you're impatient. Once set, snap or cut the bark into pieces.
Nutritional Disclaimer
“Blogghetti” is not a dietician or nutritionist, and any nutritional information shared is an estimate. If calorie count and other nutritional values are important to you, we recommend running the ingredients through whichever online nutritional calculator you prefer. Calories and other nutritional values can vary quite a bit depending on which brands were used.
Christmas Sweets Week
It’s officially #ChristmasSweetsWeek, a fun celebration where bloggers share festive treats perfect for your holiday gatherings. Hosted by Christie from A Kitchen Hoor’s Adventures, you’re invited to explore all the delicious recipes and follow the hashtag across social media so you don’t miss any of the sweet inspiration.
- Gingerbread Cupcakes from A Kitchen Hoor’s Adventures
- Pumpkin Bread Pudding from A Day in the Life on the Farm
- Church Window Candy from Jen Around the World
- Peppermint Ice Cream from Art of Natural Living
- Cranberry Apple Walnut Crumb Bars from Karen’s Kitchen Stories
Enjoy!


Chocolate bark is always a hit and a great way to use up all those odds and ends in your baking cupboard. I love the reindeer face idea.
They really do look like reindeer! Very cute!
This is so cute–and chocolate bark is always a big hit!
I bet my grandsons would love to help me make this so they can eat it all! 😂😂😂