Homemade Rosemary Bread
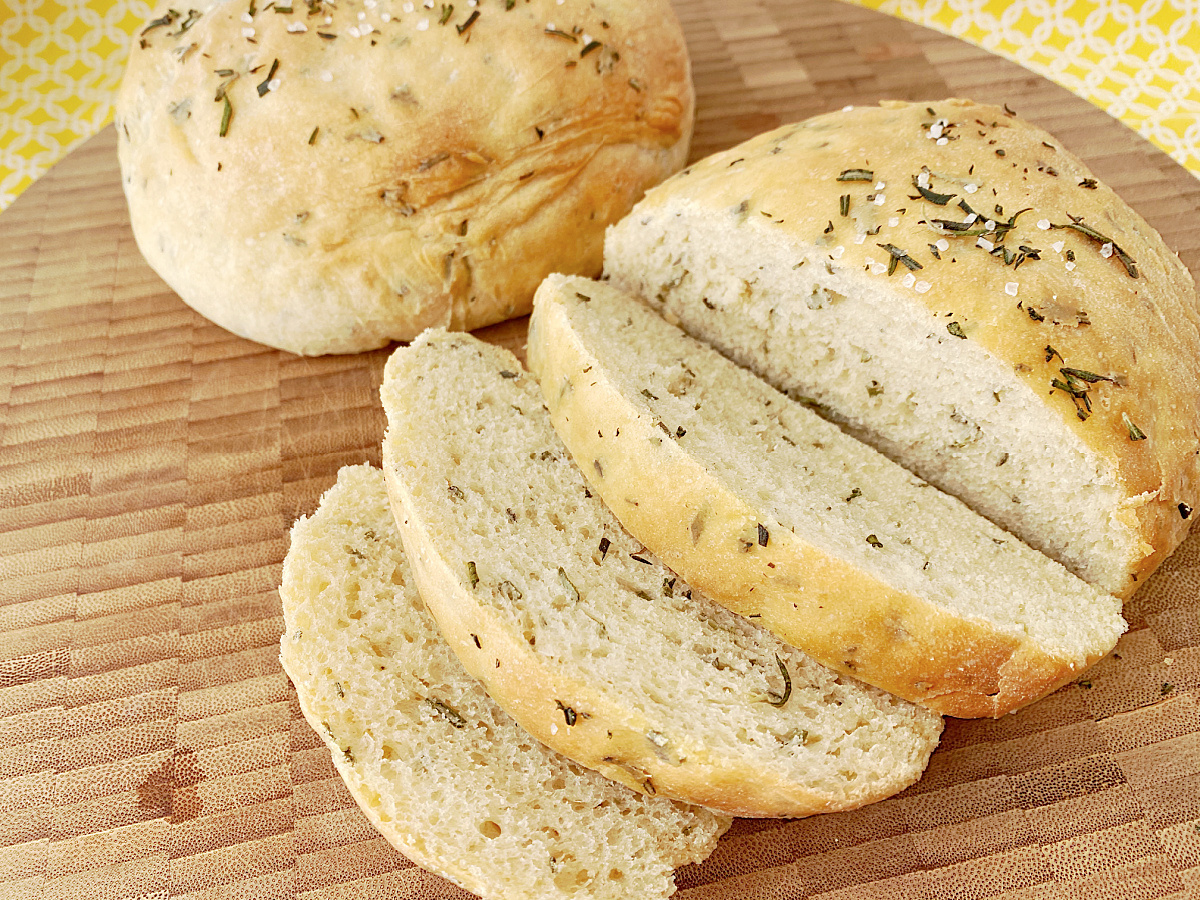
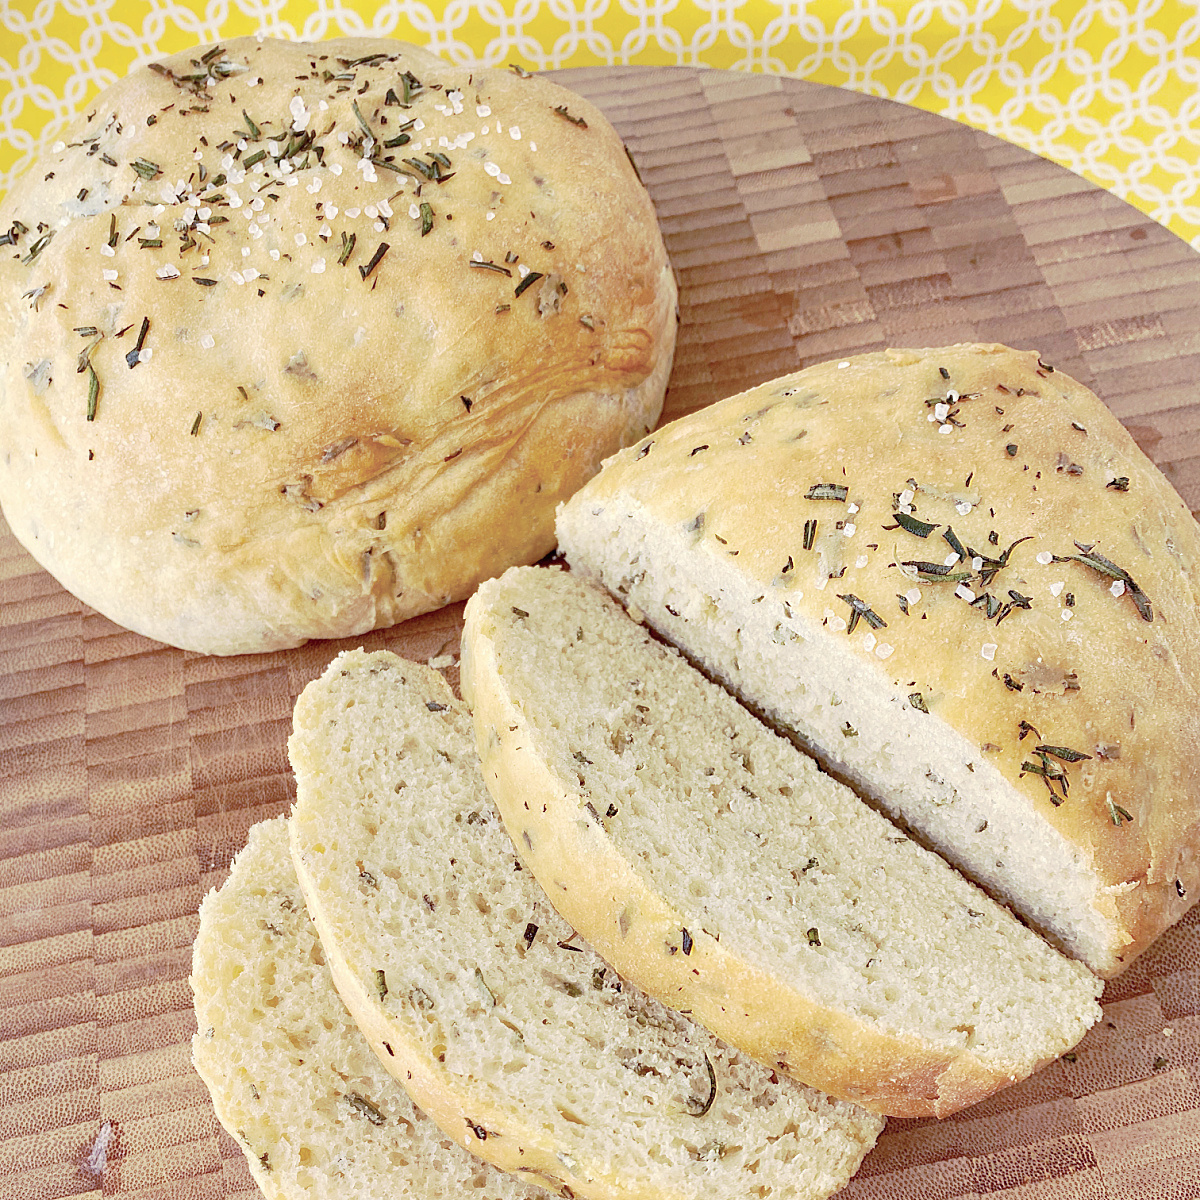
This Homemade Rosemary Bread is a simple yeast bread infused with fresh rosemary and is free-formed, so no special pans are needed. The recipe makes two loaves with a golden crust and soft and fluffy on the inside, making it perfect to enjoy.
Bread recipes that use yeast can be tricky to bake but this copycat Rosemary Bread from the Macaroni Grill is the easiest to bake and it just uses a few ingredients but packs a big flavor from the herbs. It’s perfect for serving with your favorite pasta or eating warm right out of the oven.
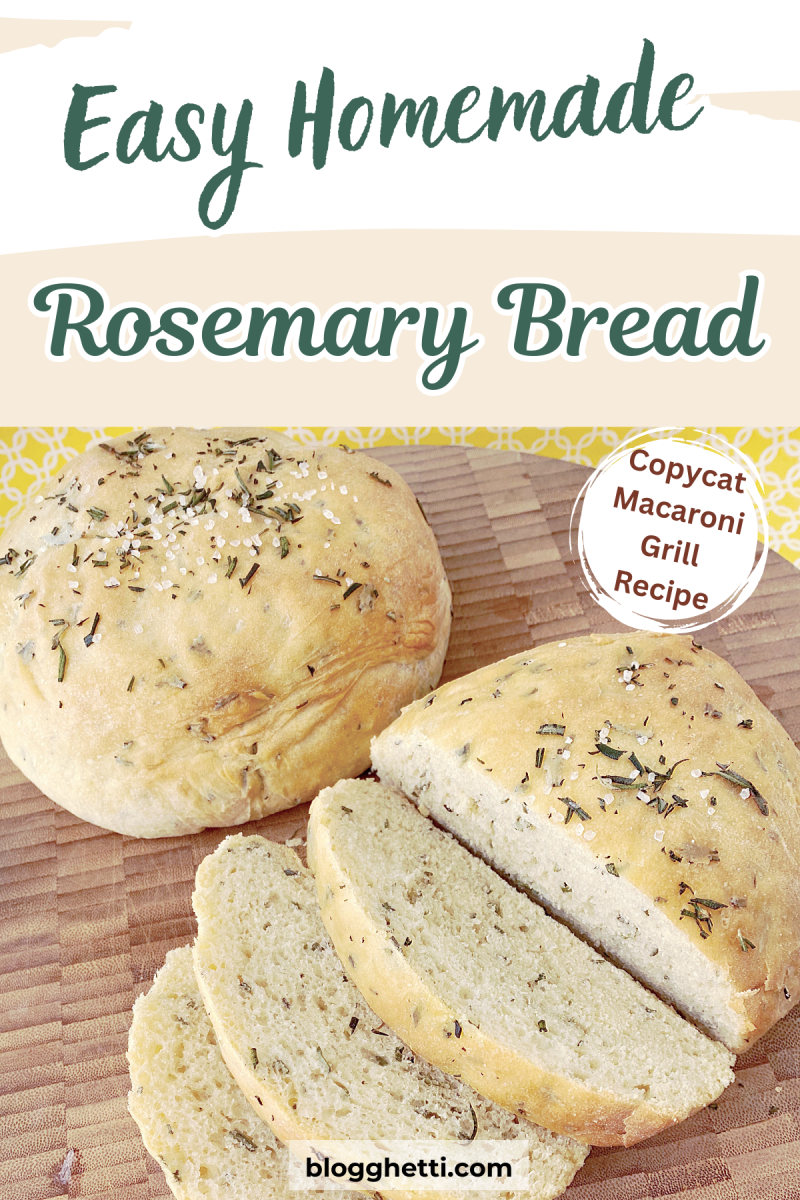
I have been to the Macaroni Grill only once and I probably should have just ordered a salad because, by the time my meal came, I was so full from their homemade rosemary bread that I could barely eat my meal. I knew I had to make it at home and did just that. It turned out so delicious that it’s highly requested for holidays and Sunday dinners. We like to serve it with this Italian herb dipping oil or dip it into a bowl of this slow cooker creamy potato soup or my slow cooker Zuppa Toscana.
Homemade Rosemary Bread
Fresh bread baking in the oven – perhaps one of the best smells coming from ovens, in my opinion. Growing up, I used to think making homemade dough from scratch was a huge ordeal. Breadmaking really is a simple process that works alone. For the rising of the dough, you do nothing but give it a nice warm place to do its magic. Then bake as your recipe directs and get ready to enjoy a warm slice with butter.
This recipe couldn’t be simpler, and if you’ve never baked from scratch, it’s the perfect one to start with; easy steps and just a few ingredients. You’ll end up with two amazing loaves and wish you had doubled the recipe.

Enjoy the freshly baked loaf with this Skillet Chicken Parmesan or a bowl of Minnesota wild rice soup.
This post may contain Amazon or other affiliate links. As an Amazon Associate, I earn from qualifying purchases. For more information, see my disclosure policy.
Timesaving Tips and Variations
- Be sure your yeast is fresh and not expired. Expired yeast will not activate or allow your dough to rise.
- Use warm water: Warm water activates the yeast more quickly, which can speed up the rising process. The water needs to be between 110-115 degrees. I use an instant-read digital thermometer for this.
- Be sure you set your dough in a warm place to rise, with no drafts.
- If you don’t have fresh rosemary, dried works too – just use half as much. Italian seasoning also works in place of the rosemary as does oregano or thyme.
- Add some minced fresh garlic to the dough for a twist.
- Incorporate grated Parmesan cheese or other cheeses into the dough.
- Skip the herbs and add red pepper flakes or jalapeño peppers for a bit of heat.
Using the tips above will give you the best loaf of goodness that you created yourself.
Can I bake rolls with this bread dough?
Yes! As with other recipes using yeast, this dough can be turned into more than just loaves of bread. You can shape the dough into equal portions for rolls, or mini loaves. Get creative! The only real thing to remember is not to over knead the dough and once in the desired shape, to let it rise the second time before baking. Of course, baking times will vary depending on the size and shape of your dough.
What to Serve with Homemade Rosemary Bread
Besides soups, there are endless dishes you can serve this baked loaf with not to mention it would make a great base for a sandwich.
- Easy Slow Cooker Lazy Lasagna
- Cheese Manicotti
- Melt in Your Mouth Perfect Oven Pot Roast
- Onion Roasted Chicken and Vegetables
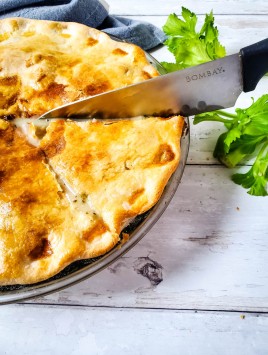
- Homemade Chicken Pot Pie
You can’t go wrong with whatever you serve it with. It’s going to be good!
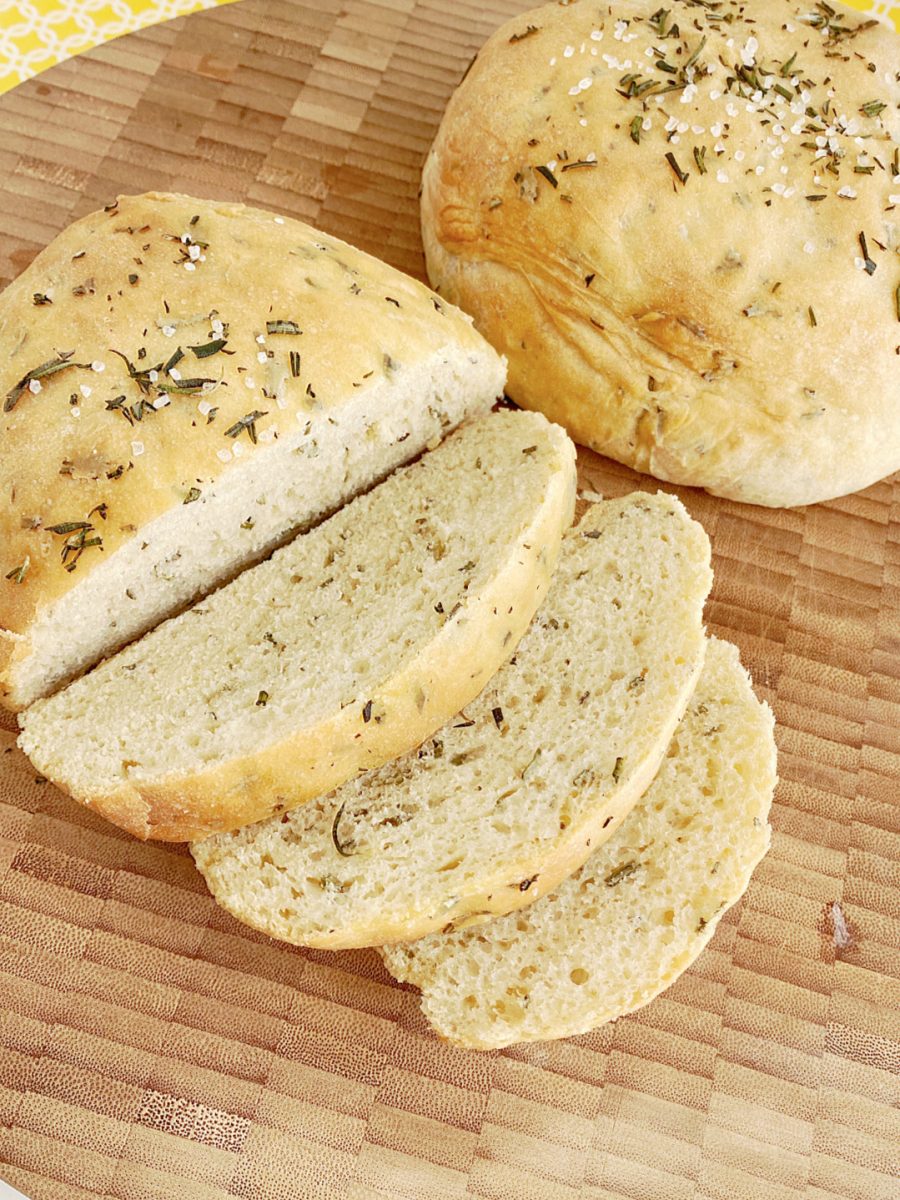
A slice fresh from the warm oven served with a salad makes a light lunch. Add slices to cheese and meat charcuterie boards.
Tools Used to Make Homemade Bread
The tools you need are listed here and I do recommend a stand mixer with a dough hook attachment. I’ve linked to my favorite one.
- KitchenAid stand mixer (comes with a large bowl)
- large bowl (if your mixer doesn’t come with one)
- whisk
- measuring cups and spoons
- instant-read digital thermometer
- large baking sheet or two medium-sized ones
- wire cooling rack
💡Explore my favorite Baking Essentials (Amazon affiliate link)
Ingredients
The ingredients to this recipe are simple and you most likely will have everything in your pantry. You can find fresh herbs in the produce aisle of your local market.
- warm water
- active dry yeast (I like to use Fleischmann’s yeast)
- sugar
- extra virgin olive oil
- all-purpose flour
- fresh rosemary
- fine salt
- kosher coarse salt, optional
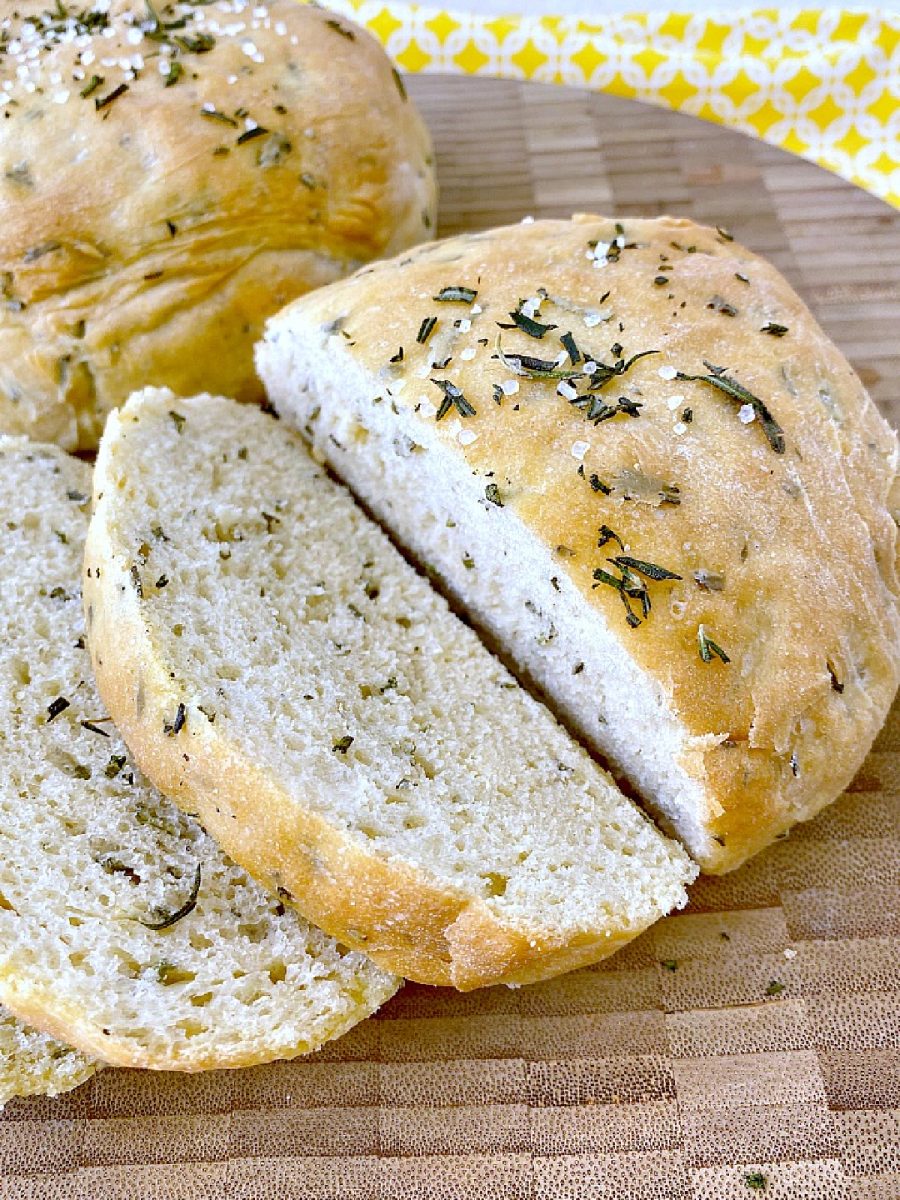
How to Make Homemade Rosemary Bread
Making this recipe is easier by using a stand mixer with a paddle attachment and the dough hook for this recipe. It’s easier to mix the dough with the paddle attachment, and then change to the dough hook to let the machine knead the dough.
Step 1
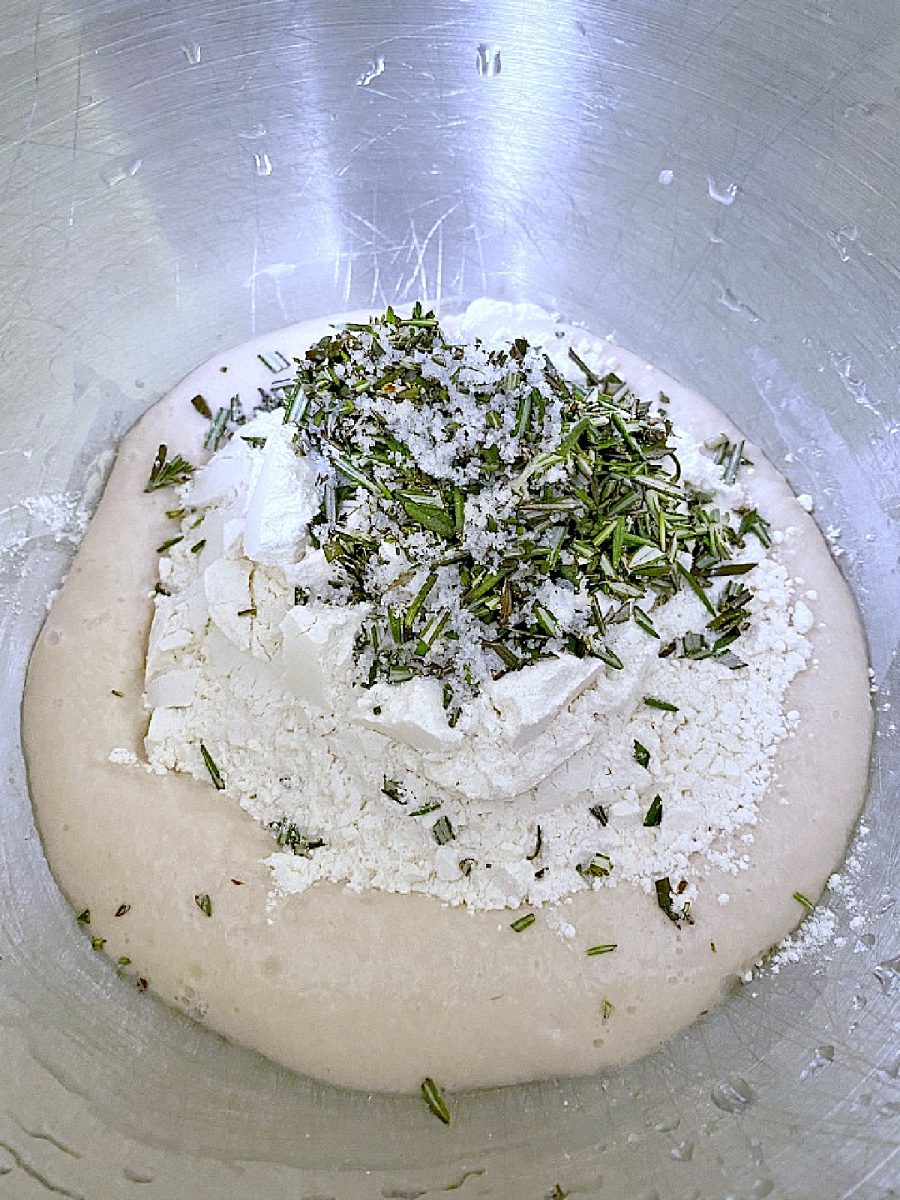
In a large bowl of a stand mixer, whisk together ¼ cup water, yeast, and sugar until yeast has dissolved. Let rest for 5 minutes. After the 5 minutes: Add 1 tablespoon olive oil, the remaining ¾ cup warm water, 1½ cups flour, 3 tablespoons rosemary, and fine salt to the bowl.
Step 2
Using the paddle attachment of your stand mixer, blend the mixture until combined. I found that using the paddle attachment instead of the dough hook for this step made it easier to combine the ingredients. Alternatively, you can mix it with a wooden spoon.
Step 3
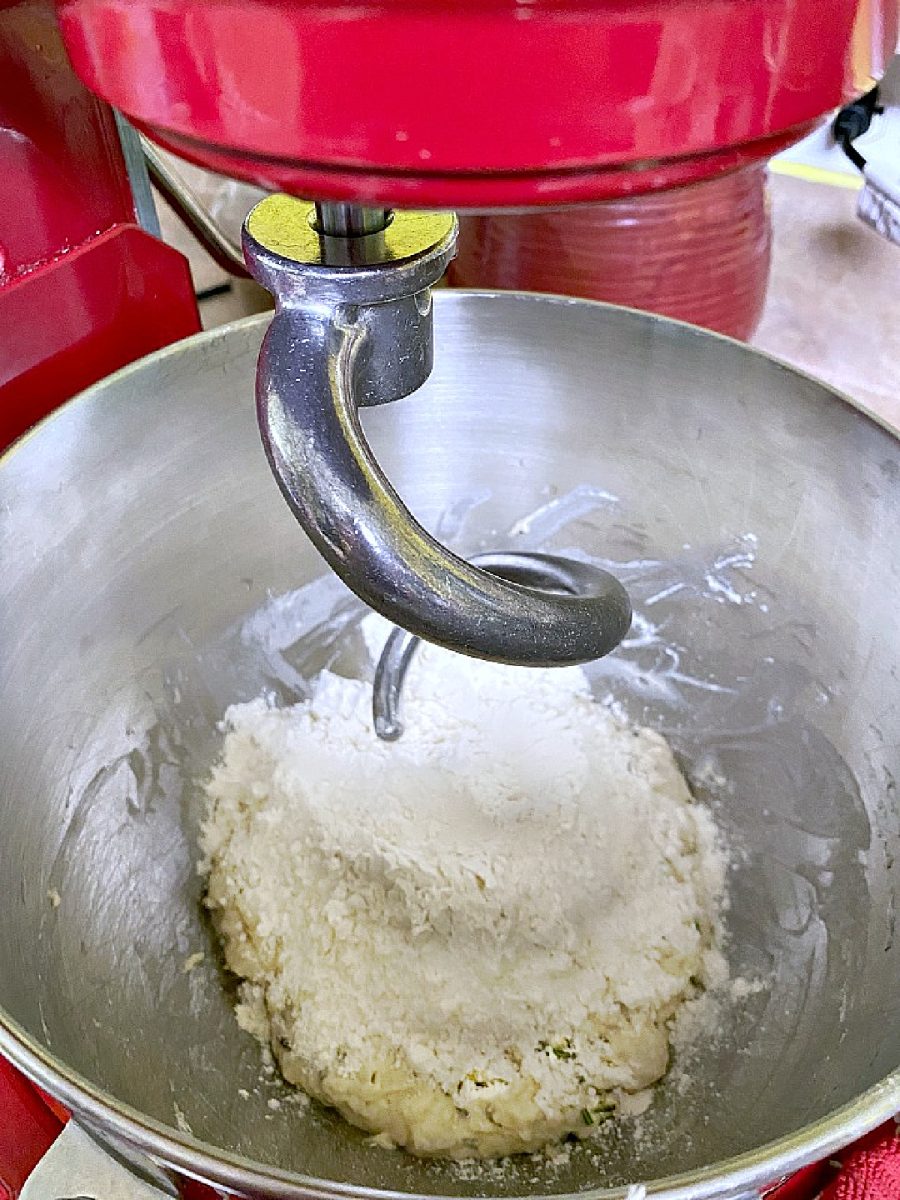
Switch the paddle attachment on the stand mixer to a hook attachment and add 1 cup flour and knead the mixture on medium speed until smooth and elastic. Add additional flour as needed if the dough is sticking to the bowl.
Step 4
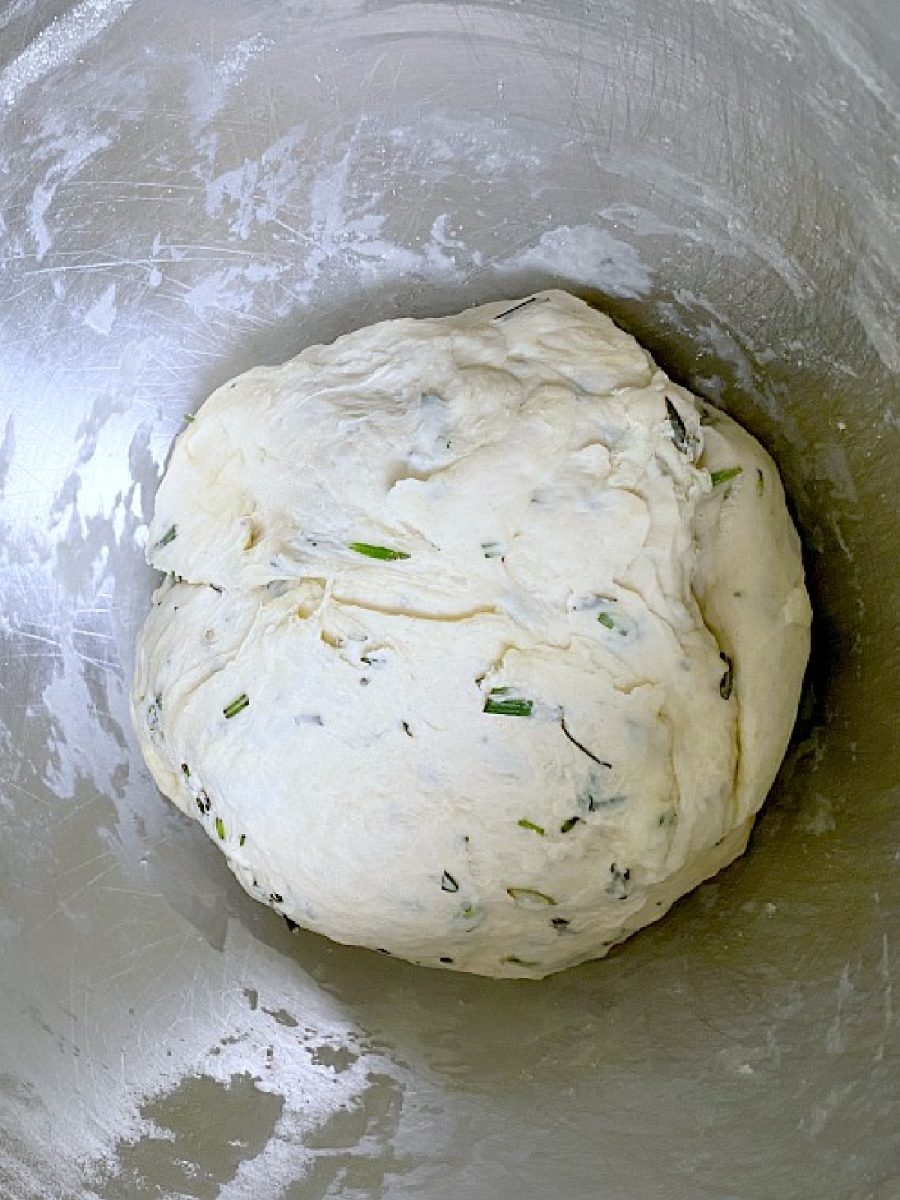
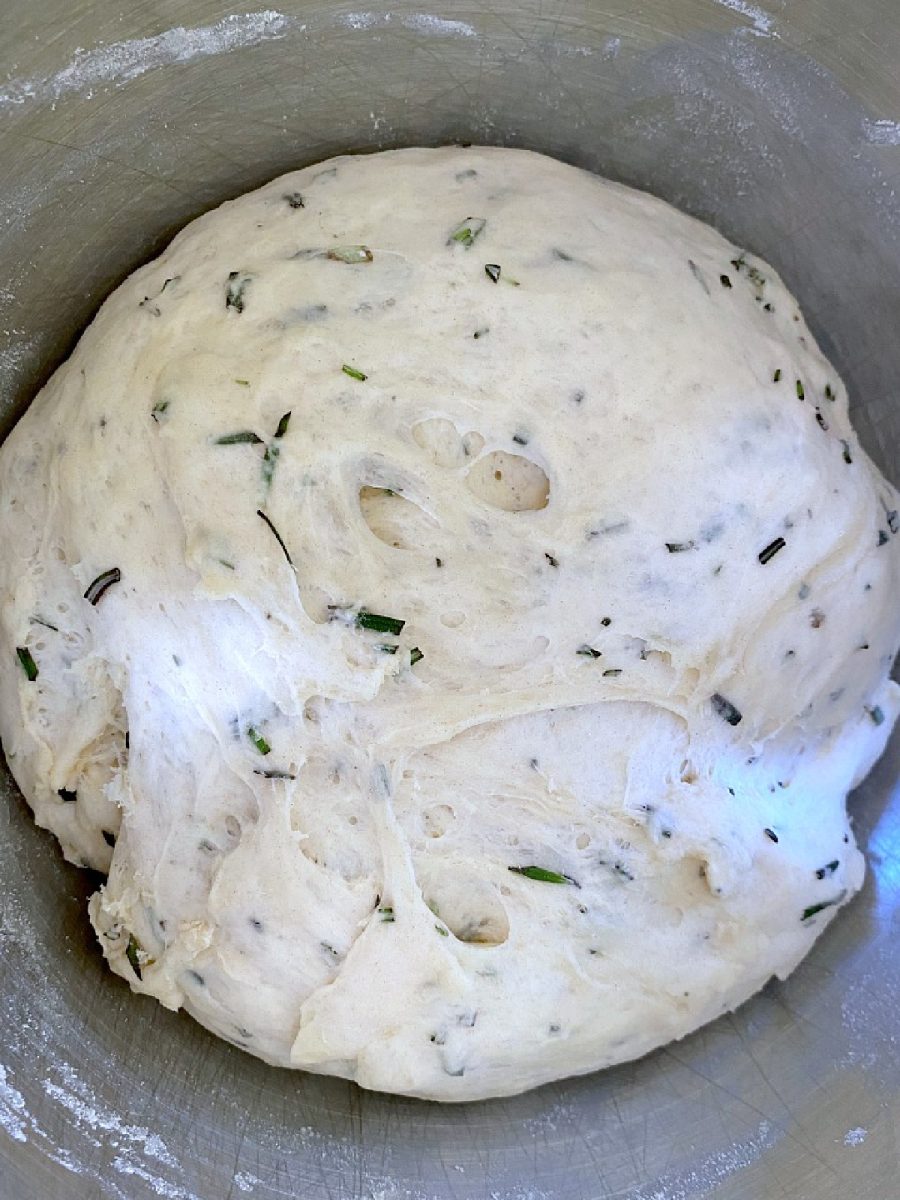
Cover bowl and allow to rest in a warm place until more than doubled in size, about 1½ – 2 hours.
Step 5
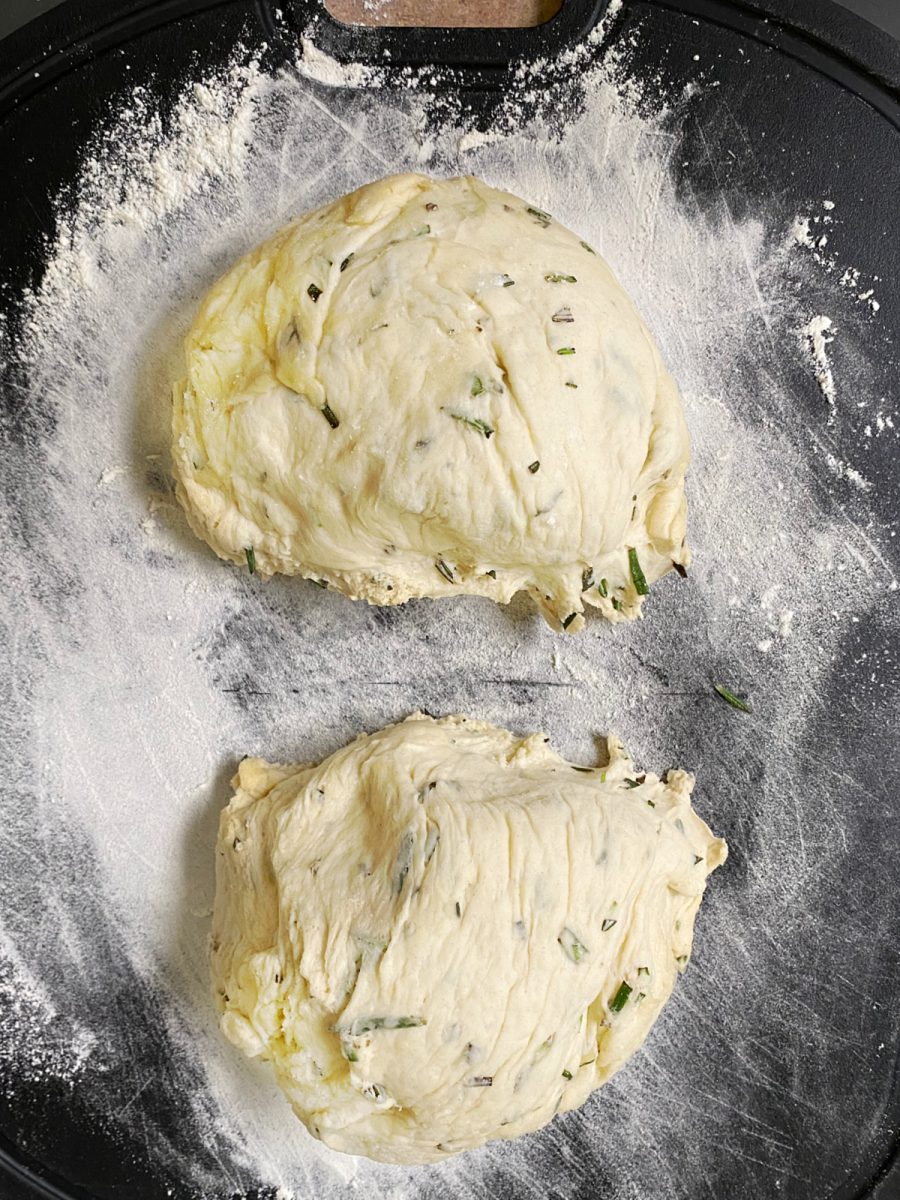
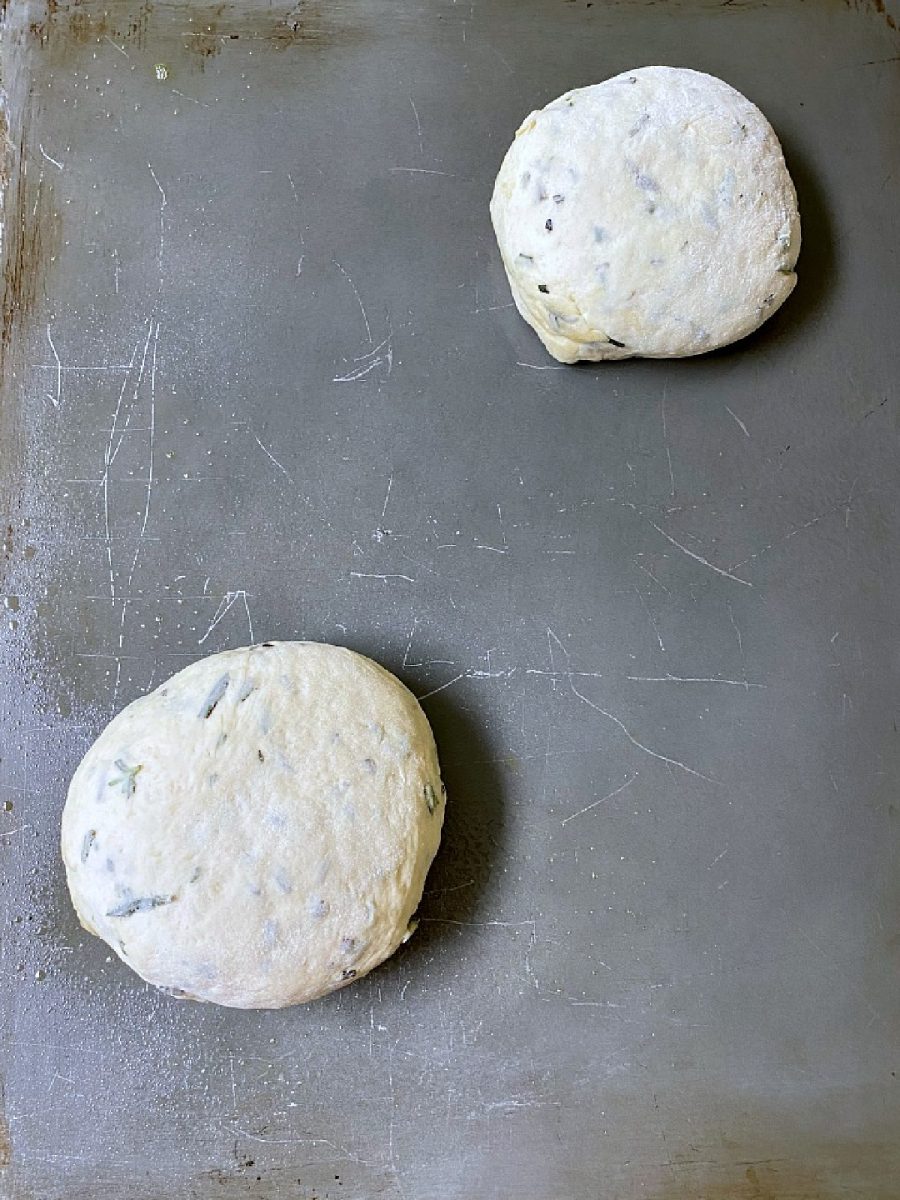
Scoop dough out of bowl and divide into two equal portions. Spray a large baking sheet or two medium sheets with non-stick spray or grease them lightly with olive oil. Lightly dust a clean work surface with flour and shape each dough section into rounds or ovals while folding tops into the middle and then tucking and pinching seams on the bottom.
Step 6
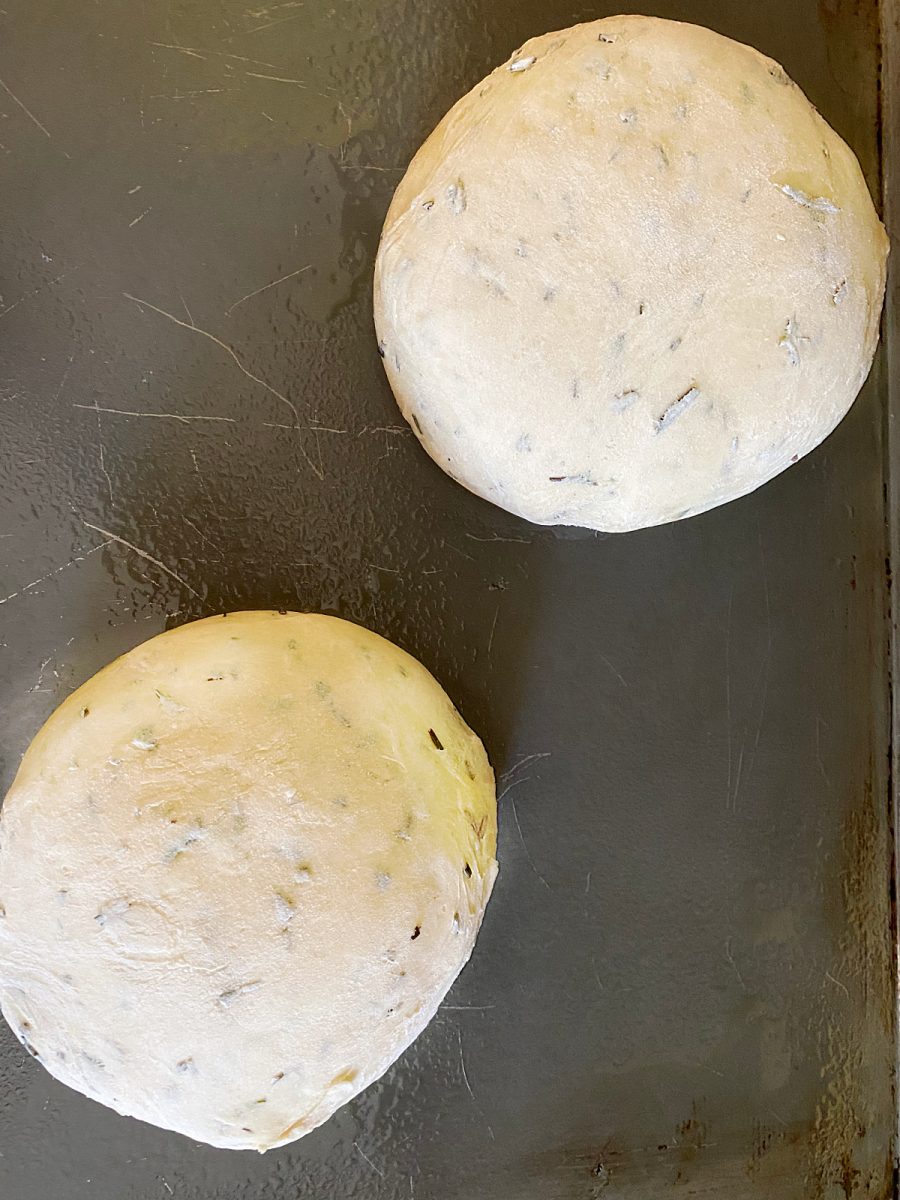
Transfer to prepared baking sheet spacing evenly apart and allow to rest, uncovered, until more than doubled about 1½ hours. (do not cover the dough this time).
Step 7
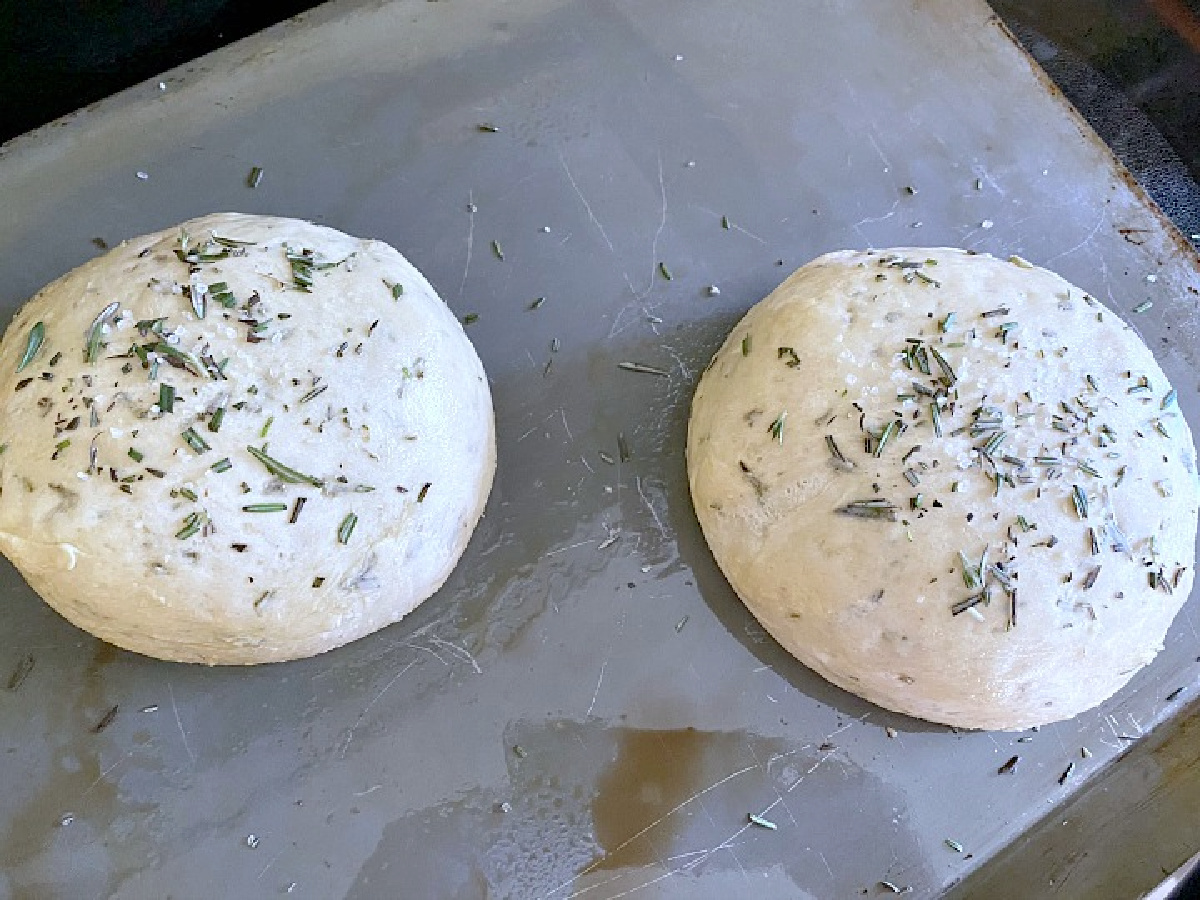
Preheat oven to 400 degrees. Bake in preheated oven for 10 minutes, remove from oven and brush loaves with remaining 1 tablespoon olive oil and sprinkle tops the remaining 1 tablespoon rosemary and with a bit of kosher salt. Return to oven and bake 10 – 15 minutes longer until golden brown.
Step 8
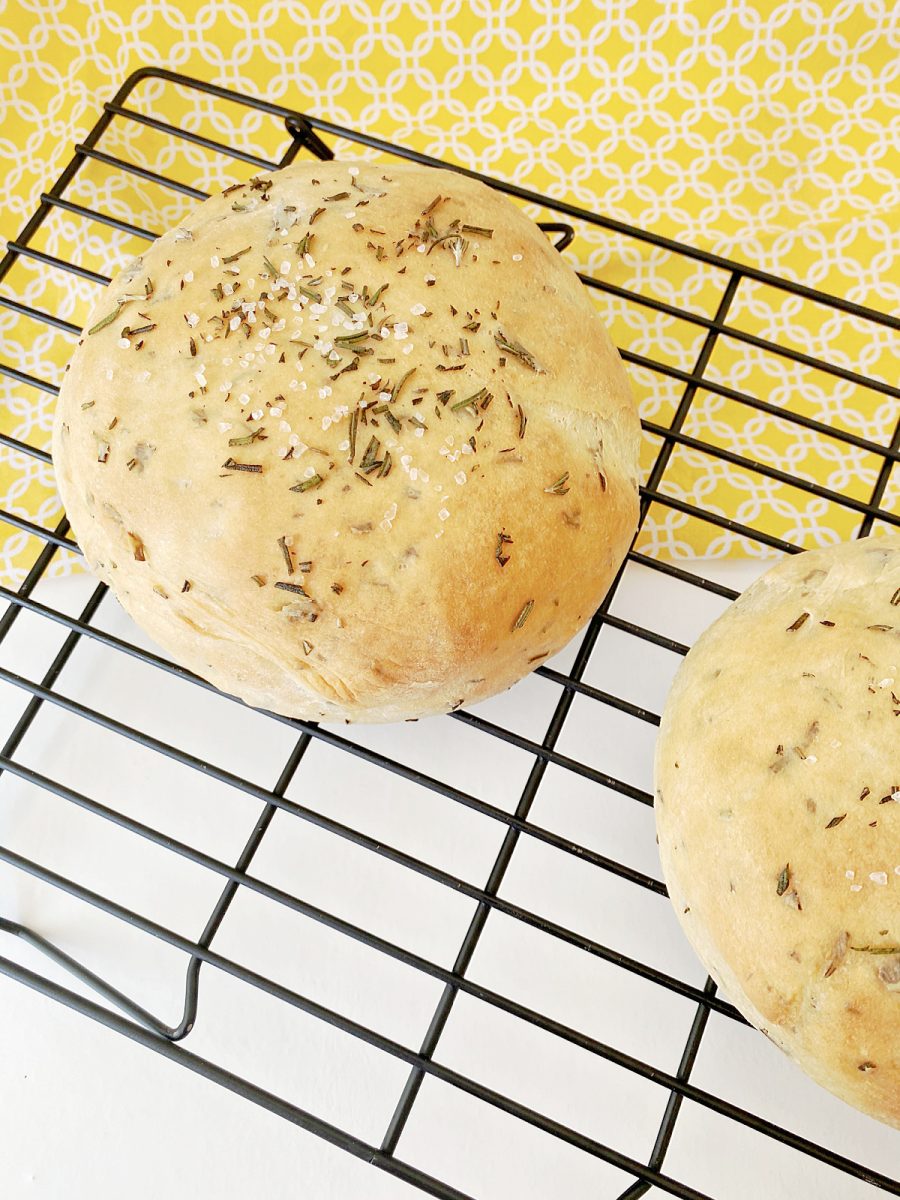
Once it’s done, remove it from the oven and place loaves on a wire cooling rack. Cool a few minutes before slicing and serving.
Be sure to save and print this recipe to make when the craving for homemade goodness hits. It’s a perfect recipe to make for Thanksgiving, Christmas, or for any dinner!
Printable Recipe Card
Homemade Rosemary Bread (Copycat recipe – Macaroni Grill)
Equipment
- KitchenAid stand mixer (comes with a large bowl)
- Large bowl (if your mixer doesn't come with one)
- large baking sheet or two medium ones
Ingredients
- 1 cup warm water 110-115 degrees
- 1 packet of active dry yeast (I like to use Fleischmann's yeast) 1/4 oz packet
- 2 teaspoon sugar
- 2 tablespoon extra virgin olive oil divided
- 2 ½ cups all-purpose flour plus more for dusting
- 3 ⅓ tablespoon chopped fresh rosemary divided
- 1 teaspoon fine salt
- ¼ teaspoon coarse kosher salt optional
Instructions
- In a large bowl of a stand mixer, whisk together ¼ cup water, yeast and sugar until yeast has dissolved. Let rest for 5 minutes.
- Add 1 tablespoon olive oil, the remaining ¾ cup warm water, 1½ cups flour, 3 tablespoons rosemary and fine salt – using the paddle attachment of your stand mixer, blend mixture until combined. I found that using the paddle attachment instead of the dough hook for this step was easier to combine the ingredients. Alternatively, you can mix it with a wooden spoon.
- Switch the paddle attachment on stand mixer to a hook attachment and add in 1 cup flour and knead mixture on medium speed until smooth and elastic. Add additional flour as needed if dough is sticking to bowl.
- Cover bowl and allow to rest in a warm place until more than doubled in size, about 1 ½ – 2 hours.
- Scoop dough out of bowl and divide into two equal portions.
- Spray two baking sheets with non-stick spray or grease them with olive oil.
- Lightly dust a clean work surface with flour and shape each dough section into rounds or ovals while folding tops into the middle and then tucking and pinching seams on the bottom.
- Transfer to prepared baking sheet spacing evenly apart and allow to rest, uncovered, until more than doubled about 1½ hours.
- Preheat oven to 400 degrees.
- Bake in preheated oven for 10 minutes, the remove from oven and brush loaves with remaining 1 tablespoon olive oil and sprinkle tops the remaining 1 tablespoon rosemary and with a bit of kosher salt.
- Return to oven and bake 10 – 15 minutes longer until golden brown.
Notes
Nutritional Disclaimer
“Blogghetti” is not a dietician or nutritionist, and any nutritional information shared is an estimate. If calorie count and other nutritional values are important to you, we recommend running the ingredients through whichever online nutritional calculator you prefer. Calories and other nutritional values can vary quite a bit depending on which brands were used.
Connect with Blogghetti
Be Sure To Follow Me On My Social Media, So You Never Miss A Post!
Facebook | Twitter | Pinterest | Instagram
If you try a recipe, please use the hashtag #Blogghetti on INSTAGRAM for a chance to be featured!
Enjoy!


I’ve never been to macaroni grill so I don’t know their bread. But I do know that homemade bread is just about the best thing ever! My son especially appreciates it. Looks great! Thanks for sharing with See Ya in the Gumbo.
Oh gosh! Now I’m drooling! I am on a fasting day so this is really a test! lol! Love your blog, I’ll be back!
http://littleshackonthehill.blogspot.ca
Hi Lisa,
I want this Rosemary Bread with Dipping Sauce right now, oh my! Thanks so much for sharing with Full Plate Thursday and hope you stay warm and cozy on this cold day.
Come Back Soon!
Miz Helen
Oh Lisa! This bread looks amazing! I’ve got a wonderful rosemary plant in the garden that could use some trimming and this bread is exactly what I’m going to be doing with it! I’m so glad you shared this. Pinning & Tweeting.
These are adorable. Thanks for sharing your fabulous recipes at Foodie Fridays. Hope to see you again this week.
Blessings,
Shari
Where is the recipe for the dipping oil ?
Hi Carmen, the link for the Italian herb dipping oil is in the post, but here is the link: https://blogghetti.com/easy-italian-herb-dipping-oil-tastytuesdays/
Hi Lisa, can I use bread flour to do this bread? Thank you!!
Yes, you can sub bread flour for the all purpose. You may need to add a bit of water if the dough feels too dry. Other than that, you’re good to go.
I just made AND ate the bread, hahahaha. This was so yummy and hubby loved it as well. I also made the herb dip. This was my first time EVER making bread and it was a great experience with a great recipe.
Such a delicious bread recipe!
How do you keep it afterwards? Container? Foil? Fridge?
Thank you!
IF I have any leftover slices, I store them in a Ziplock bag
This recipe was so good. I will probably make it often. It was definitely easy to prepare.
I’m glad you enjoyed it!
Great easy recipe!
Something went wrong? Came out of the oven flat? Not sure what happened?
I’m sorry the bread didn’t turn out. Was your yeast fresh? Or was the water too hot or too cold? That all makes a difference for the dough to rise correctly.
Can I make this in a bread machine? Would I need to change anything?
I haven’t made this in the bread machine, so I am not sure if anything would change.
I’ve made this several times and my family loves it so much. The recipe is easy to follow and the bread is tasty! I will say it rises much better in the spring/summer than it did back in the winter when my kitchen didn’t get quite as warm, but it has been great every time. It’s my go-to bread recipe for every occasion!
I agree with the warmer weather bread dough does rise much better. In the winter I will turn my oven on to like 350 and place my bowl with towel over it on TOP of the stove. The warmth of the oven helps the bread rise quite well. I have also been known to take my dough to a warmer room in the house, like upstairs in my office and it does well too.
I was just going to suggest this! I actually just had my oven set to warm and had my dough on top, turned out great. Actually, I have tried making bread several times – this was my best yet!
Can you double the recipe easily?
It’s so easy that way isn’t it?!
thank you so much for this amazing recipe! my first time baking bread and it was probably the best thing i’ve ever baked. can’t wait to make it again!
I am so happy to hear this Alexa!
My first time making bread and this recipe was absolutely AMAZING!!! Easy directions and the bread was so tasty! Can’t wait to make it again.
I’m so glad it turned out! Thank you for the comment too!
Just made this bread today and it is fabulous!! Thank you so much for this recipe! I’ve never made homemade bread and what a great one to start with!! Question: can I freeze the extra loaf?
Thank you for trying the recipe and I’m so glad it came out good for you. Yes, you can freeze the extra loaf!
This is one of the most delicious homemade breads that I’ve ever had! Thank you so much for the recipe!
You’re welcome and thank you! It’s one of our favorites.
Lisa, this bread looks delicious! Sharing the recipe with my daughter who is the bread maker in the family!
You’ll love it! It’s so easy to make!
I love a good copycat recipe! Can’t wait to try this!
I don’t make bread often but this is the one recipe I can do well