Ice Cream Cone Nutter Butters

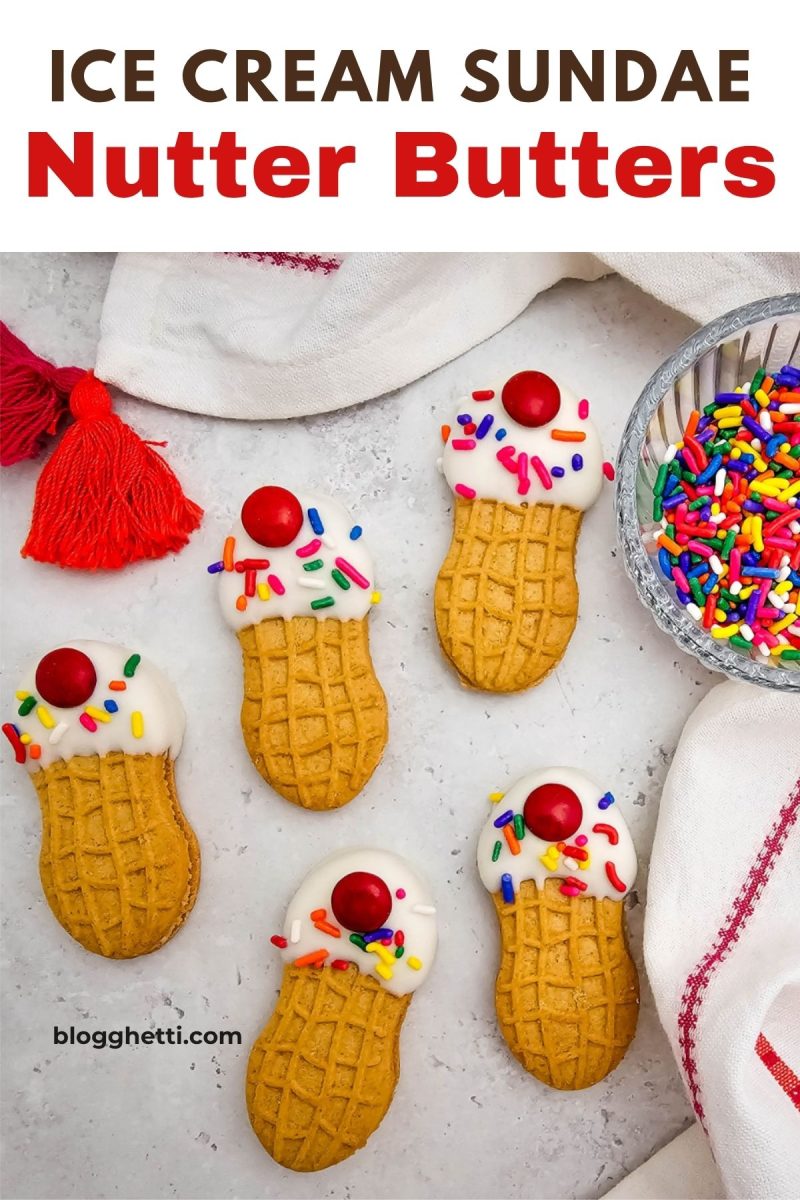
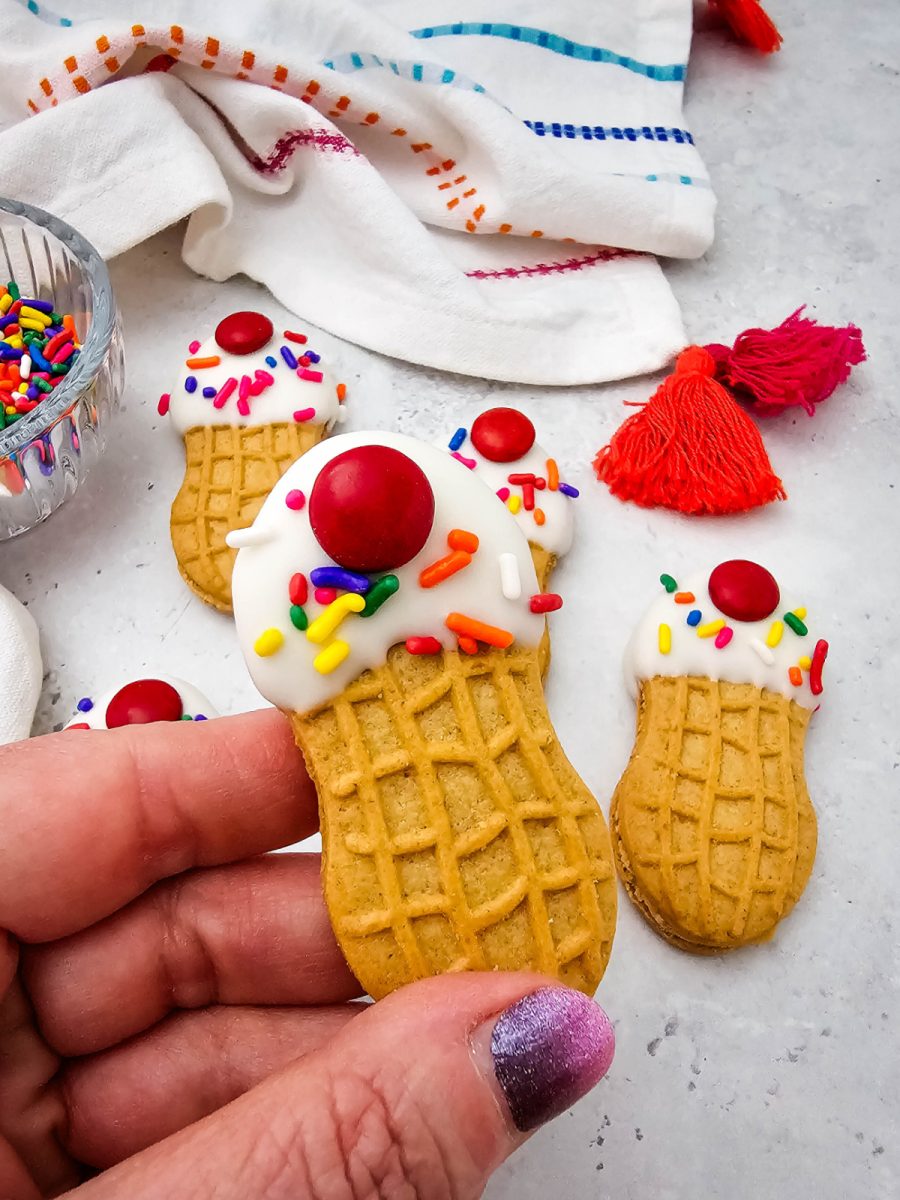
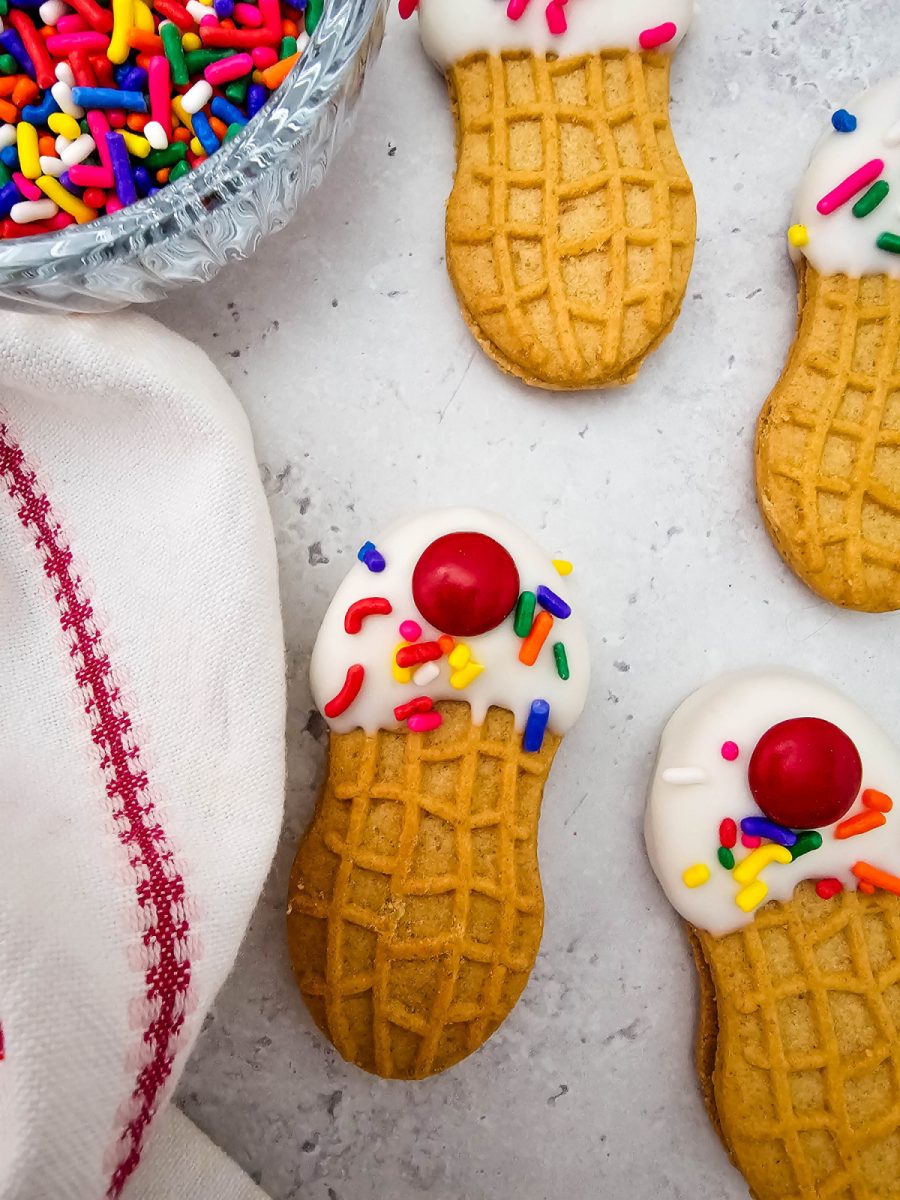
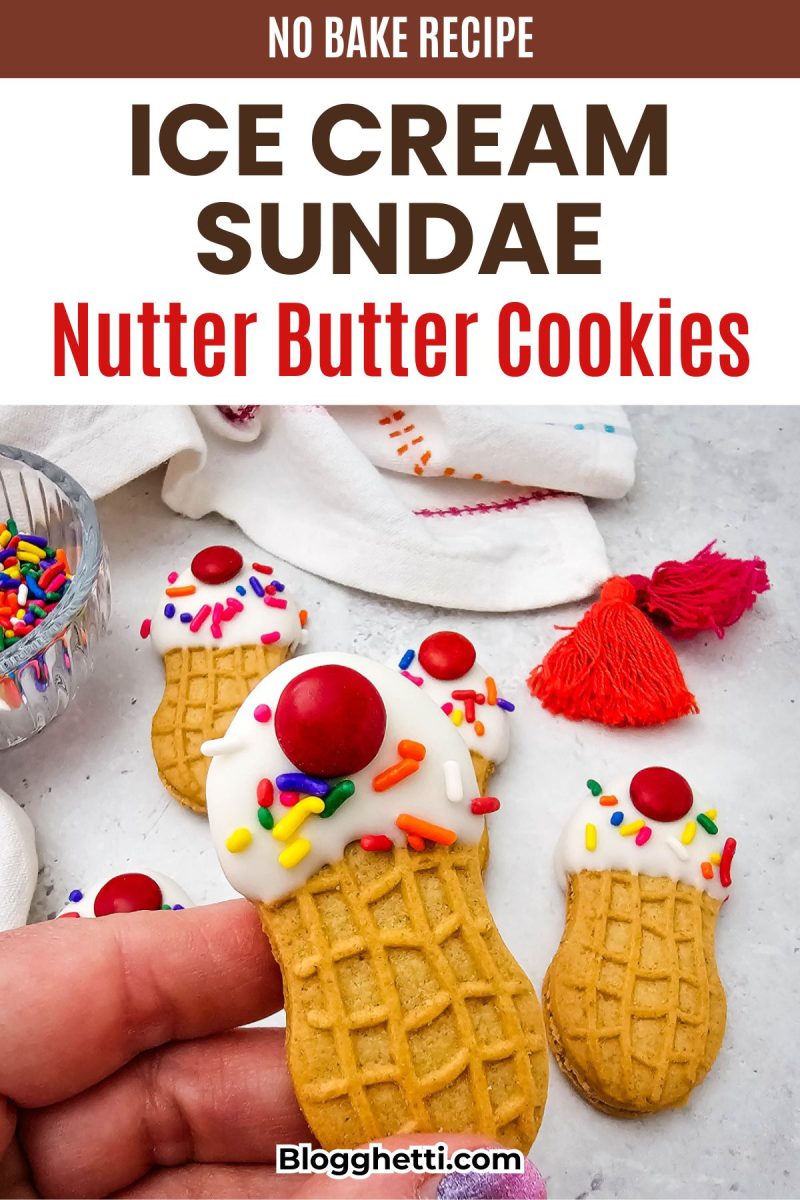
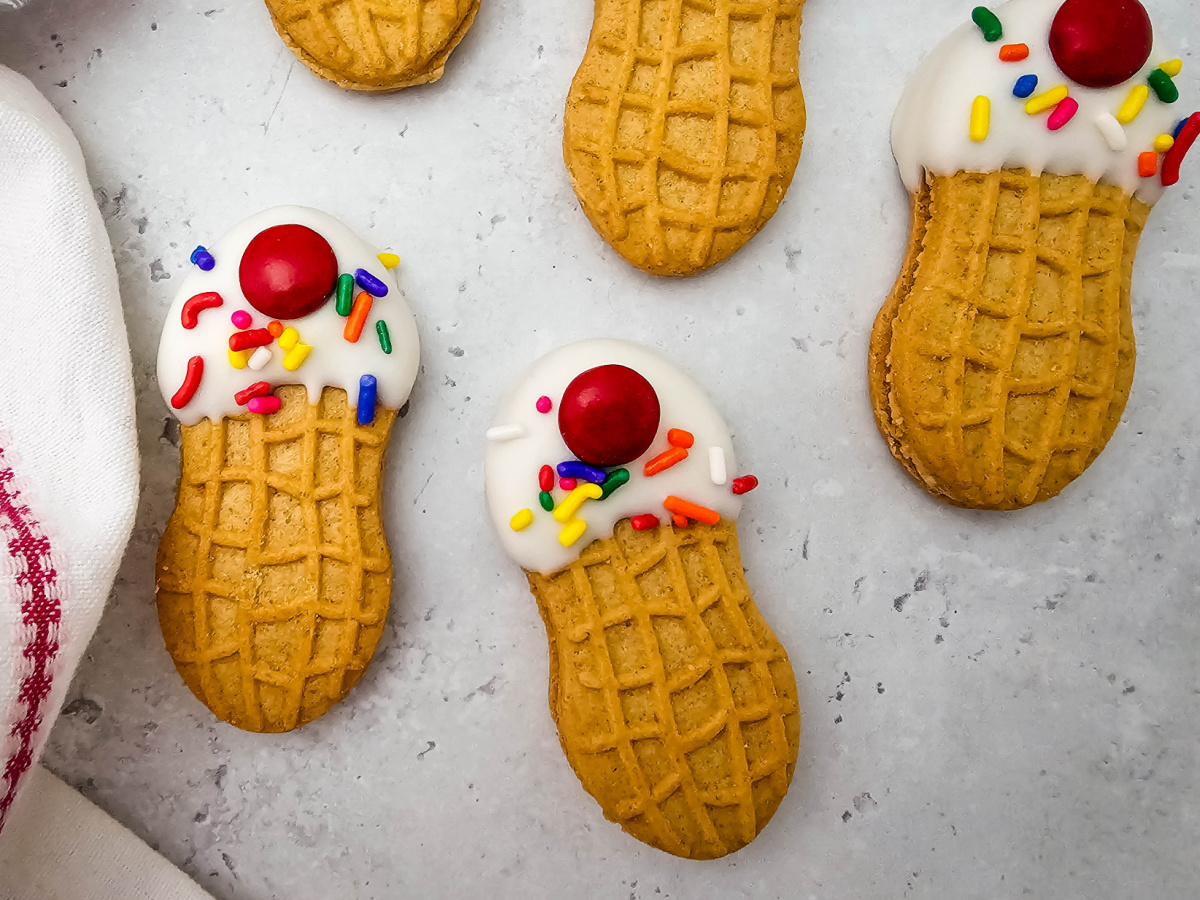
Ice Cream Cone Nutter Butters are such a fun little no-bake treat for birthdays, summer parties, and dessert trays. These Nutter Butter Decorated Cookies come together with just a few ingredients and take hardly any time to make. Once decorated, they look like tiny waffle cones topped with vanilla coating, sprinkles, and a cherry, just like a classic sundae
This simple recipe transforms a classic peanut butter sandwich cookie into an adorable miniature sweet treat in just a few minutes. They’re great for making ahead for birthday parties, summer cookouts, or when you need something cute without spending hours in the kitchen. Plus, everybody always grabs one because they’re just too fun to pass up.
Turning store-bought sandwich cookies into fun characters is always a huge hit. These summer-inspired treats join a great lineup of creative treats I’ve made over the years. From festive holiday favorites like Grinch Nutter Butter Cookies and Angel Nutter Butter Cookies to spring treats like my Bunny Nutter Butters, these are always the first things to disappear from the dessert table. This summer dessert idea is just as quick to assemble and guarantees the same fun reaction at your next birthday party.
Ice Cream Cone Nutter Butters
These decked-out sweets are about as easy as it gets since you’re just using store-bought sandwich cookies and melting wafers. You don’t have to bake a single thing, so you can jump straight into the easy assembly. The classic peanut butter flavor also cuts down on the sweetness of the candy coating and sprinkles, so they taste just as good as they look.
This no-bake recipe is a lifesaver for hot summer days when you want a fun treat without heating up the entire kitchen. It’s also an easy project to do with kids since they can handle all the dipping and decorating themselves. You end up with a fun, impressive-looking dessert that only takes a few minutes to throw together.
Timesaving Tips and Variations
The cookies are easy to customize, which is part of what makes them so fun for parties, holidays, and last-minute treats. A few small changes can completely shift the look or flavor without adding extra work.
- Change the topping: Swap the red candy for a red hot cinnamon candy for a fun spicy “cherry” twist.
- Make them extra colorful: Use seasonal sprinkles to match holidays, school events, or party themes.
- Drizzle it up: Add a light drizzle of melted chocolate over the top once the coating sets for a bakery-style finish.
These little adjustments keep the recipe simple and fun, no matter what you’re making them for. It’s an easy way to get a completely different look each time without changing the base recipe.
What to Serve with Nutter Butter Cookies
These no-bake sweets look great on dessert tables and party spreads. They pair perfectly with summer desserts, frozen treats, and fun party snacks. Since they’re smaller treats, they’re easy to serve alongside other sweets.
- No Churn Vanilla Bean Ice Cream
- Mini Chocolate Raspberry Cupcakes
- Fruit and Rice Krispies Treat Kabobs
- Best Oreo Milkshake
- Summer Charcuterie Board
They also look adorable stacked on a serving tray with extra sprinkles scattered around them. They’re especially fun for themed birthdays and summer cookouts.
Frequently Asked Questions
Store the cookies in an airtight container at room temperature for up to five days. Keep them in a cool spot so the candy coating stays firm. If your kitchen is warm, place parchment paper between layers to prevent sticking.
Yes, these are great for making ahead for parties and holidays. You can easily prepare them a day or two before serving. Just keep them stored in a sealed container until you’re ready to serve them.
The secret to perfectly melted candy is low heat and patience. Microwave the wafers in microwave-safe bowls at half power in short bursts, stirring thoroughly between each interval to prevent overheating or burning.
This post may contain Amazon or other affiliate links. As an Amazon Associate, I earn from qualifying purchases. For more information, see my disclosure policy.
Tools to Make Decorated Nutter Butter Cookies
You don’t need much to make these easy, fun treats. A few simple kitchen basics help the decorating process go quickly and keep cleanup easy. Having everything ready before you start makes the process even smoother.
NutriChef 3-Piece Nonstick Kitchen Oven Baking Pans Glass Mixing Bowls with Lids Set of 5(4.78QT,2.2QT,1.7QT,1.1QT,0.85QT),Thick Glass Nesting Bowls for Kitchen Baking,Cooking Prep,Storage,Serving,Large Salad Bowls,Dishwasher Microwave Freezer SafeCake Mate Rainbow Sprinkles with resealable lid – Delicious Dessert Sprinkles for Ice Cream, Cookies, Baked Goods, Donuts 10.5 oz TubM&M’s Milk Chocolate Candy, Party Size, 2.4 lb Resealable Bag for Parties, Baking & SharingWilton White Candy Melts, 12-OunceReynolds Kitchens Stay Flat Parchment Paper Roll, Non Curling Baking Parchment Paper for Baking and Cooking, Oven Safe up to 425 Degrees, 36 Feet x 15 Inches, 45 Total Sq. Ft.Summer Bliss Pastel Ice Cream Plastic Serving Tray – 1 Count – Perfect Dessert Platter for Outdoor Celebrations



Ingredients for Ice Cream Cone Nutter Butters
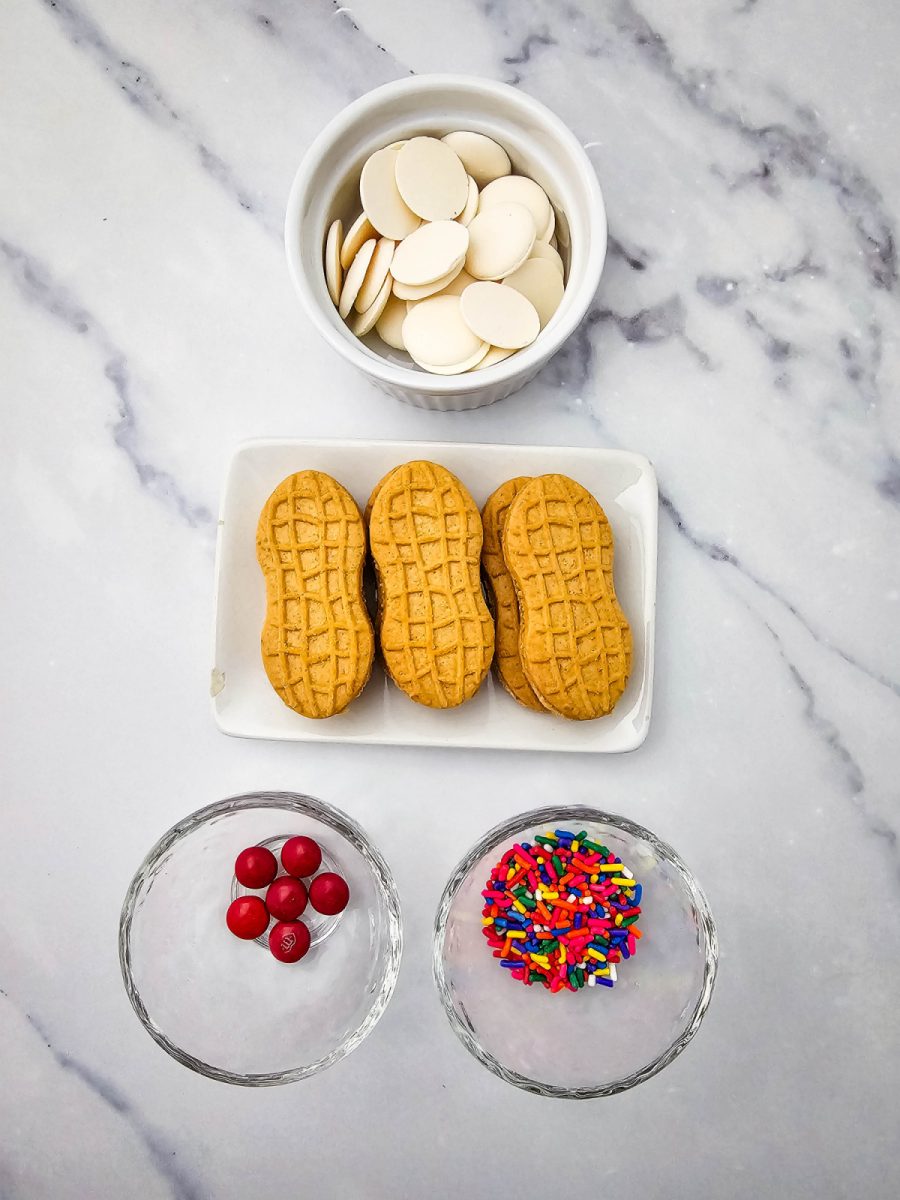
You only need four simple ingredients to make these fun party treats. Everything is easy to find and comes together in just a few minutes. Each component plays a specific role in creating the look of a tiny summer sundae.
- Nutter Butters: The peanut butter sandwich cookies create the perfect cone shape for this recipe.
- White melting wafers: This smooth confectionery coating melts down beautifully to create the illusion of melted vanilla topping.
- Red M&Ms: These bright chocolate candies act as the perfect sweet “cherry” to top off the little party treats.
- Rainbow Sprinkles: Colorful jimmies add a festive touch of brightness and a fun texture, completing the party look.
How to Make Ice Cream Cone Nutter Butters
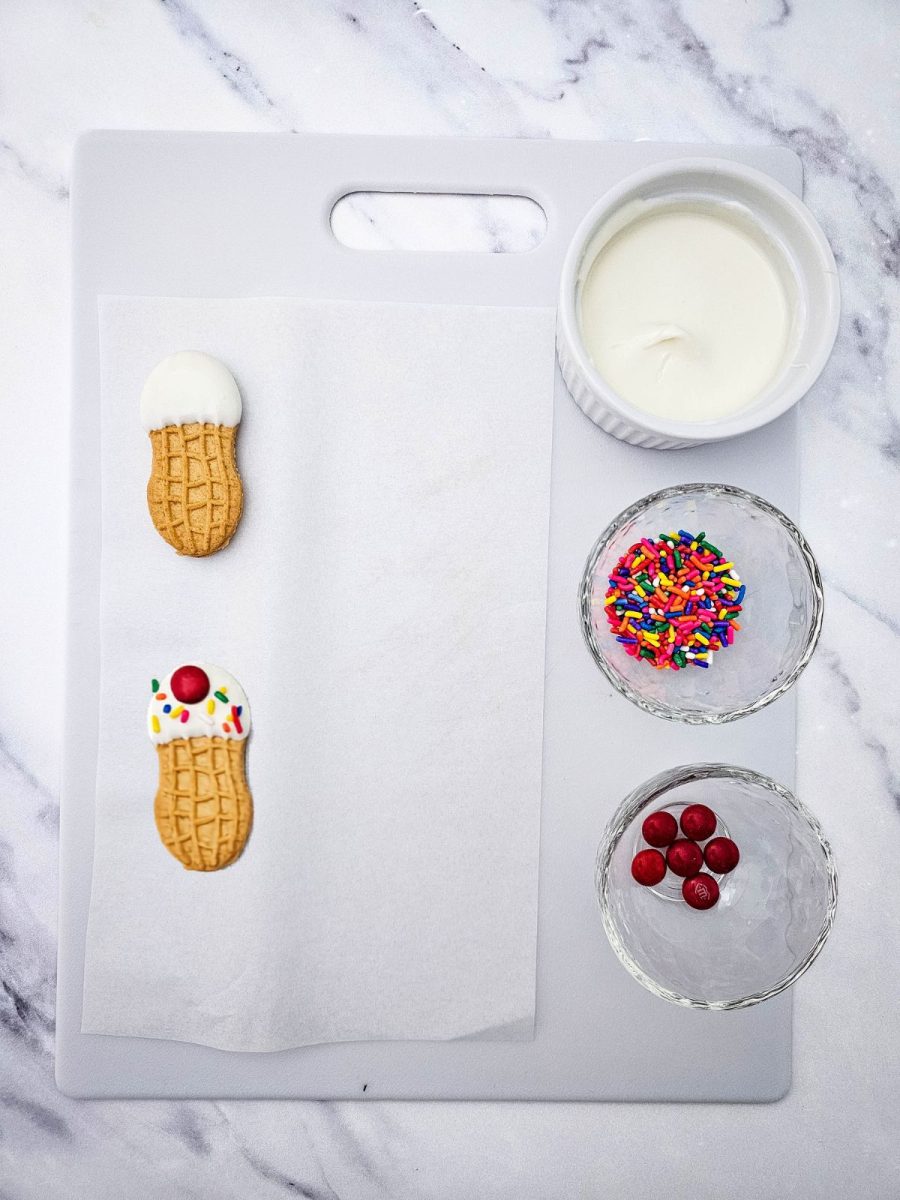
Line a tray with parchment paper. Melt the white candy melts in a microwave-safe bowl in 30-second increments until melted, stirring between each heating session.
Dip one end in the melted candy, about an inch in. Set on the parchment paper. Put a red M&M candy in the top center, then add sprinkles. Let the coating fully set before serving or storing.
Pair a taco charcuterie board with these sweet bites for an easy, fun, and simple meal perfect for busy nights. It’s a great way to put together a low-stress dinner and dessert without spending hours in the kitchen.

Ice Cream Cone Nutter Butters
Equipment
- small bowl
- spoon
Ingredients
- 6 Nutter Butter Cookies
- ⅓ cup white candy melts
- 6 Red M&Ms
- 2 teaspoons rainbow sprinkles
Instructions
- Line a small baking sheet, tray, or large plate with parchment paper and set it aside so the cookies have a place to dry after decorating.
- Add the white melting wafers to a microwave-safe bowl and heat in 30-second intervals, stirring well after each heating session until the candy coating is smooth and fully melted.
- Dip one end of each Nutter Butter cookie into the melted coating about one inch deep, letting any excess drip back into the bowl before placing the cookie onto the prepared parchment paper.
- While the coating is still wet, place a red M&M candy near the top center of the coated section to resemble a cherry on top of an ice cream sundae. Immediately add rainbow sprinkles over the melted coating.
- Allow the cookies to sit at room temperature until the coating is completely set. For faster drying, place the tray in the refrigerator for a few minutes before serving or storing.
Nutritional Disclaimer
“Blogghetti” is not a dietician or nutritionist, and any nutritional information shared is an estimate. If calorie count and other nutritional values are important to you, we recommend running the ingredients through whichever online nutritional calculator you prefer. Calories and other nutritional values can vary quite a bit depending on which brands were used.
Enjoy!