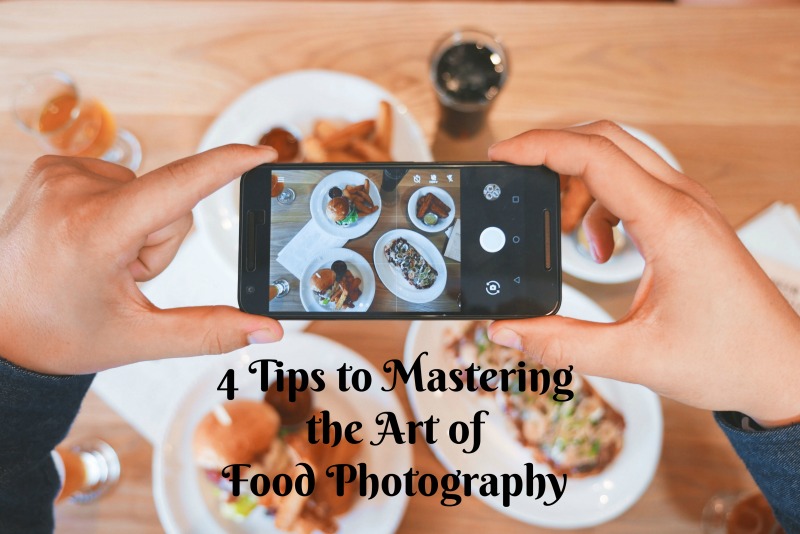
4 Tips to Master the Art of Food Photography
Food photography is one of the most challenging types of photography but with a few easy tips you can be on the way to snapping pictures that will have your audience drooling over your latest dish!
Guest post by Katie Kapro
Okay. So I’ve been watching The Great British Baking Show. A lot. Like, three full seasons in two weeks a lot. One of the most magical parts of the show is at the end of each challenge, just before judging, when all of the bakers bring their creations to the gingham table and the camera pans over them, illuminating each bake in all its perfection (or all its disastrous crumbledom, depending on how things panned out for the baker). The satisfaction that an audience gets from this moment is all due to the very simple tenets of food photography.
Making the best of these simple elements can take your food blog, Instagram feed, or wherever you like to share your culinary art successes, to the next level.
It doesn’t require a fancy camera. A high-quality smartphone camera will do the trick, something with at least five megapixels. Of course, there are real benefits to professional gear, but unless you’re selling your images to magazines, you really shouldn’t need to sweat it.

Lighting
The very first aspect of taking good food photos is to know how to manipulate the lighting. A candlelight dinner might look appealing when you’re sitting at the table, but the ambiance does not translate to the screen. Even the most delicious delicacies will look sad bathed in shadowy orange light.
The ideal lighting for food photography is indirect, natural light. Diffused sunlight is bright but soft and really lets the detail and texture of the food shine through. It may be tempting to take photos in a nice patch of sun, but trust me, it just doesn’t work. Direct light washes everything out and casts sharp shadows that are generally quite unflattering. As a rule of thumb, if it’s not light you personally would want to be photographed in, don’t subject your recipes to it. We all have things we’d rather not highlight: for humans, it’s cellulite; for cheese, cellulose. We’ve got your back, cheese.
If your kitchen doesn’t have just the perfect natural, diffused light, don’t lose hope. There are plenty of tricks to get it there. If you suffer from too much direct light, simply pin a white sheet over the window. This will soften the light and save your recipes from the dreaded wash-out. Artificial lights can also work wonders for indoor food photography. The key is to avoid too much overhead illumination and find a bulb with just the right color temperature. The cooler the better, generally speaking.
If things are still a bit too dark, Lindsay from Pinch of Yum suggests setting a crisp, white napkin just beneath your dish. This will help give you a point of reference when you’re adjusting your white balance later during editing.
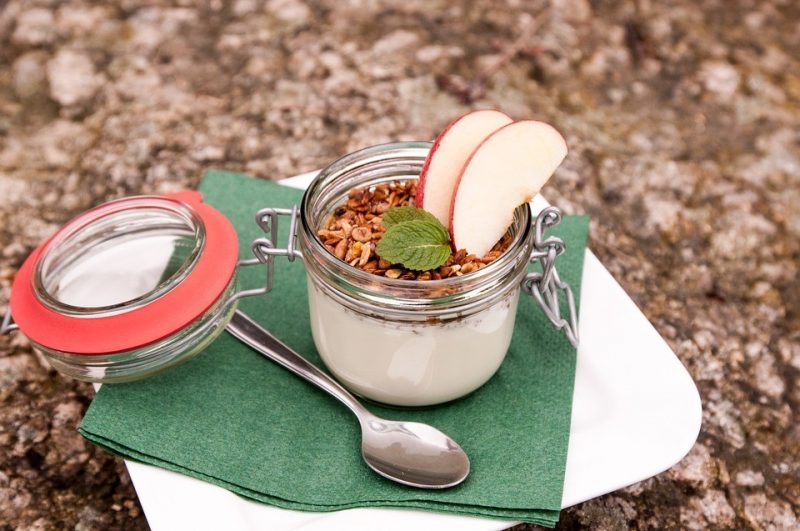
Composition
Composition is an art term for how you arrange the stuff you’re taking photos of. If there’s no composition, it’s just a blob of stuff. That said, as with most things artistic, if you have an argument for why that blob is important, you might be able to pull it off. In food photography, we rarely get the chance to defend our composition choices because it’s such a visceral art form. If it looks gross, people are going to close the tab and that’s that.
Basically, composition is important.
The most useful composition rule of thumb for photographing food, or anything for that matter, is known as the rule of thirds. Imagine your frame has a grid overlaying it, splitting it into nine squares like a tic-tac-toe board. As you’re finding just the right angle for your shot, place the important elements of your picture along those grid lines or at their points of intersection. Then snap your photo.
This set-up gives the subject room to breathe, creates a clear focal point for its supporting players, and is just weirdly visually satisfying. Playing around with the rule of thirds is really fun, and is one of the best ways to hone your eye for composition.
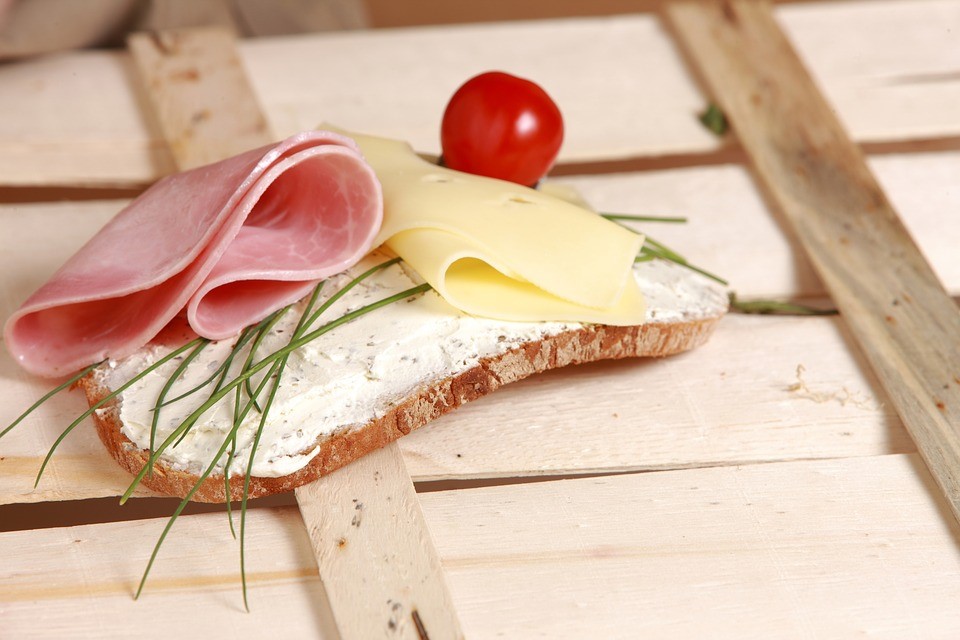
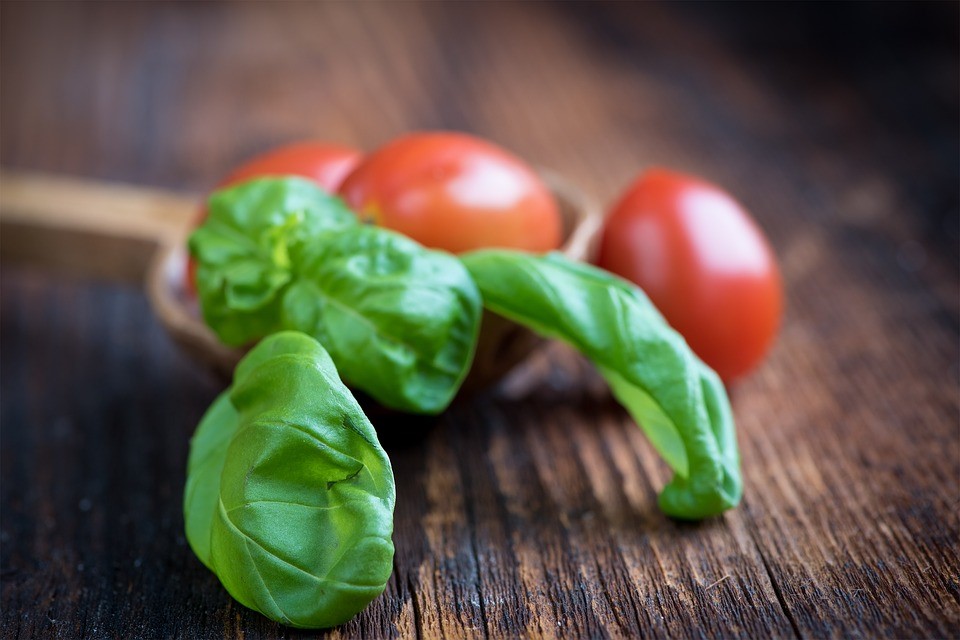
Style
The styling of a food shot is the part where you can really let your creative spirit free. It starts with the plate or dish on which you display your food. Go for complimentary colors and character and make sure it doesn’t outshine the food itself. Also, take care that the size is just right. If you’re showcasing an elegant item, take a cue from the pros and display it on a larger dish. If you’re trying to convey abundance and comfort, use a plate that allows the food to almost overflow its edges. Style is all about drawing upon people’s emotional responses. Let your instincts run the show.
As you’re choosing your accent pieces — napkins, glassware, garnishes, etc. — always keep color in mind. Print out a color wheel and hang it on your fridge. It’s nice to have something to glance at in those moments when you just can’t tell if something is clashing or not.
Throughout the styling process, it’s important to remember that the food is the star. It can often be hard to know when you’ve overdone it on the styling until the photo is edited and finalized. You learn a lot from what you end up cropping out later.
The only way to improve your styling instincts is to take your artistic self seriously and look at the whole world through the lens of artistic style. Almost everywhere you go, there’s something to be learned about style and visual display. Museums are a great place to go to glean new display ideas. Unlike the sometimes overstuffed displays of retail stores — buy this! buy that! buy everythaaaang! — museum displays are unabashedly devoted to focusing on a single item, giving that item a complimentary backdrop that will neither overshadow nor bore, and doing it all with crisp clarity. Rarely will you find an overindulgent museum display.
Editing
The final step in food photography is editing your photos for balance, brightness, contrast, and crop. This step should be a refining of your already great photos. If the light was horrible to begin with, it’s time to go back to the set and take new pictures — over editing almost always shows.
Photoshop is the go-to for photo editing, but there are plenty of great free editing programs out there too. If you don’t want to invest in Photoshop quite yet, try out free editing software first. You may find you don’t need to go for the complex, expensive option.
Adjusting the white balance will keep you from having photos with a weird tint. This is where it’s helpful to have a neutral or white element to the photo so it can be the anchor for your balance. Next, adjust the light levels so that the lightest elements of the photo are pure white and the darkest, pure black. Make sure not to lose detail in this step, otherwise you’ve gone too far. The second-to-last step in editing is to adjust the contrast and saturation. Be wary of using a heavy hand in this step unless you’re going for an unconventional, edgy look that’s more about the treatment than the food. Once you’ve got your image all balanced, crop it to just the right size and be sure to save it not only as a.jpg, but also as a .raw or .psd file that will allow you to go back in and edit every little element later if you need to.

Off you go to share your glorious food photography!
Throughout the learning process, take it easy on yourself. Mastering the art of food photography is all about trial and error. Just remember, when you take a horrible photo, there’s really no need to publish it like these guys did. Keep it in a folder that you can look through later, once you’re a total pro, and laugh at the journey it took to get there.


