Red, White, and Blue Nutter Butter Cookie Pops

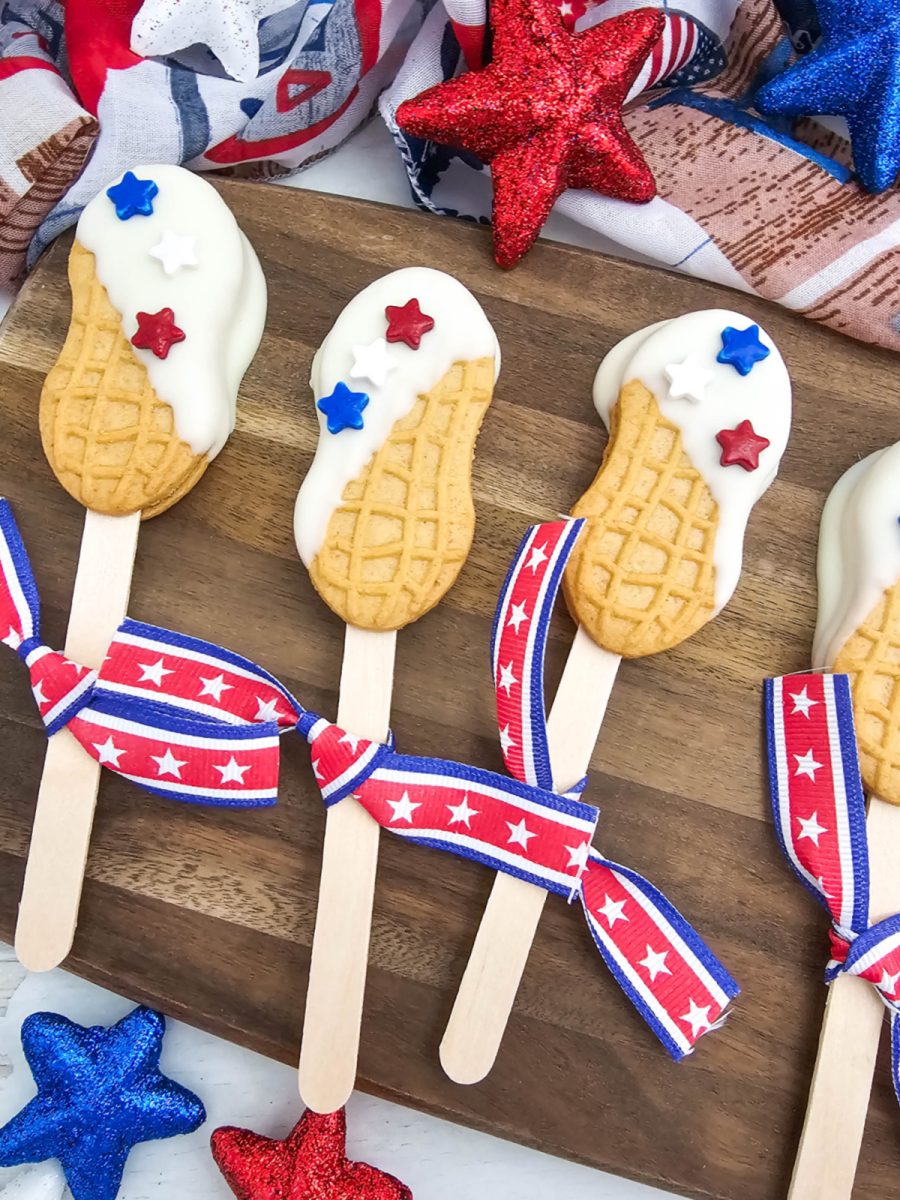
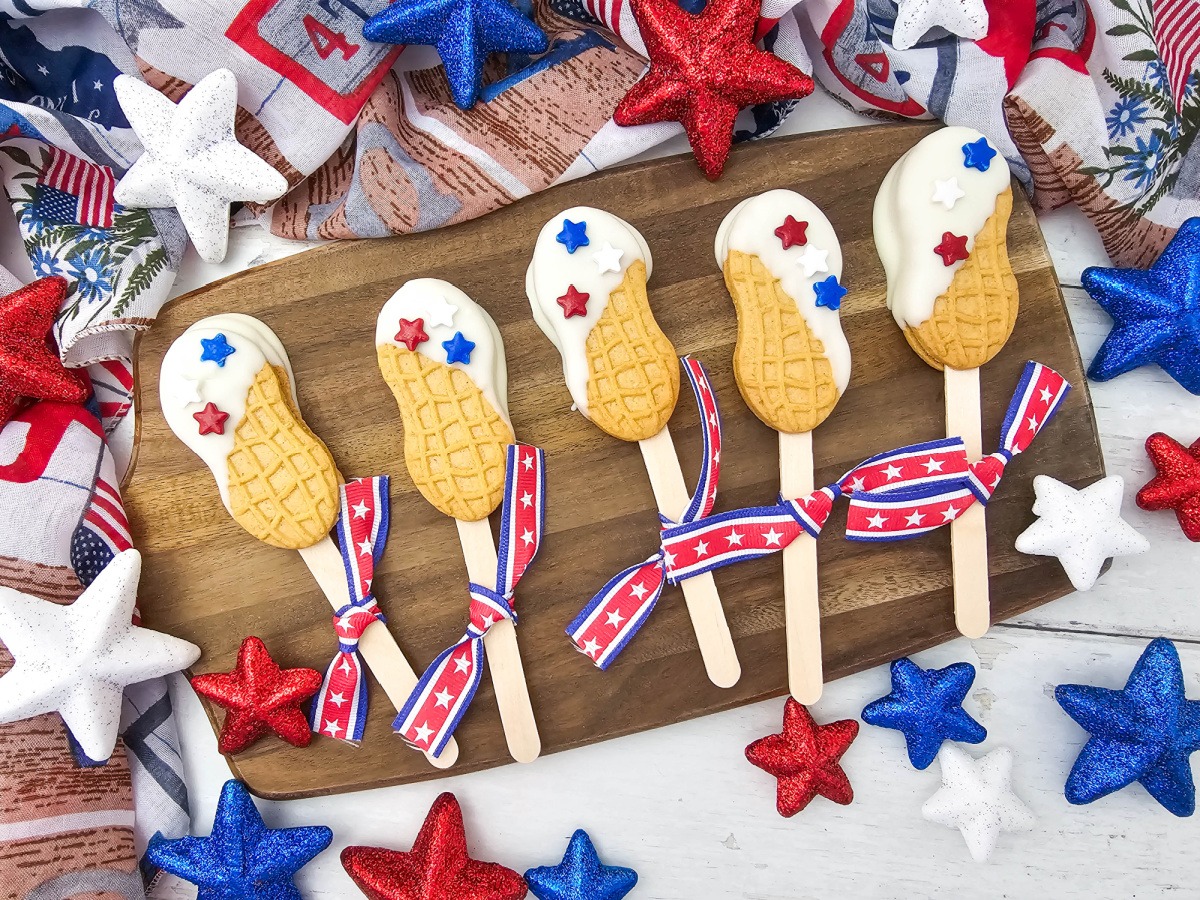
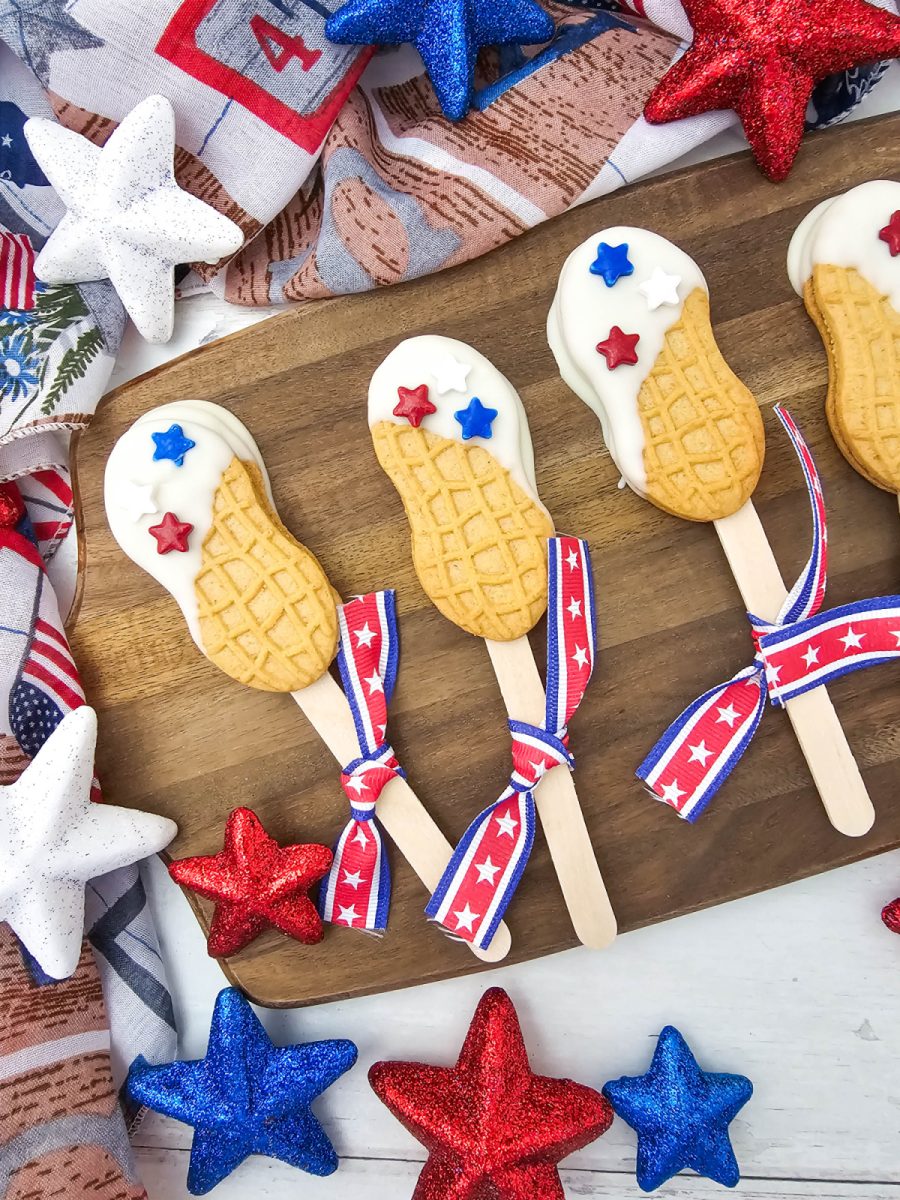
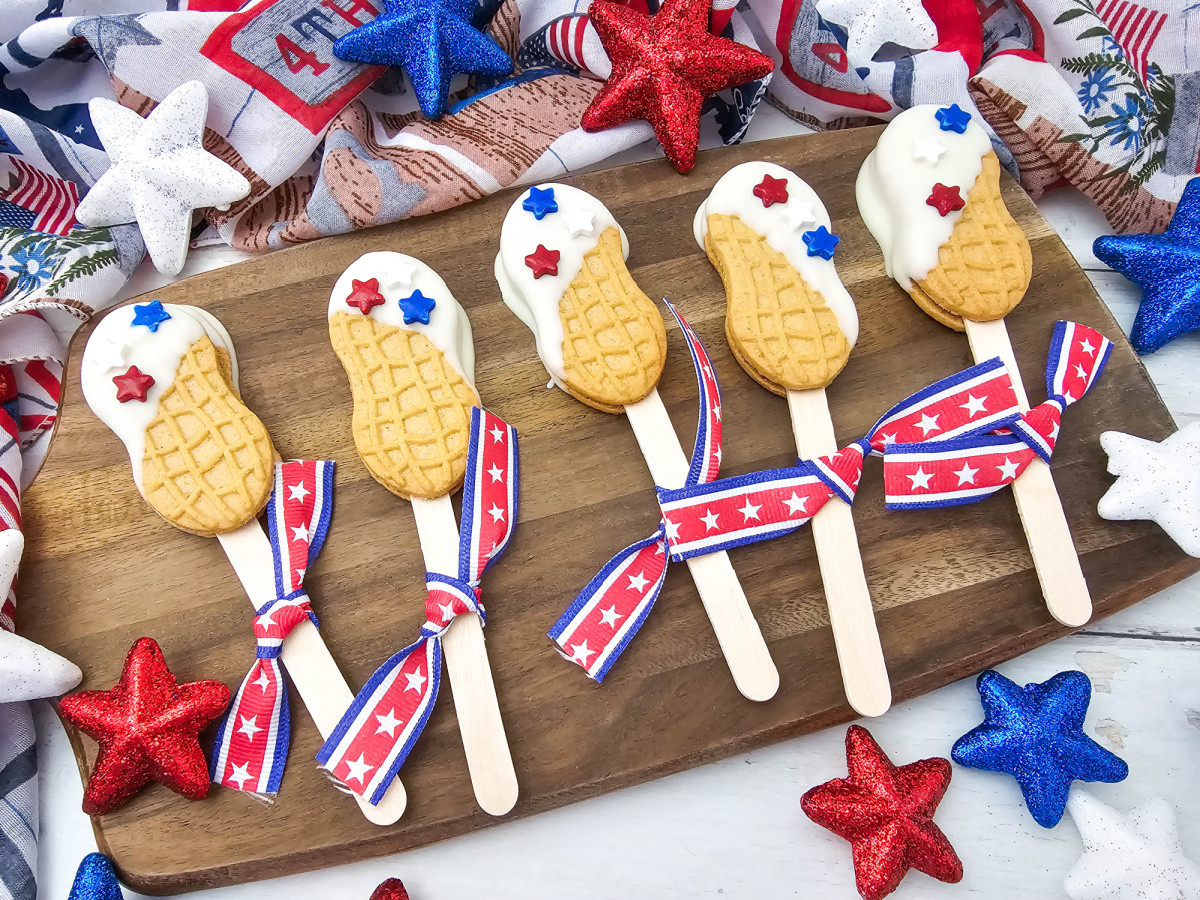
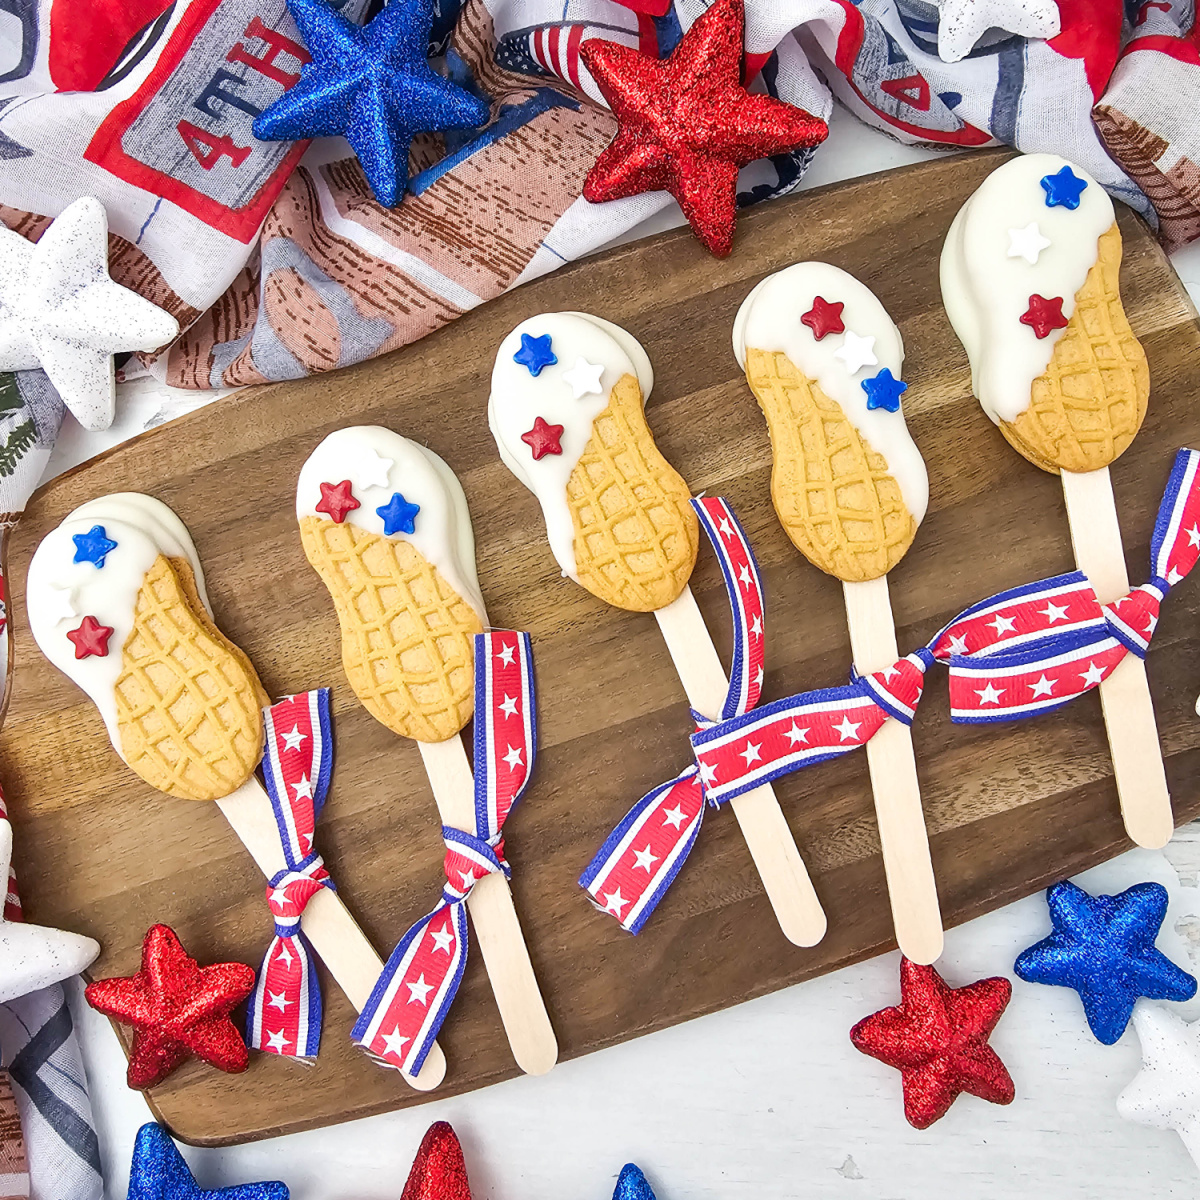
Red, White, and Blue Nutter Butter Cookie Pops are one of those treats that somehow steal the whole dessert table without trying too hard. These adorable white chocolate dipped peanut butter cookies are another fun way to make my Nutter Butter Decorated Cookies, and they hit that sweet and salty spot everyone goes for at a holiday picnic. Nothing complicated, nothing fussy, just fun little treats that never last long once they’re set out.
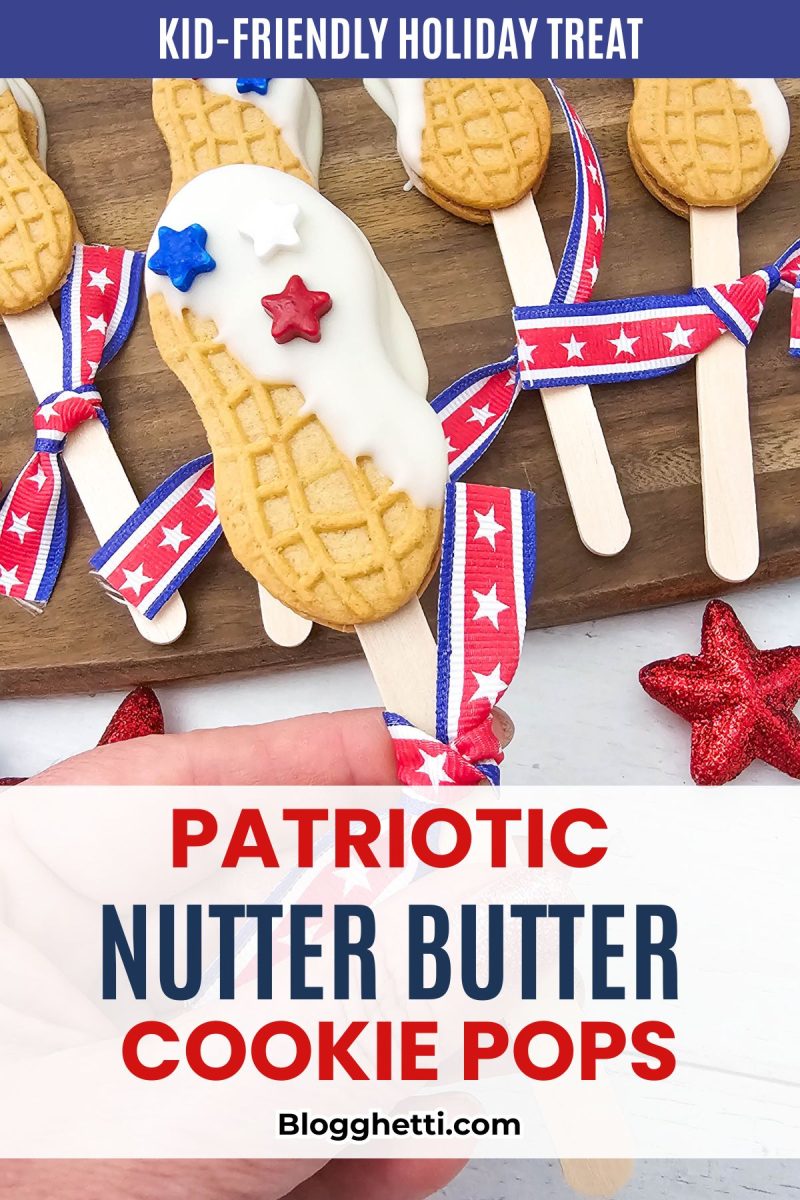
They’re the kind of treats that fit right in at Memorial Day cookouts, Fourth of July parties, and laid-back backyard gatherings. The popsicle stick makes them easy to pick up and enjoy without any mess, and that little ribbon detail gives them just enough charm to feel special without adding extra effort. It’s a simple no-bake idea that delivers big on presentation, even though it comes together in just a few easy steps.
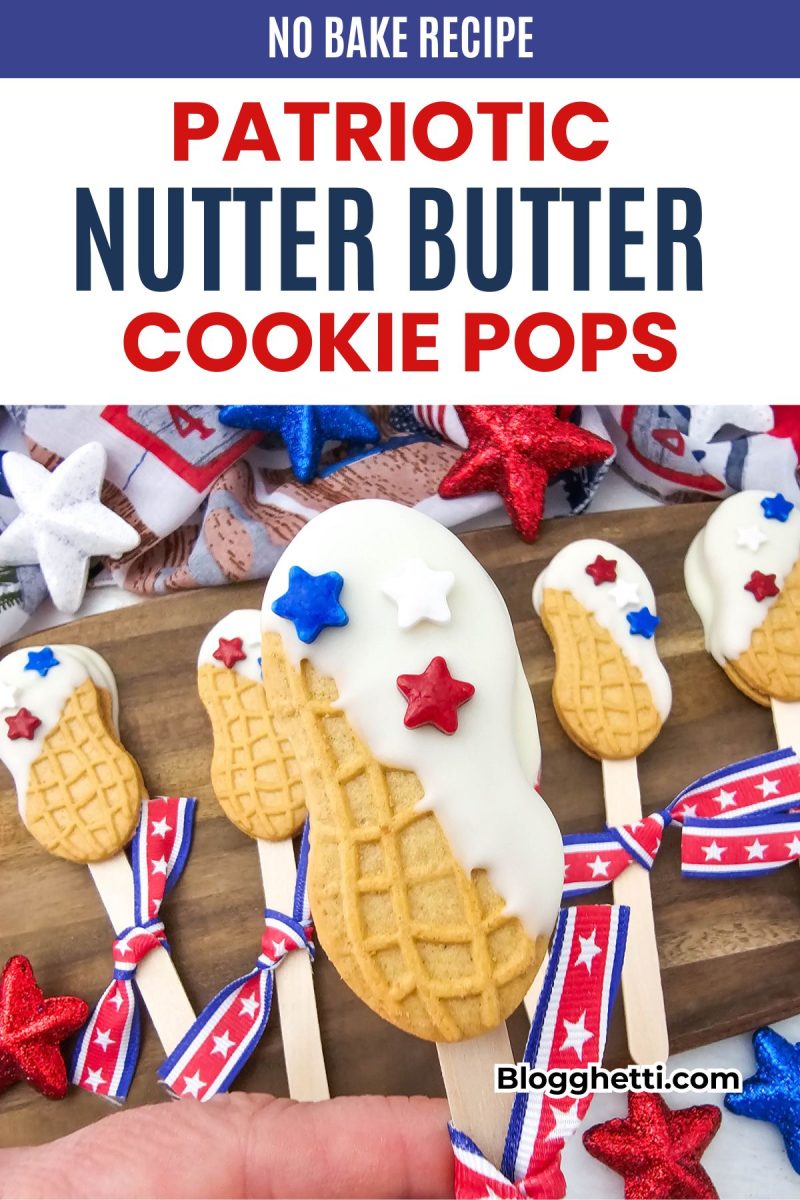
Red, White, and Blue Nutter Butter Cookie Pops always remind me how often simple ideas turn into my favorite last-minute treats. I actually had some leftover ingredients after making Ice Cream Cone Nutter Butters, and that’s really what led me to make these treats. It’s usually how things go in my kitchen; one idea just rolls right into another.
When I want to pull a 4th of July holiday table together, this Festive and Easy Patriotic Charcuterie Board is my absolute go-to. It’s packed with fun candies and sweets that add instant flair without any fuss. It looks great sitting right alongside my Firecracker Bundt Cake, which naturally becomes the star of the table with tons of holiday color and zero hassle.
Red, White, and Blue Nutter Butter Cookie Pops
You’ll love how simple it is to put these patriotic cookie treats together for summer parties. This no-bake recipe uses basic store-bought peanut butter sandwich cookies and white candy wafers, so you get a really cute look without needing any actual baking skills. Just add a lollipop stick and a little ribbon, and you’ve turned a regular pantry snack into something that looks festive and fun.
The smooth vanilla coating balances out the rich peanut butter perfectly, giving you a great little crunch with every bite. Since it’s so easy and forgiving, it’s a perfect kitchen project if you have little helpers who want to drop the star sprinkles on top. It’s just a quick, fun treat that keeps things completely stress-free when you have people over.
Timesaving Tips and Variations
You don’t need to spend all weekend in the kitchen just to make something cute for a party. These quick shortcuts and easy swaps will help you knock out a big batch of these in no time, giving you a really fun, custom look for your table while making sure you still get to actually enjoy the day.
- Pre-chill the cookies – Put the sandwich cookies in the refrigerator for ten minutes before inserting the wooden sticks to prevent the peanut butter filling from separating.
- Microwave in short bursts – Heat your candy melts at fifty percent power in thirty-second intervals to ensure a smooth texture without scorching the chocolate.
- Swap the candy base – Use standard white chocolate chips with a teaspoon of coconut oil if you do not have traditional candy wafers on hand.
- Add a colorful drizzle – Melt extra red or blue candy wafers to drizzle bright lines across the white coating before adding your star decorations.
What to Serve with These Cookies
If you need a few more ideas to add to your menu for a summer gathering, these sweets are perfect for rounding out the table. Here are a few specific ideas that look great sitting together on a holiday spread:
- Easy Fruity Watermelon Pizza
- Mixed Berry Chocolate Chunk Ice Cream
- Strawberry Hibiscus Iced Tea Recipe
- Red, White, and Blue Chocolate Covered Strawberries
- Strawberry and Blueberry Lemon Bars
Mixing in some fresh fruit treats, a scoop of homemade ice cream, and a cold iced tea makes the whole table look so good. It gives you a beautiful, colorful spread, and everyone gets to pick exactly what they want to try.
Frequently Asked Questions
Yes, you can absolutely prepare these treats up to three days before your event. Just store them in a single layer inside an airtight container in a cool, dry room.
Yes, almond bark works well for coating the cookies if you prefer using it instead of candy melts. Melt it slowly so it stays smooth and easy for dipping. White chocolate melting wafers can also be used.
No, these cookie pops can stay at room temperature after the coating sets. If your kitchen is very warm, you can refrigerate them briefly to keep the candy coating firm. Just avoid storing them somewhere humid.
This post may contain Amazon or other affiliate links. As an Amazon Associate, I earn from qualifying purchases. For more information, see my disclosure policy.
Recommended Tools for Making Easy Cookie Pops
You don’t need much to make these easy, fun treats. Just a few simple kitchen basics help the decorating go by quickly and keep things completely mess-free.
Premium Nonstick Baking Sheet Pans – Set of 3, Heavy-Gauge Carbon Steel, Warp, Dent, and Rust-Resistant Glass Mixing Bowls with Lids Set of 5(4.78QT,2.2QT,1.7QT,1.1QT,0.85QT),Thick Glass Nesting Bowls for Kitchen Baking,Cooking Prep,Storage,Serving,Large Salad Bowls,Dishwasher Microwave Freezer SafeKTOJOY 100 Pcs Craft Sticks Ice Cream Natural Wood Popsicle Craft Sticks 4.5 inch Length Treat Ice Pop Sticks for DIY CraftsRed White and Blue Sprinkles – 6.53oz Patriotic 4th of July Sprinkles for Cake Decorating, Jimmies Nonpareils Stars Sanding Sugar Mix, Edible Cake Sprinkle for Baking Decor, Cookie, Cupcake, Ice CreamMorex Ribbon 93603/20-914 Striped Grosgrain Ribbon 5/8Amazon Basics Non-Stick Parchment Paper for Baking, Cooking, Oven Safe, 15 inches, 90 Sq Ft Roll, 1 PackAnyDesign 12Pcs Patriotic Plastic Serving Tray Red Blue White Rectangle Serving Dish 4th of July Dessert Display Tray Platter with Wavy Edge for Independence Day 250th Anniversary Table DecorWilton White Candy Melts, 12-Ounce



Ingredients for Red, White, and Blue Nutter Butter Cookies
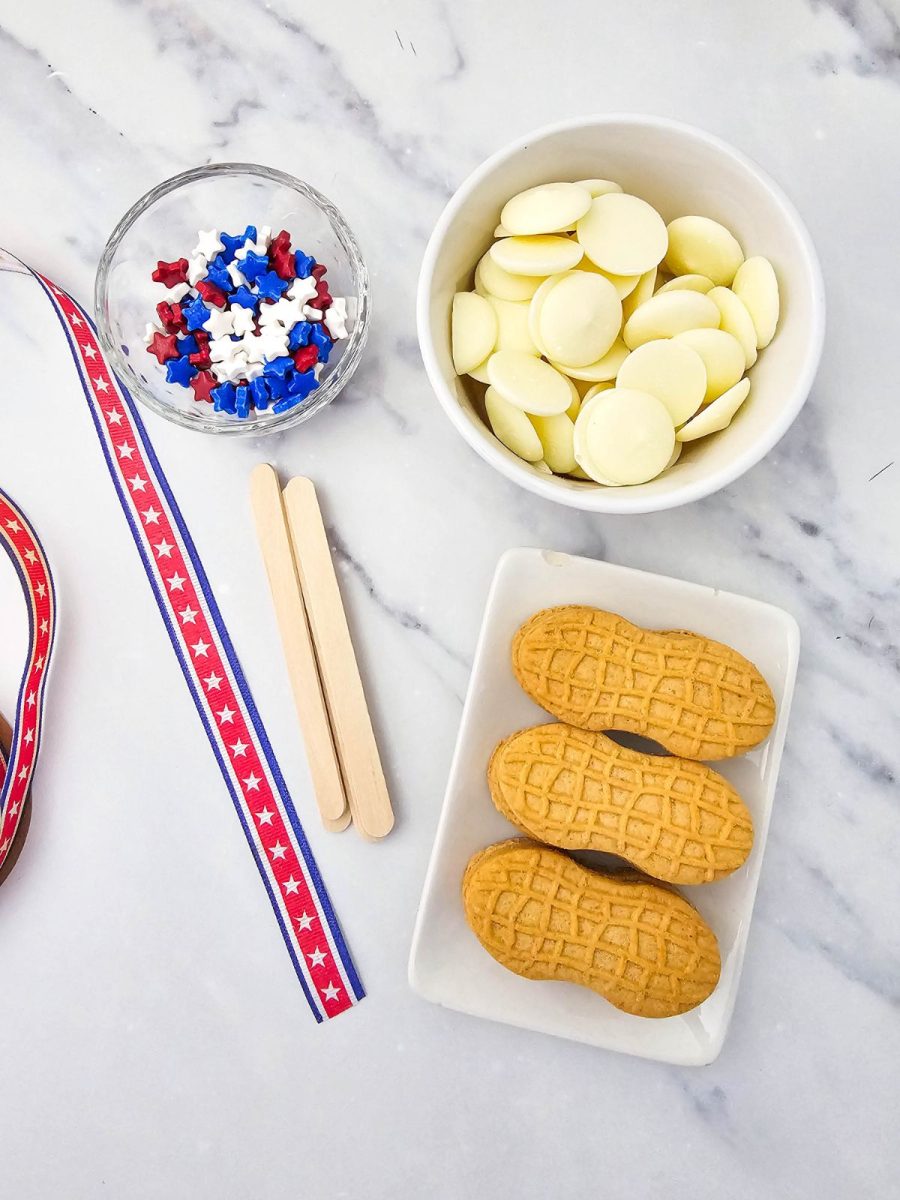
These Red, White, and Blue Nutter Butter Cookie Pops only take a few simple ingredients, which is what makes them such an easy holiday treat to pull together.
- Nutter Butters – These classic peanut butter sandwich cookies provide the perfect crunchy, salty base for your pops.
- White candy melts – These melt down into a perfectly smooth vanilla coating that hardens quickly without any fuss.
- Star sprinkles – A combination of red, white, and blue stars adds the perfect patriotic flair to each treat.
- Popsicle sticks – These create a sturdy handle for your cookies to make them easily portable for party guests.
- Ribbon – A festive red, white, and blue patterned ribbon ties everything together for a beautiful finish.
How to Make Red, White, and Blue Nutter Butter Cookie Pops
Line a baking sheet with parchment paper and set it aside. Gently insert a popsicle stick into one end of each cookie and place them on the tray. Melt the candy coating slowly until smooth and ready for dipping.
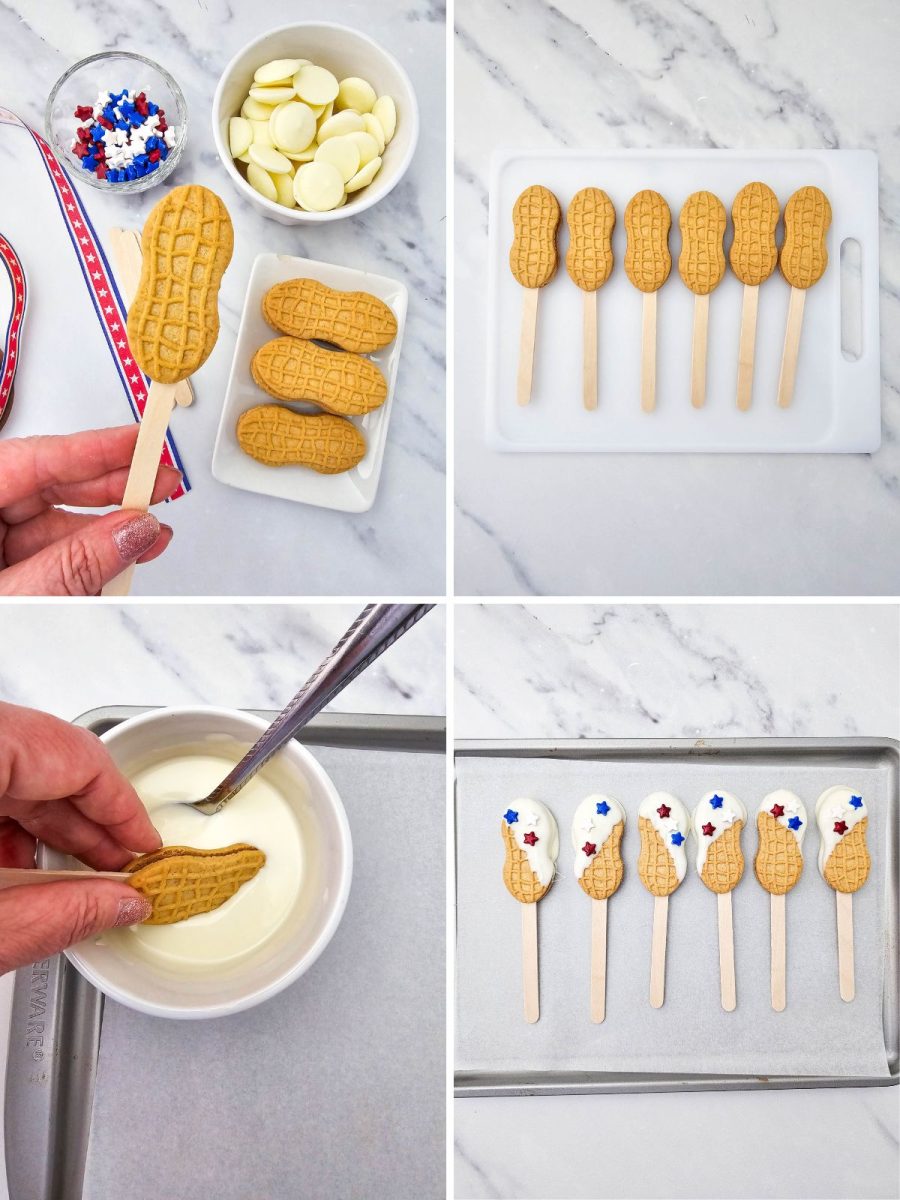
Dip each cookie, then place it back on the tray and quickly add one red, one white, and one blue star while the coating is still soft. Let everything set completely, then finish each pop with a tied ribbon before serving.
Serve a scoop of Reese’s Peanut Butter Cup Ice Cream with these cookie pops. It keeps that peanut butter flavor going while adding something cold and creamy to balance out the sweet crunch of the cookies.
Red, White, and Blue Nutter Butter Cookie Pops
Equipment
- Small microwave safe bowl
Ingredients
- 6 Nutter Butter Cookies
- ¾ cup white candy melts
- 18 star sprinkles (one each of red, white, and blue)
Instructions
- Prepare your workspace: Line a large baking sheet with a clean sheet of parchment paper or a silicone baking mat so your dipped cookies have a non-stick surface to dry on, which makes cleanup a breeze later.
- Insert the sticks: Carefully twist a popsicle stick into the soft peanut butter center of each Nutter Butter cookie, making sure to go slow so you don't crack the outer cookies, then lay them flat on your prepared tray.
- Melt the candy wafers: Add your white candy melts to a microwave-safe bowl and heat them in short thirty-second bursts, giving it a good stir each time until the mixture is completely smooth and creamy.
- Dip and decorate: Hold a cookie by the stick and dip the top half straight into the melted white candy, let the extra drip back into the bowl, then immediately press your red, white, and blue star sprinkles into the wet coating before it hardens.
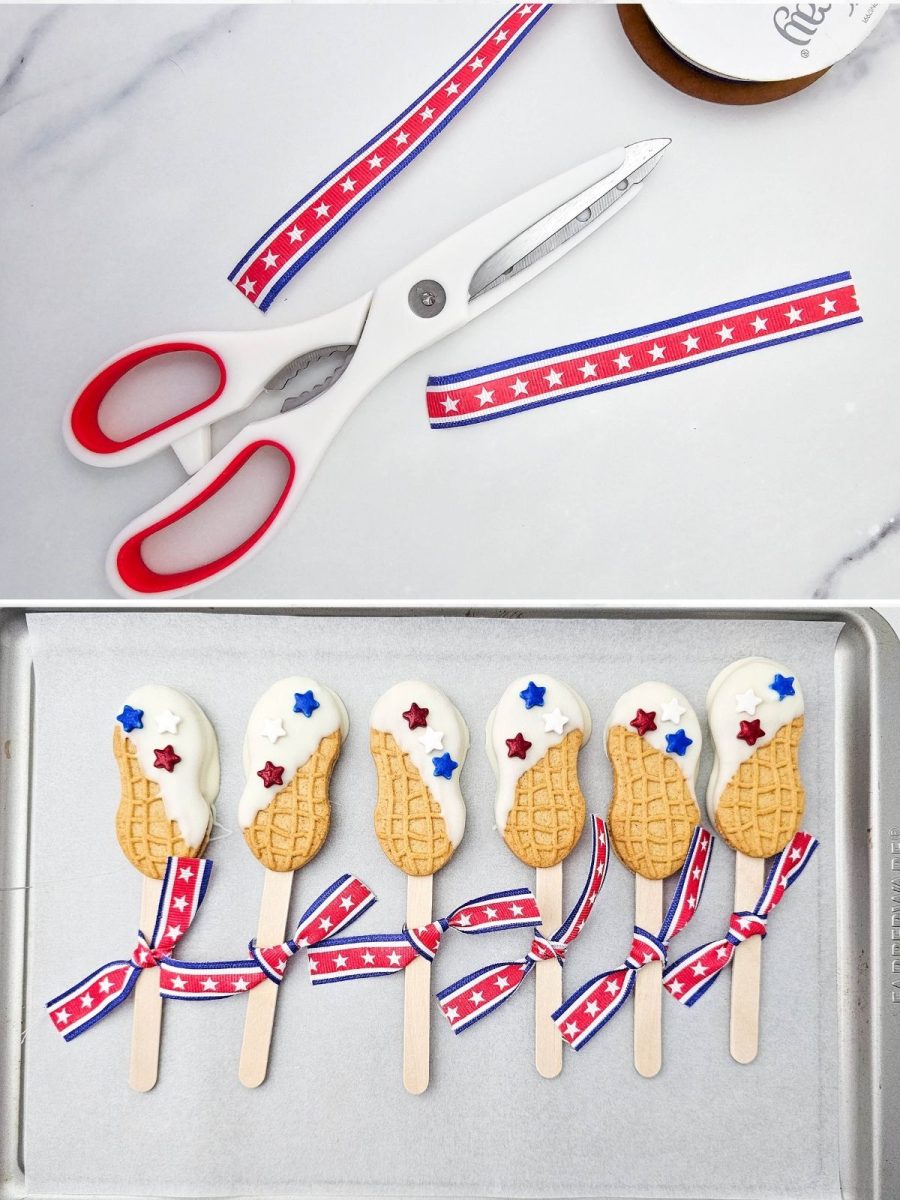
- Tie the ribbons: Once the candy coating is completely dry and set, cut your patriotic ribbon into short strips and tie a neat little bow right around the base of each popsicle stick handle to finish them off.
Nutritional Disclaimer
“Blogghetti” is not a dietician or nutritionist, and any nutritional information shared is an estimate. If calorie count and other nutritional values are important to you, we recommend running the ingredients through whichever online nutritional calculator you prefer. Calories and other nutritional values can vary quite a bit depending on which brands were used.
Enjoy!