Christmas Butter Cookies
Christmas Butter Cookies are a holiday tradition and are easy to make and require no cookie press. With their melt-in-your-mouth texture and buttery flavor, they are a wonderful treat to bake and share during the holiday season. Cookie recipes like this are perfect for holiday gifts, dessert trays, or simply satisfying your sweet tooth.
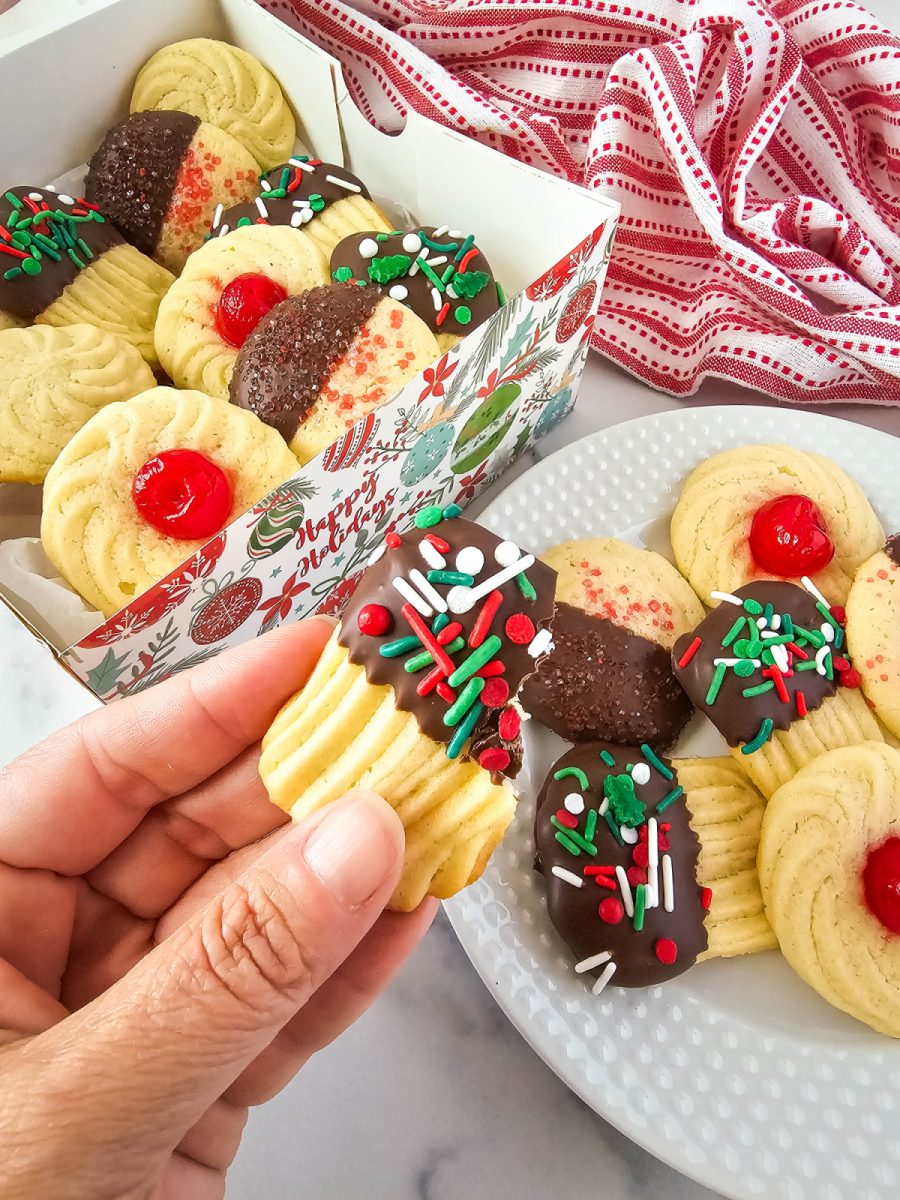
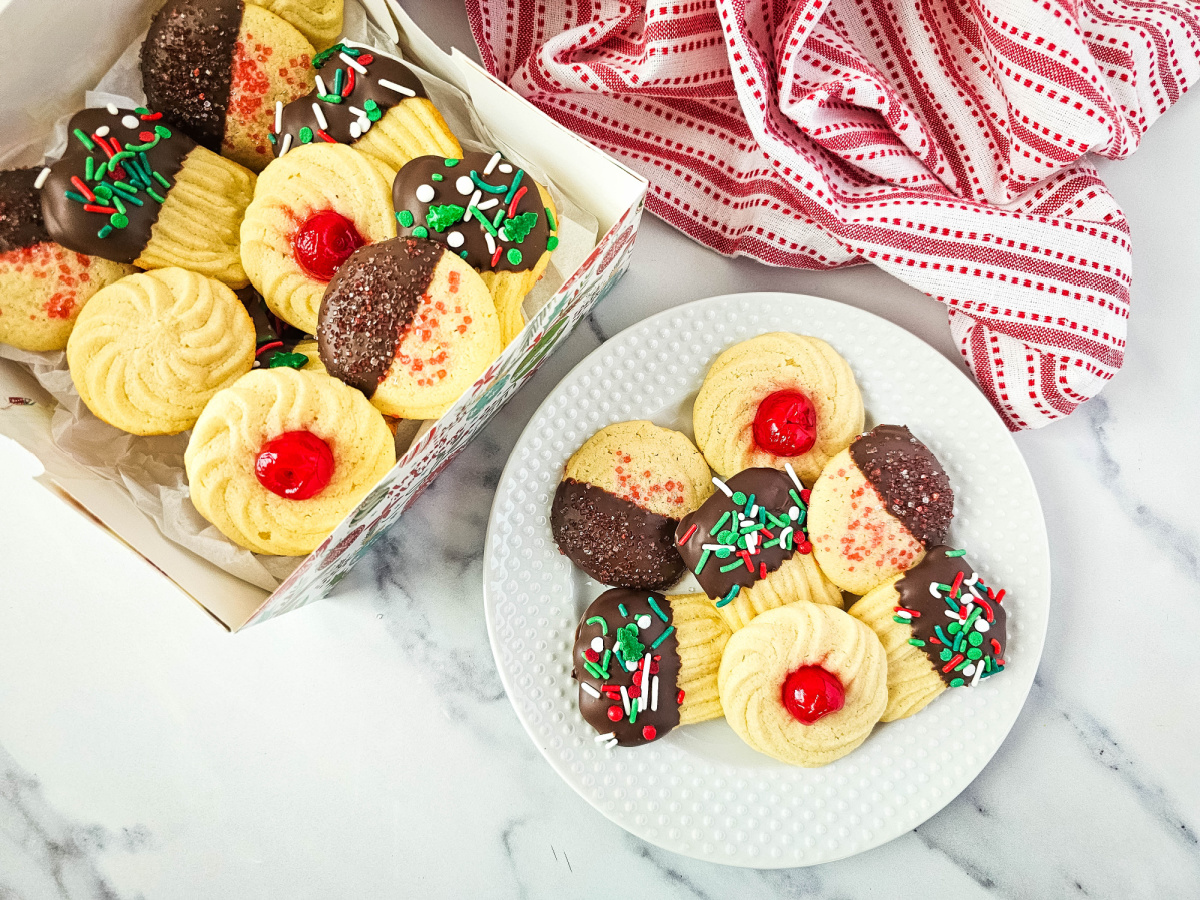
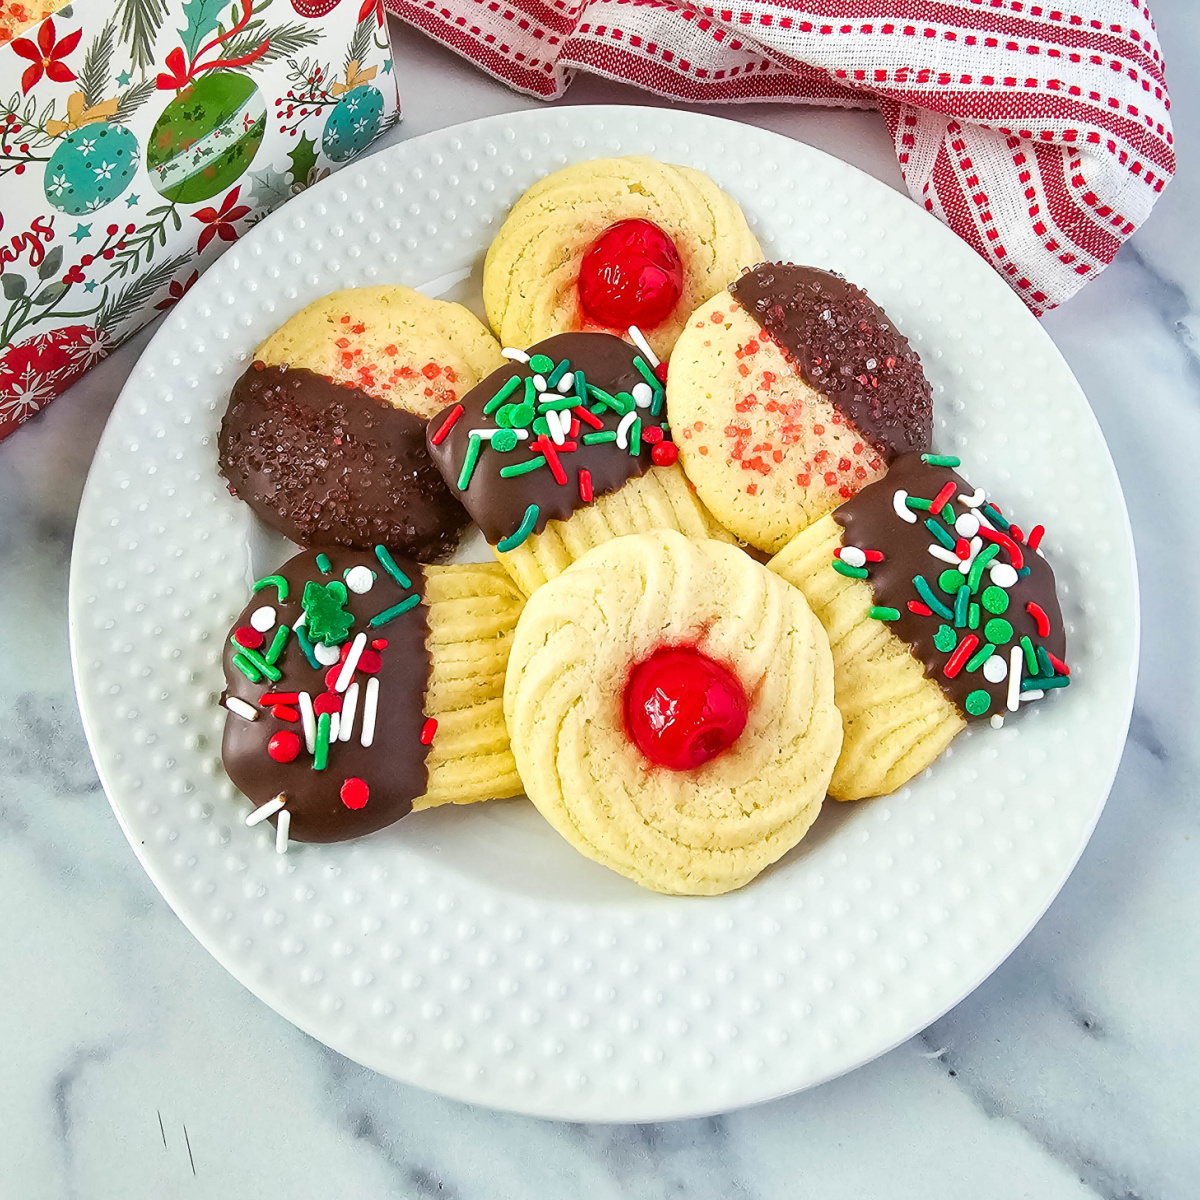
These delectable bites, also called Danish butter cookies, are festive with sprinkles; some are even chocolate-dipped. During the holiday season, they can be bought in the familiar blue tin but baking them from scratch is simple and fun. The shapes and decorations of the baked treats are a favorite part of Christmas celebrations.

When I made these Christmas Butter Cookies the first time, I was asked where the blue tin was and I had to chuckle. This meant I succeeded in baking the perfect creamy bite of goodness. They’re just as delicious as my Eggless Butter Cookies. I call that a definite win!
Christmas Butter Cookies
The cookies are made with simple ingredients that when combined create creamy bites of deliciousness. The recipe is straightforward and does require a bit of time to make and the dough does need to chill once you pipe the shapes onto the baking sheet. The result is worth the time!
Timesaving Tips and Variations
- Have all your ingredients set out before starting and read through the recipe steps.
- Prepare some space in your refrigerator for your baking sheets so they can chill for 20 minutes.
- Be sure your butter is at room temperature before mixing the dough.
- Get creative with your shapes and decorations.
- Melt white chocolate to use to dip the baked crisps.
- Omit the almond extract and add another flavoring like lemon, orange or double the vanilla.
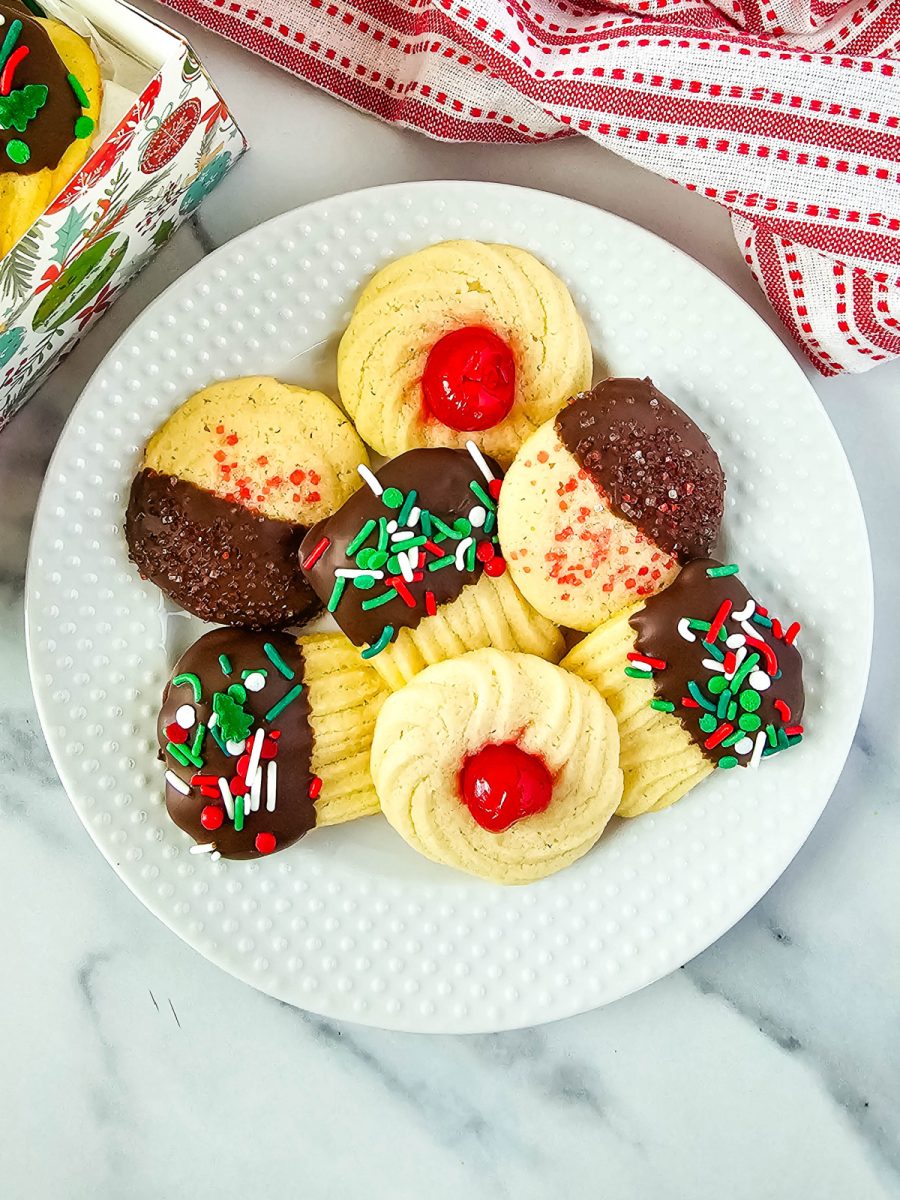
By experimenting with different flavors, shapes, and sprinkles, you can create a variety of sweets to suit any occasion.
Are butter cookies the same as shortbread?
The key difference between butter cookies and shortbread is in the ratio of butter to sugar in the recipe. Butter cookies typically use more sugar and less butter, resulting in a slightly firmer texture. Shortbread cookies feature a higher butter content, giving them their signature crumbly, melt-in-your-mouth quality. Also, you can make shortbread with to without eggs.
Why are my cookies spreading too much?
Ensure the dough is well-chilled before baking. This helps them retain their shape in the oven.
Can I freeze cookie dough?
Absolutely! Roll the dough into logs then wrap it tightly in plastic wrap and freeze for up to three months.

How do you store Danish Butter Cookies?
Plain cookies will stay fresh in an airtight container on your counter for about a week. If you added chocolate or cherries, keep them in an airtight container on the counter for 4 days or in the fridge for a week.
Other Christmas Treats to Make:
Any of these baked goods would look great on your dessert tables.
- Candy Cane Blossoms
- Cherry Garland
- Sugar Plum Thumbprints
- Orange-Scented Alfajores
- The Best Snickerdoodles
Simple treats such as these would also be a great hostess gift during the holiday season.
💡Explore my favorite Baking Essentials (Amazon affiliate link)
Recommended Tools for Baking Cookies
This post may contain Amazon or other affiliate links. As an Amazon Associate, I earn from qualifying purchases. For more information, see my disclosure policy.
The essential tools needed for this recipe are items you probably already except for maybe the piping bag and tips, which can be purchased online or in any craft store. /
- large mixing bowl
- electric handheld mixer
- measuring cups and spoons
- rubber spatula
- baking sheet
- parchment paper (or silicone baking mat)
- piping bag and large piping tips
- small microwavable bowl (to melt the chocolate in)
Ingredients
The main ingredients in this dough are simple pantry staples. Decorative sprinkles and chocolate can be added.
- butter
- sugar
- vanilla extract
- almond extract
- egg
- flour
- salt
- milk
- Ghirardelli Semi-Sweet baking chocolate
- maraschino cherries
- sprinkles
- coarse sugar crystals
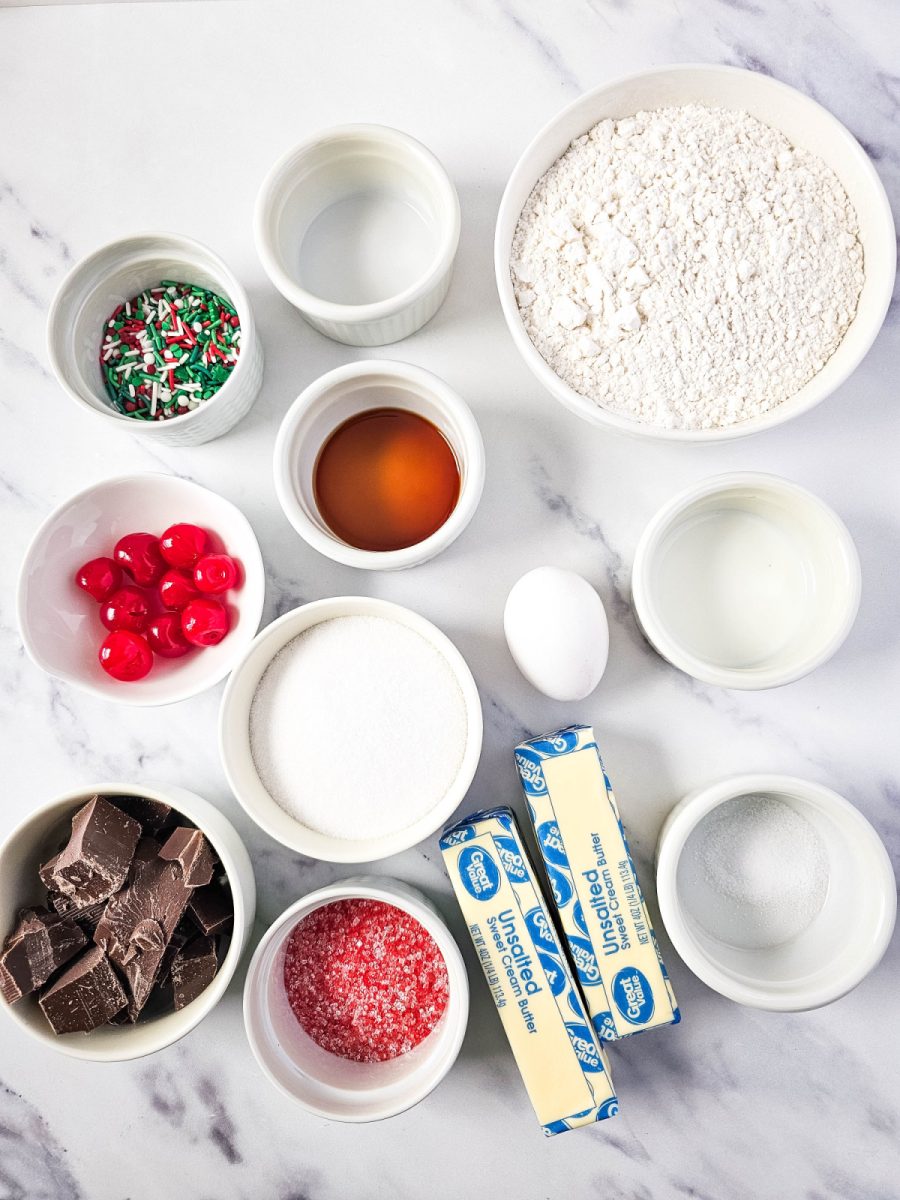
The ingredients are simple and all come together to create the perfect base for endless holiday creativity.
How to Make This Christmas Butter Cookie Recipe
Line 2–3 large baking sheets with parchment paper or silicone baking mats, or leave them unlined. If unlined, do not grease the pan.
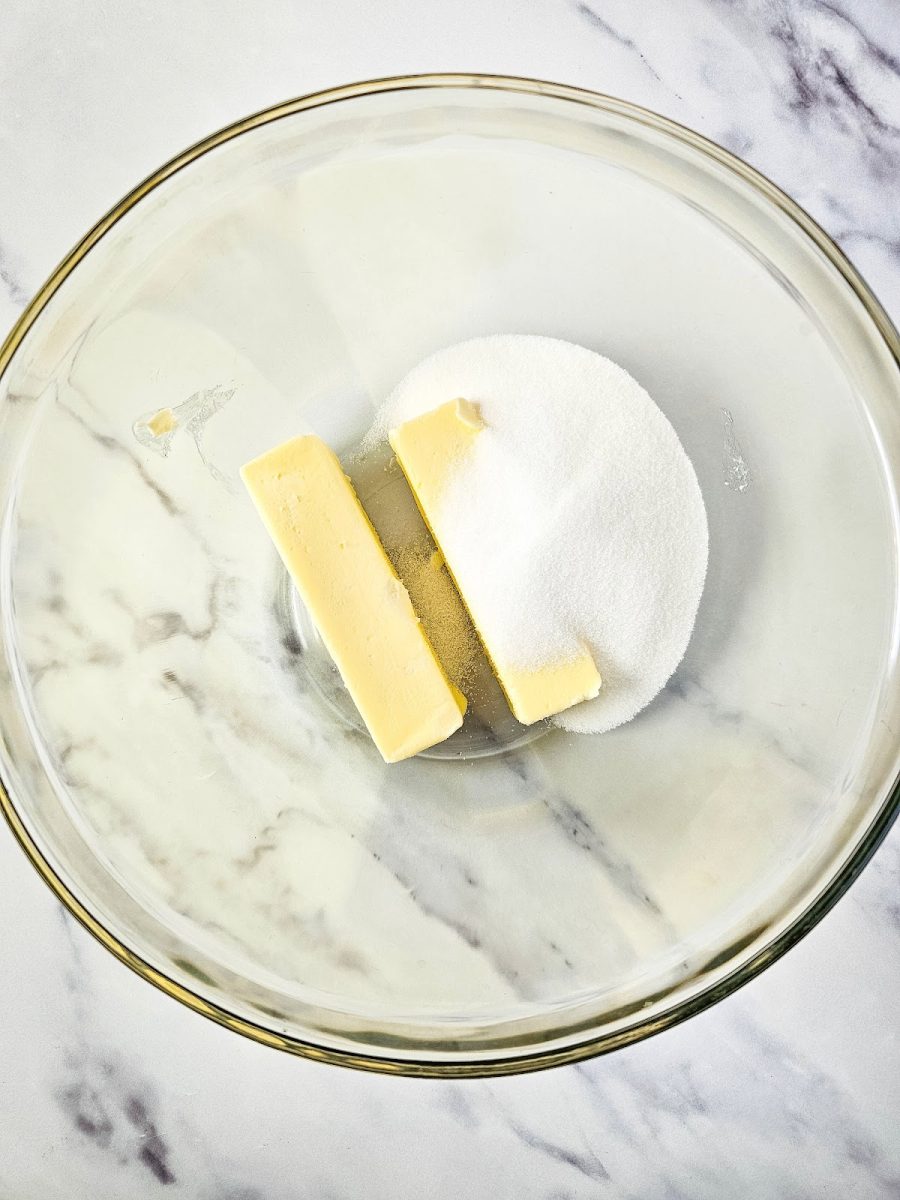
In a large bowl, beat together the butter and sugar using a hand mixer or stand mixer. Mix on medium-high speed until smooth and creamy.
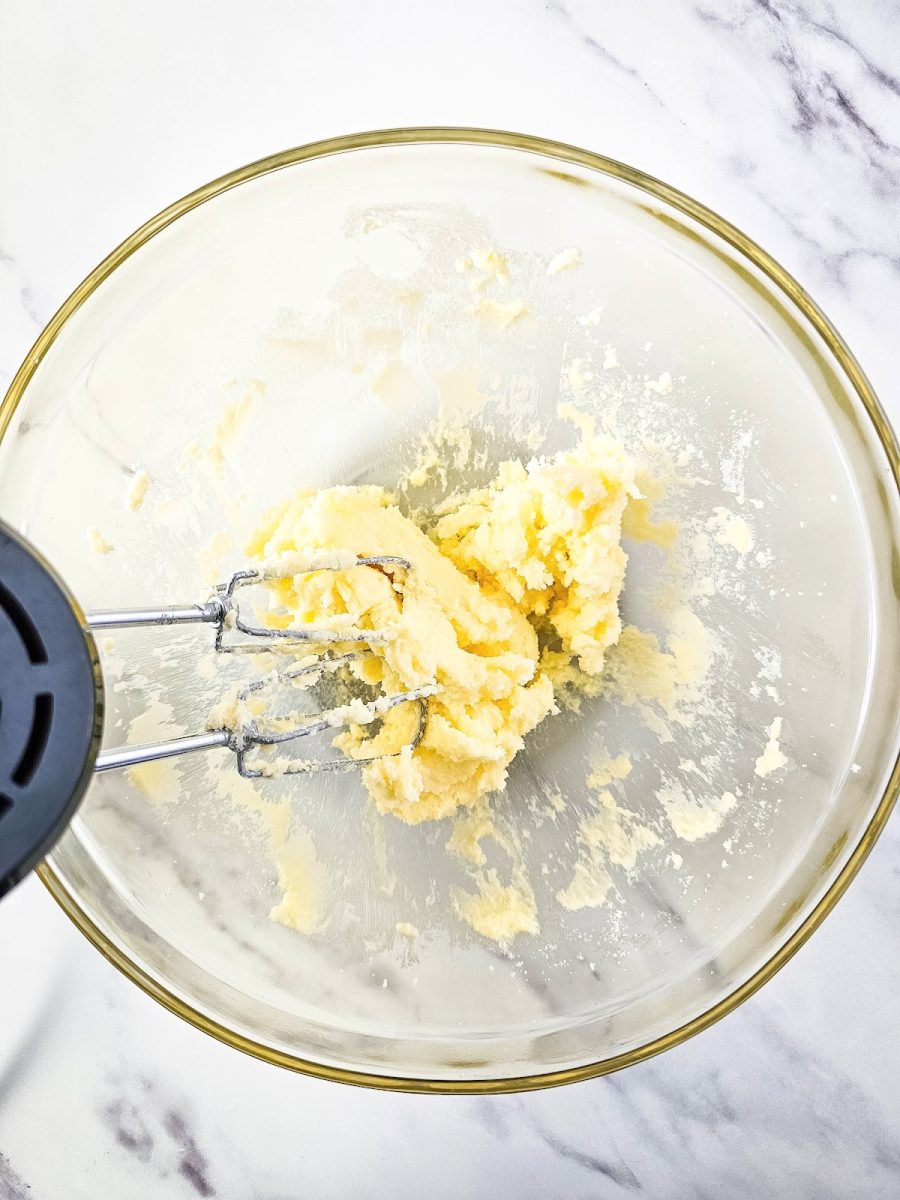
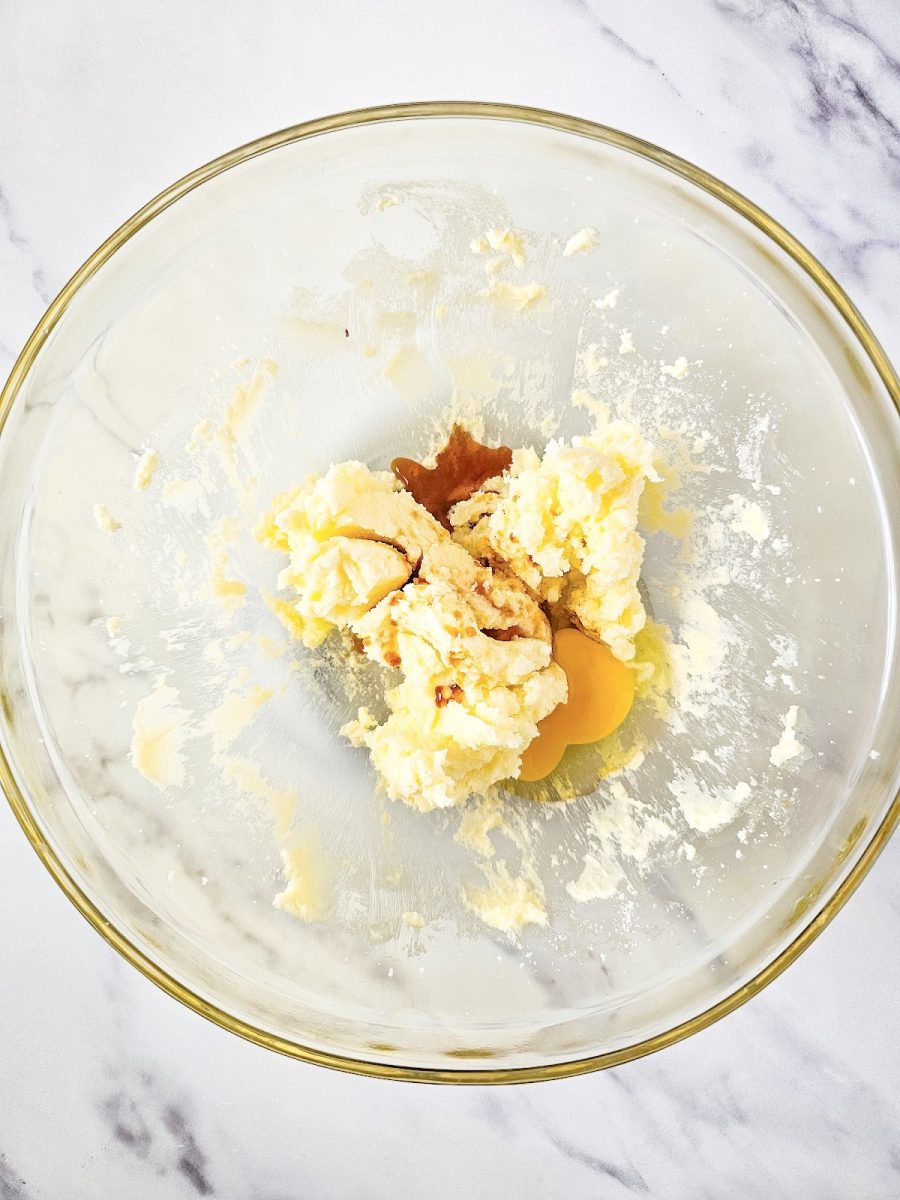
Then, add the egg and extracts, and beat on high speed until well combined. Scrape down the sides of the bowl and mix again if needed.
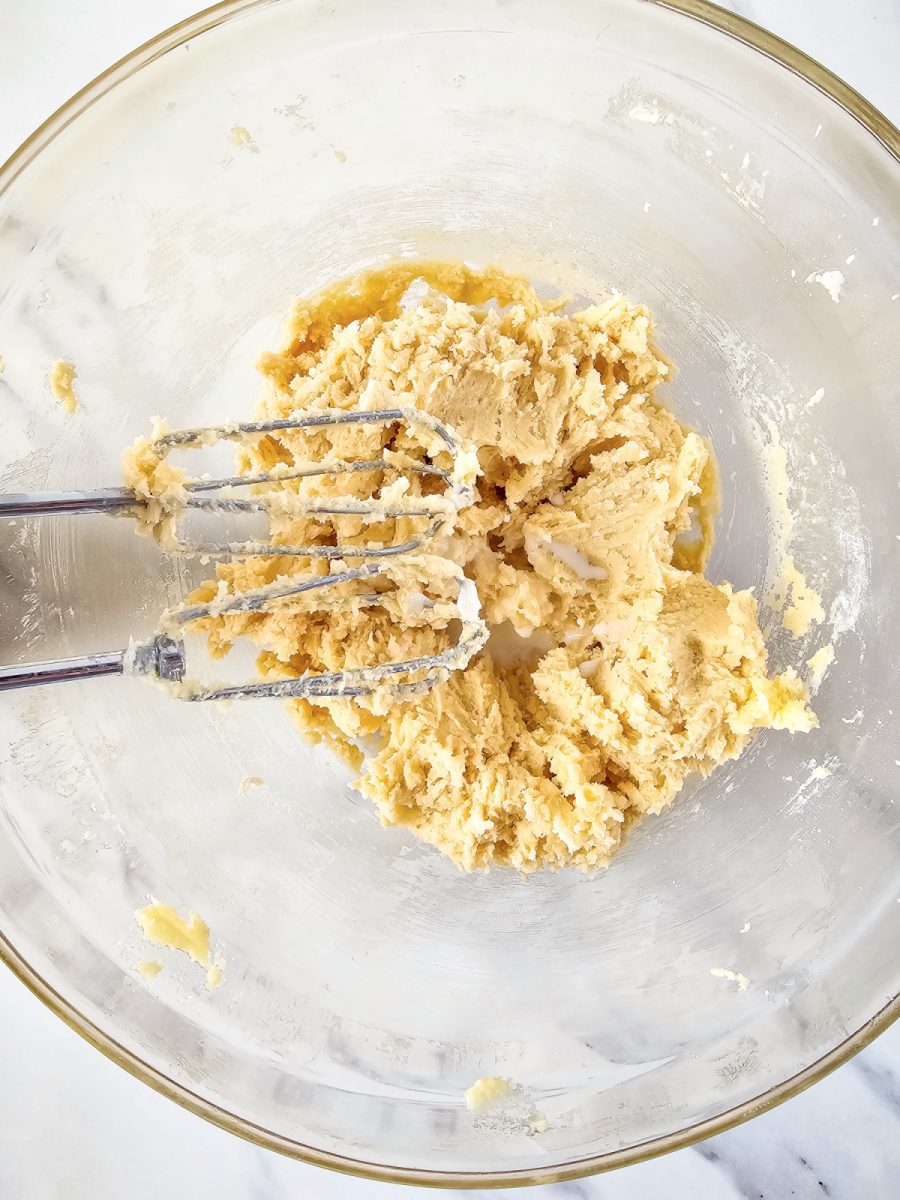
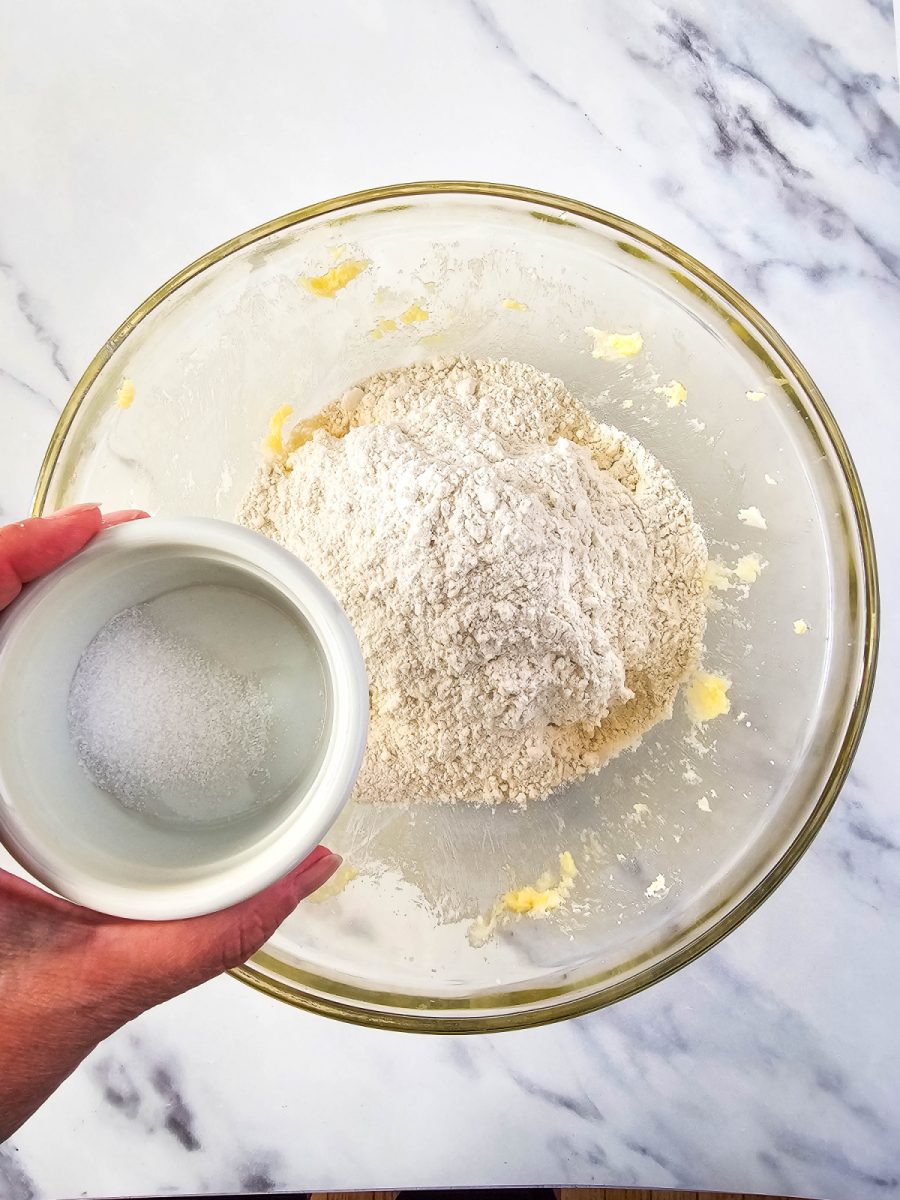
On low speed, beat in the flour and salt. Turn up to high speed and beat until completely combined. On medium speed, beat in 1 1/2 tablespoons of milk. The dough should be creamy and easy to pipe, but still thick, so you may need up to 2 – 2 1/2 tablespoons of milk. I suggest adding extra milk (if needed) a little at a time so that you won’t have too soft of a dough.

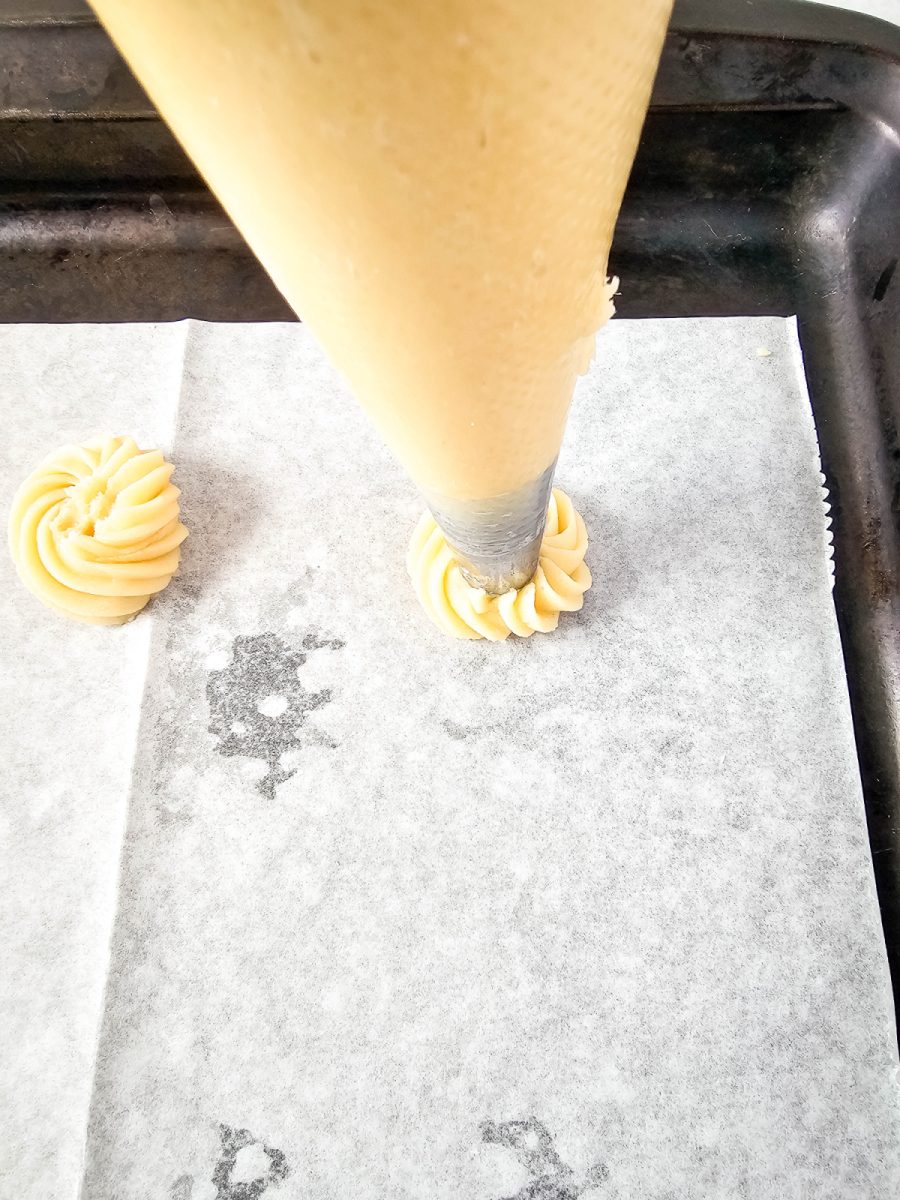
Grab a piping bag and add your large tip to it. Spoon a little bit of dough into the piping bag and pipe a 2-inch swirl or line on your prepared baking sheet. If the dough is piped easily, you’re ready to finish pressing the rest of the dough on the pan. If it’s not, scoop out that dough back into the mixing bowl and add another 1/2 tablespoon of milk. Once you create the swirls, place a maraschino cherry in the center of the swirl.
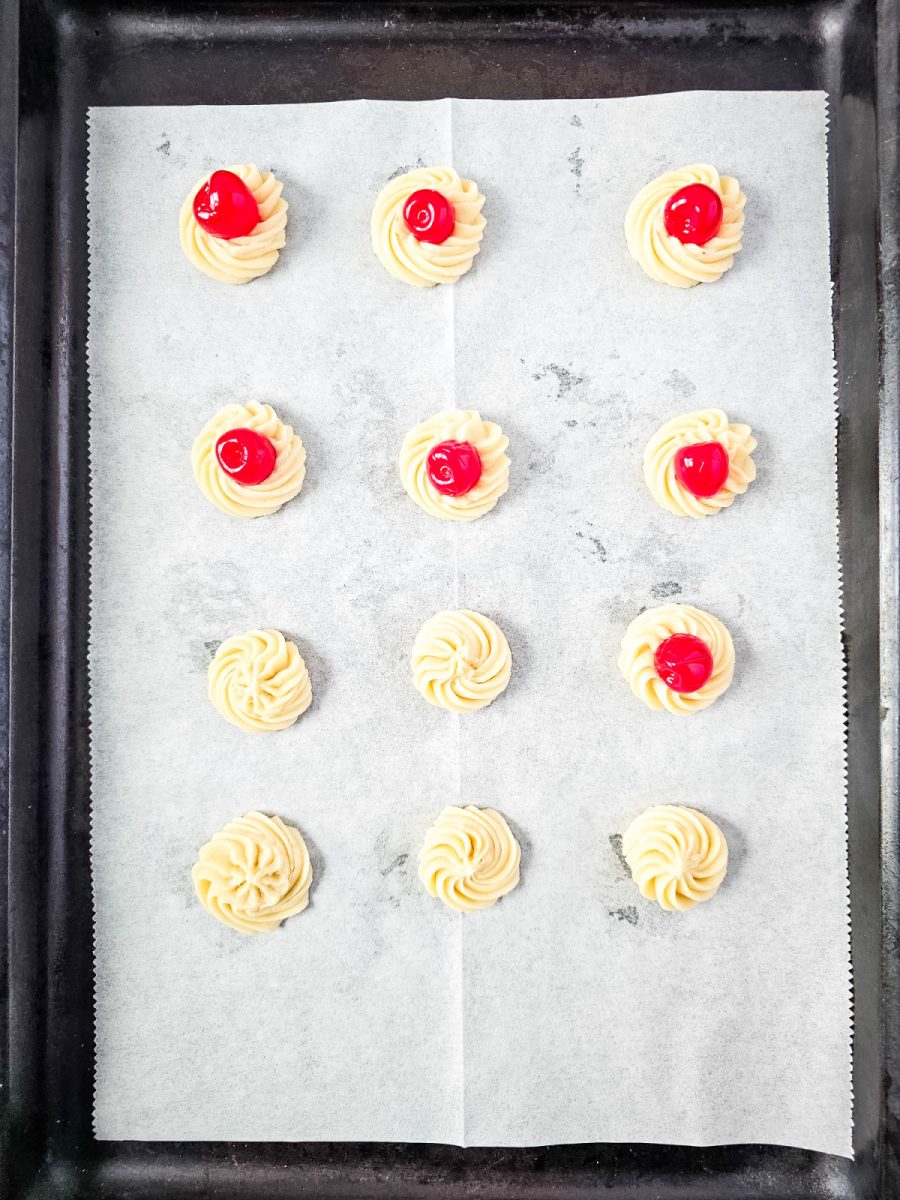
I piped out more designs and left some plain and others I added coarse sugar crystals to the dough.
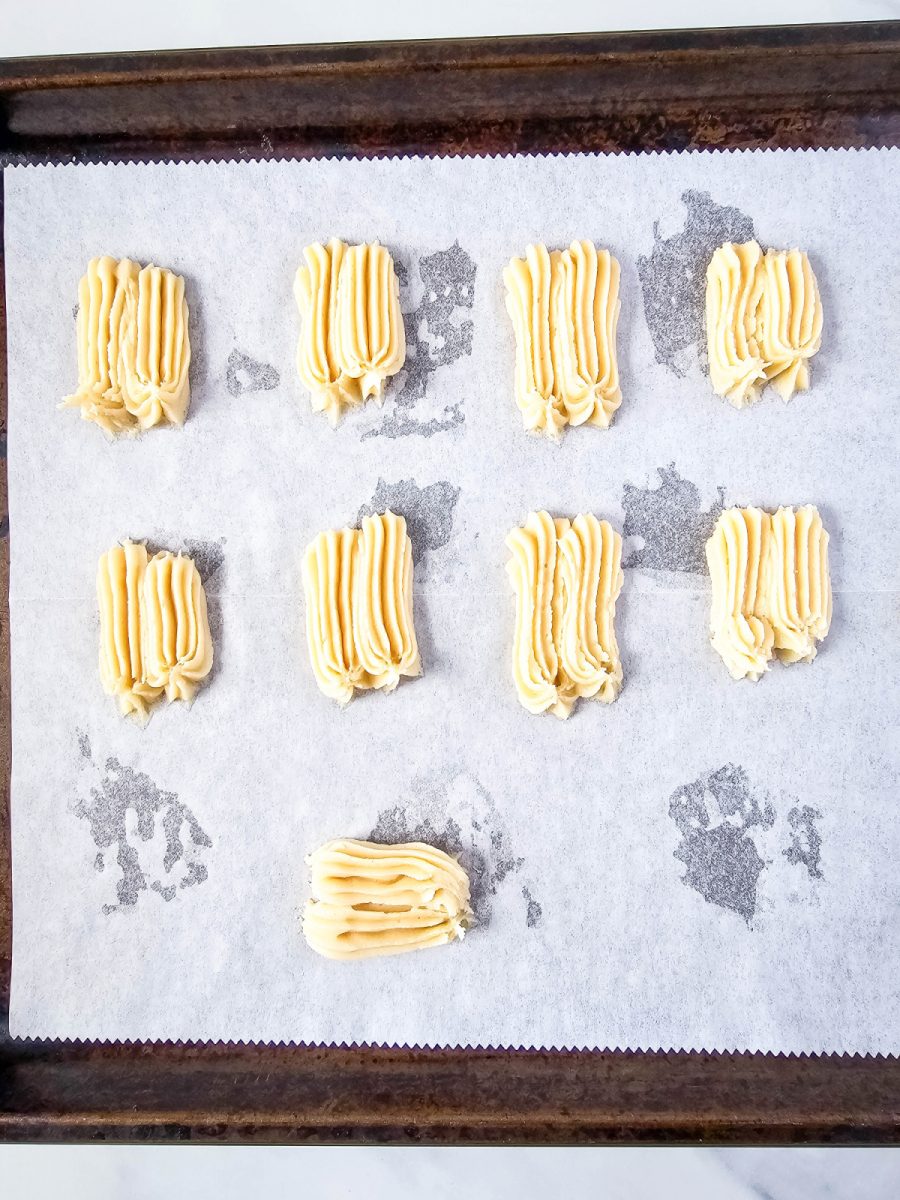
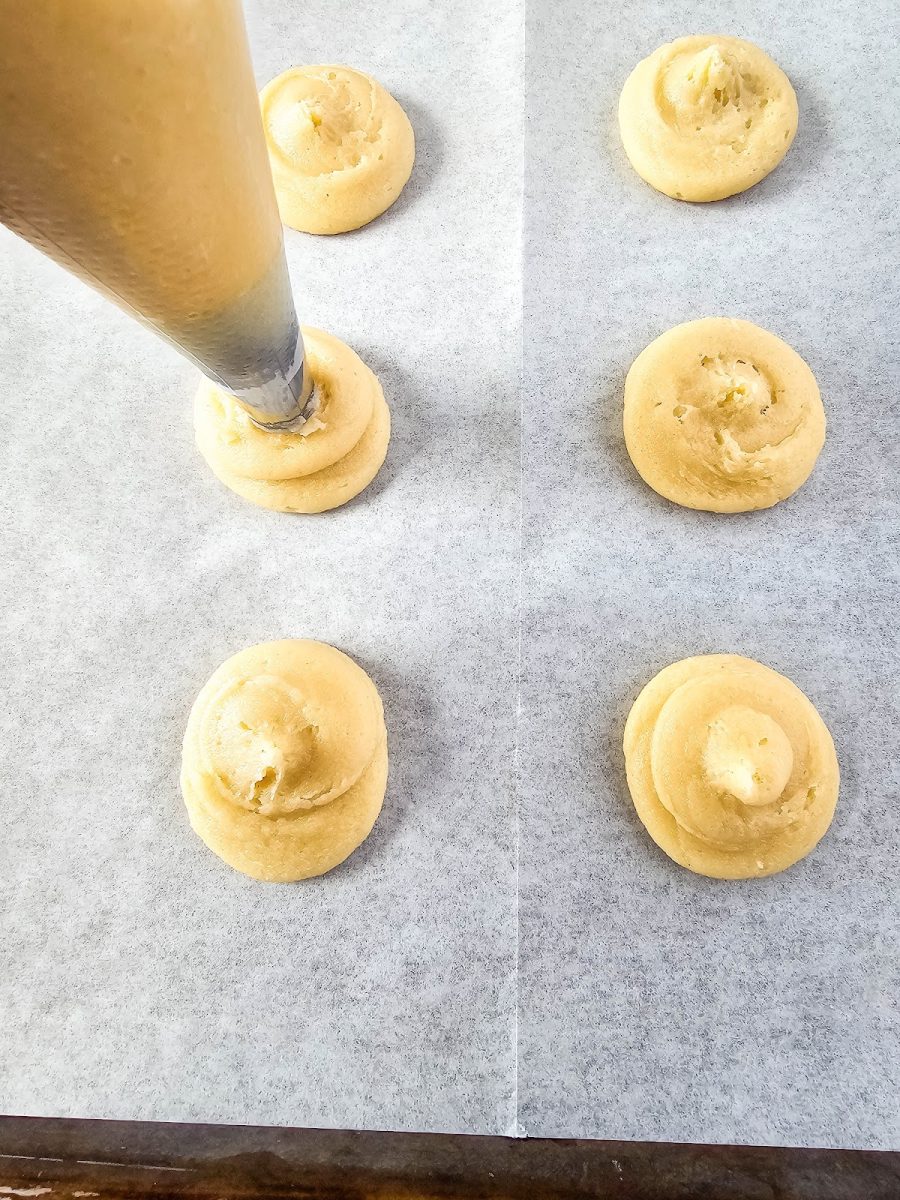
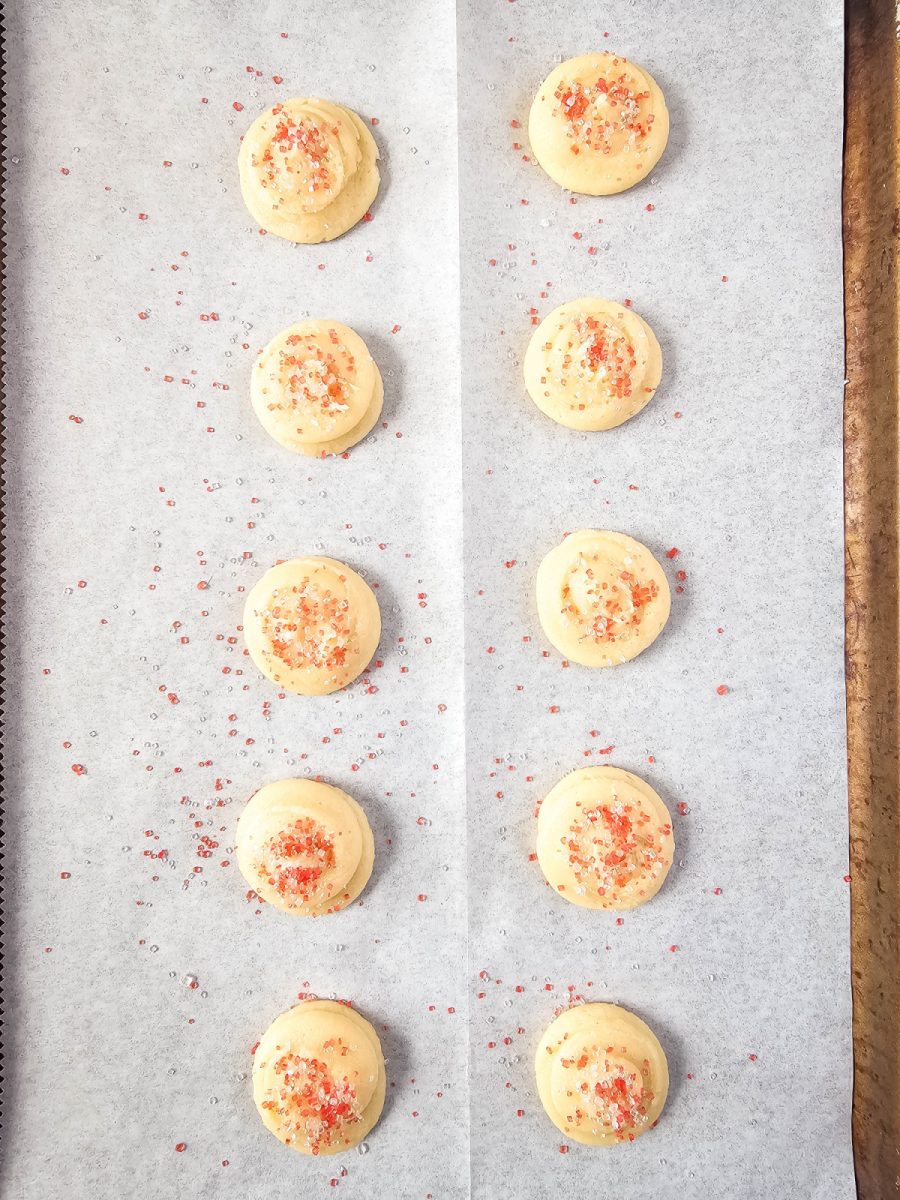
Pop the baking sheet in the fridge for 20-30 minutes to chill the shapes. While they’re chilling, preheat your oven to 350 degrees. Bake the chilled cookies for 12-15 minutes, or until they’re lightly browned around the edges. They’ll spread a bit, but they should hold their shape, especially if you have chilled the dough. They’re done when the edges are lightly brown.
Remove from the oven and allow to cool on the pans for 5 minutes before transferring to a wire rack to cool completely.
To Decorate or Dip in Chocolate
If desired you can dip part of the cookies into melted chocolate. You use the microwave to melt the chocolate put the chopped chocolate in a microwave-safe bowl and melt it in 20-second bursts, stirring after each burst until it’s smooth. Dip part of an end in the melted chocolate and add sprinkles if you want. Let the chocolate harden at room temperature for an hour or in the fridge for 20 minutes.
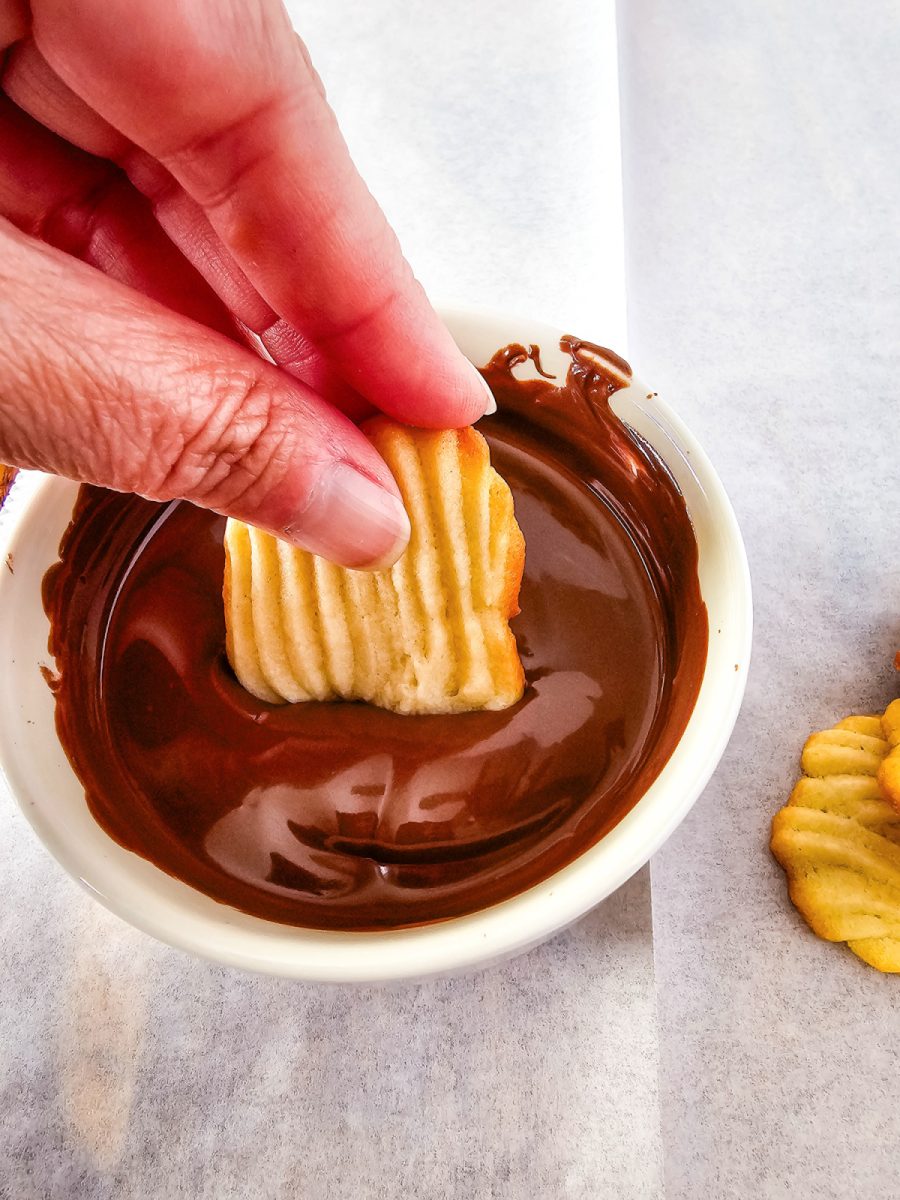
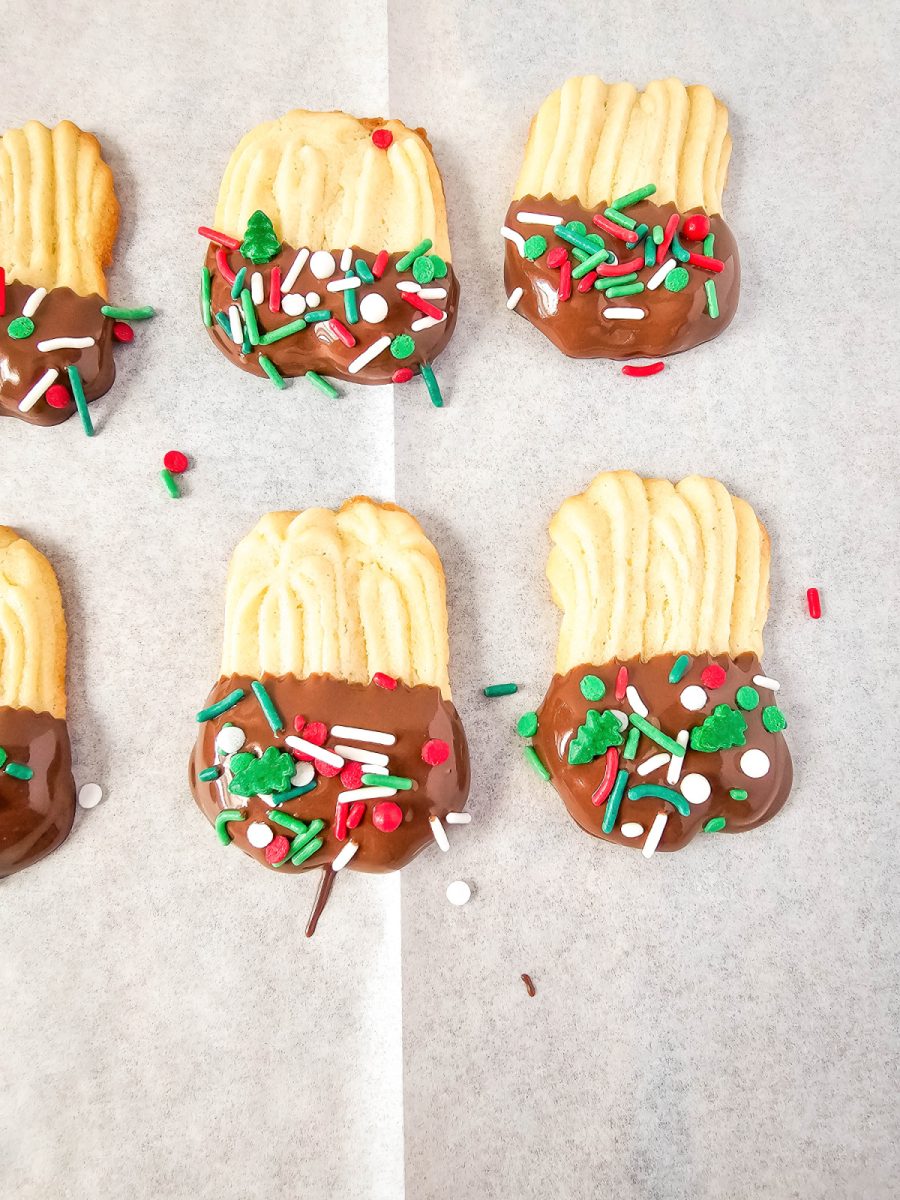
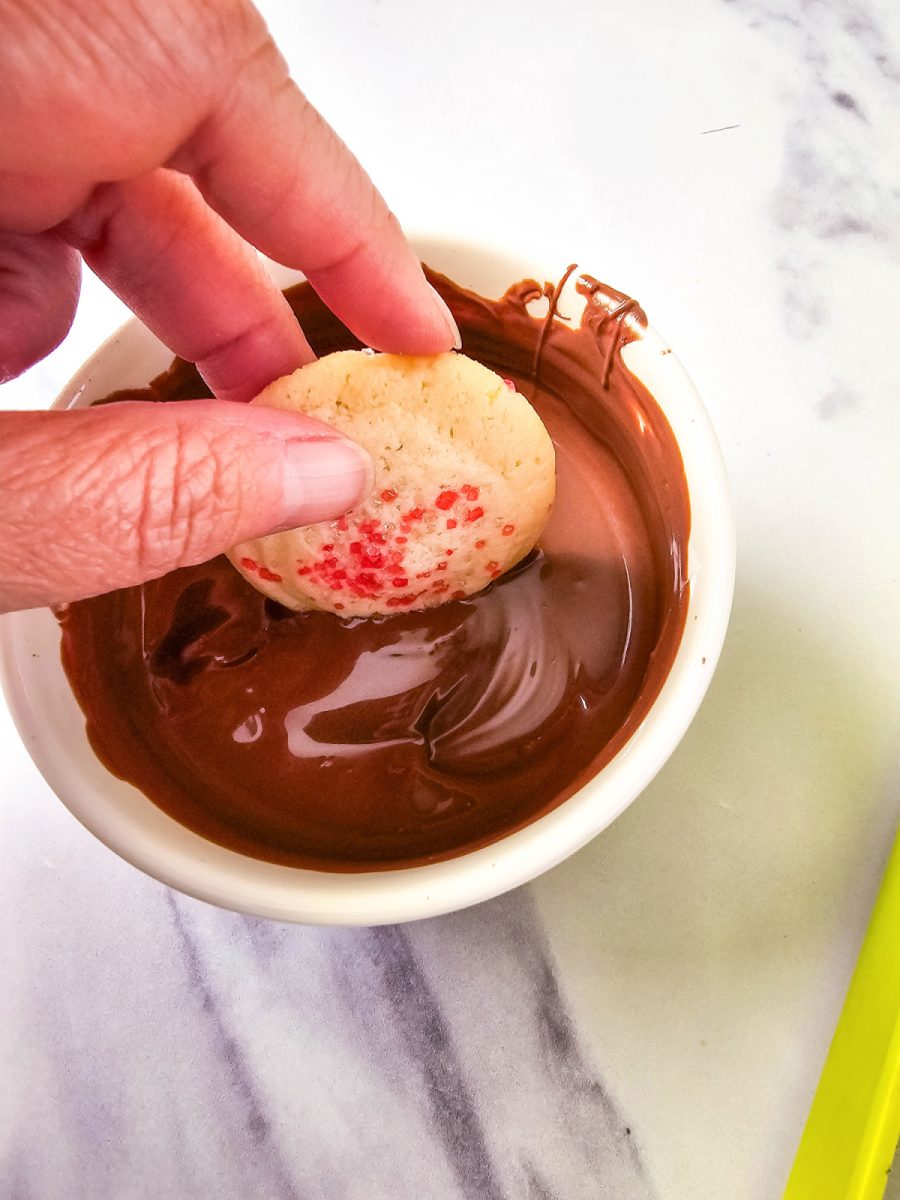
The delicious bites are the perfect way to celebrate the little things that make the holidays special. Every bite is a reminder of cozy nights and holiday cheer.
Ready to whip up a batch of these delicious treats? Print and save this recipe and let’s get baking!
Printable Recipe Card
Christmas Butter Cookies
Equipment
- large mxing bowl
- parchment paper or silicone baking mat
- small microwavable bowl (for melting the chocolate in)
Ingredients
- 1 cup undalted butter, softened
- ¾ cup sugar
- 1½ teaspoons vanilla extract
- 1 teaspoon almond extract
- 1 egg
- 2¼ cups flour
- ½ teaspoon salt
- 1 – 2 tablespoons milk
- 4 ounces Ghirardelli Semi-Sweet baking chocolate
- maraschino cherries
- sprinkles
- coarse sugar crystals
Instructions
- Line 2–3 large baking sheets with parchment paper or silicone baking mats, or leave them unlined. If unlined, do not grease the pan.
- In a large bowl, beat together the butter and sugar using a hand mixer or stand mixer. Mix on medium-high speed until smooth and creamy.
- Then, add the egg and extracts, and beat on high speed until well combined. Scrape down the sides of the bowl and mix again if needed.
- On low speed, beat in the flour and salt. Turn up to high speed and beat until completely combined. On medium speed, beat in 1 1/2 tablespoons of milk. The dough should be creamy and easy to pipe, but still thick, so you may need up to 2 – 2 1/2 tablespoons of milk. I suggest adding extra milk (if needed) a little at a time so that you won’t have too soft of a dough.
- Grab a piping bag and add your large tip to it. Spoon a little bit of dough into the piping bag and pipe a 2-inch swirl or line on your prepared baking sheet. If the dough is piped easily, you’re ready to finish pressing the rest of the dough on the pan. If it’s not, scoop out that dough back into the mixing bowl and add another 1/2 tablespoon of milk. Once you create the swirls, place a maraschino cherry in the center of the swirl.
- I piped out more designs and left some plain and others I added coarse sugar crystals to the dough.
- Pop the baking sheet in the fridge for 20-30 minutes to chill the cookie shapes. While they’re chilling, preheat your oven to 350 degrees. Bake the chilled cookies for 12-15 minutes, or until they’re lightly browned around the edges. They’ll spread a bit, but they should hold their shape, especially if you have chilled the dough. They’re done when the edges are lightly brown.
- Remove from the oven and allow to cool on the pans for 5 minutes before transferring to a wire rack to cool completely. If desired you can dip part of the cookies into melted chocolate.
- You use the microwave to melt the chocolate put the chopped chocolate in a microwave-safe bowl and melt it in 20-second bursts, stirring after each burst until it’s smooth. Dip the cookies in the melted chocolate and add sprinkles if you want. Let the chocolate harden at room temperature for an hour or in the fridge for 20 minutes.
Notes
Nutritional Disclaimer
“Blogghetti” is not a dietician or nutritionist, and any nutritional information shared is an estimate. If calorie count and other nutritional values are important to you, we recommend running the ingredients through whichever online nutritional calculator you prefer. Calories and other nutritional values can vary quite a bit depending on which brands were used.
Christmas Cookies Week
It’s that time again when several of my food blogging friends and I share an entire week of nothing but delicious cookie recipes. It’s one of my favorite events! Here’s what we’ve got for you today and is hosted by the lovely Jolene from Jolene’s Recipe Journal. Follow the #ChristmasCookiesWeek tag for even more.
Connect with Blogghetti
Be Sure To Follow Me On My Social Media, So You Never Miss A Post!
Facebook | Twitter | Pinterest | Instagram
If you try a recipe, please use the hashtag #Blogghetti on INSTAGRAM for a chance to be featured!
Enjoy!


Oh how we’d fight over those blue tin cookies! So excited to have a homemade version.
Those tins were always a staple in our house.
I love the look of the box all packed with such gorgeous cookies!
Thank you!
These are gorgeous! I love old fashioned butter cookies and having them chocolate dipped is the best!
Thank you, and I agree!
If these taste as good as they look, Lisa, I can see why folks thought they were from the bakery.
They’re incredible!
You can never go wrong with a butter cookie. And, they’re so fun and festive to decorate. A great addition to any holiday cookie plate!!!
It is fun to decorate them, that’s for sure!
These are so pretty festive and I love that you don’t need a cookie press.
I ove butter cookies and they are my favorite ones. I would be baking a batch of these soon and thanks for tips to make best shaped ones.
Butter cookies are one of my faves! I used to make a German butter cookie every year, but I have since lost the recipe. I’ll be trying these for sure!