Easy No Bake Cherry Cheesecake in a Jar
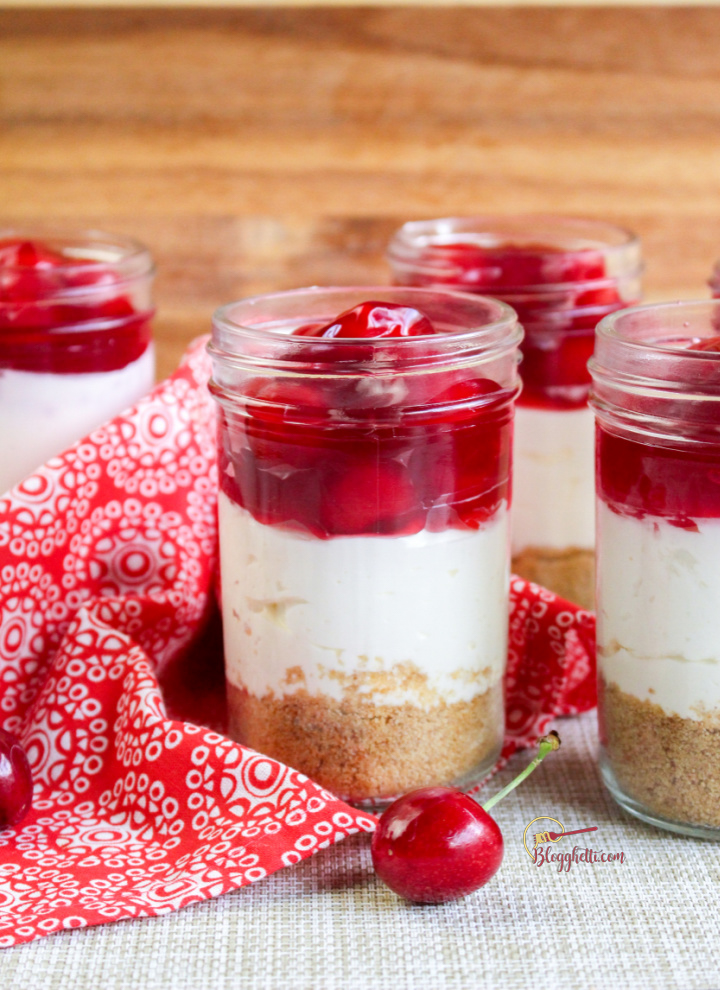
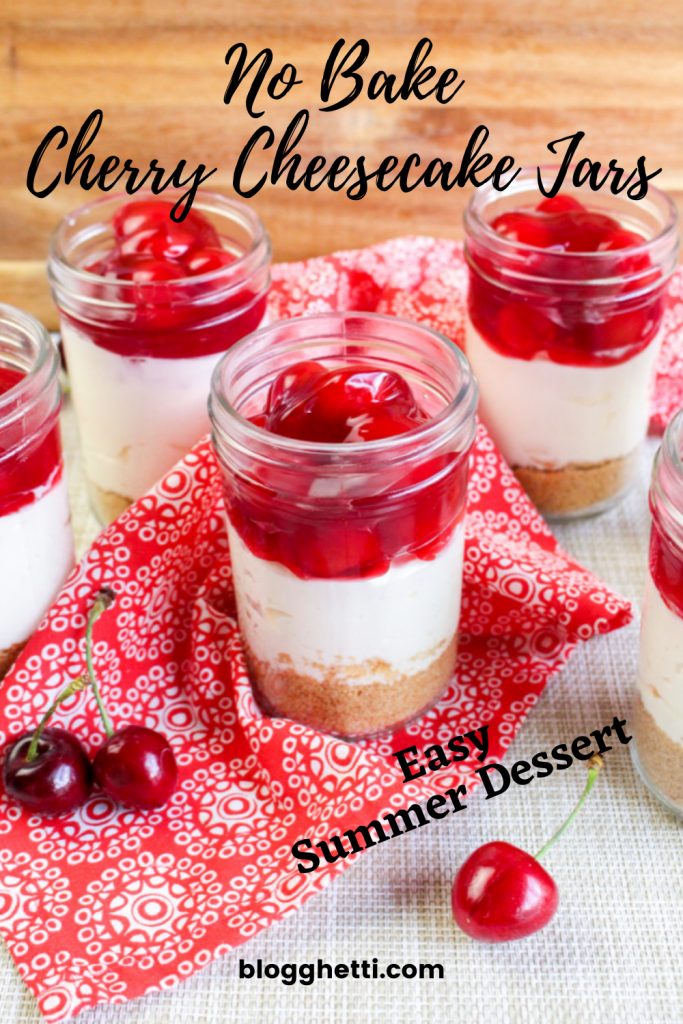
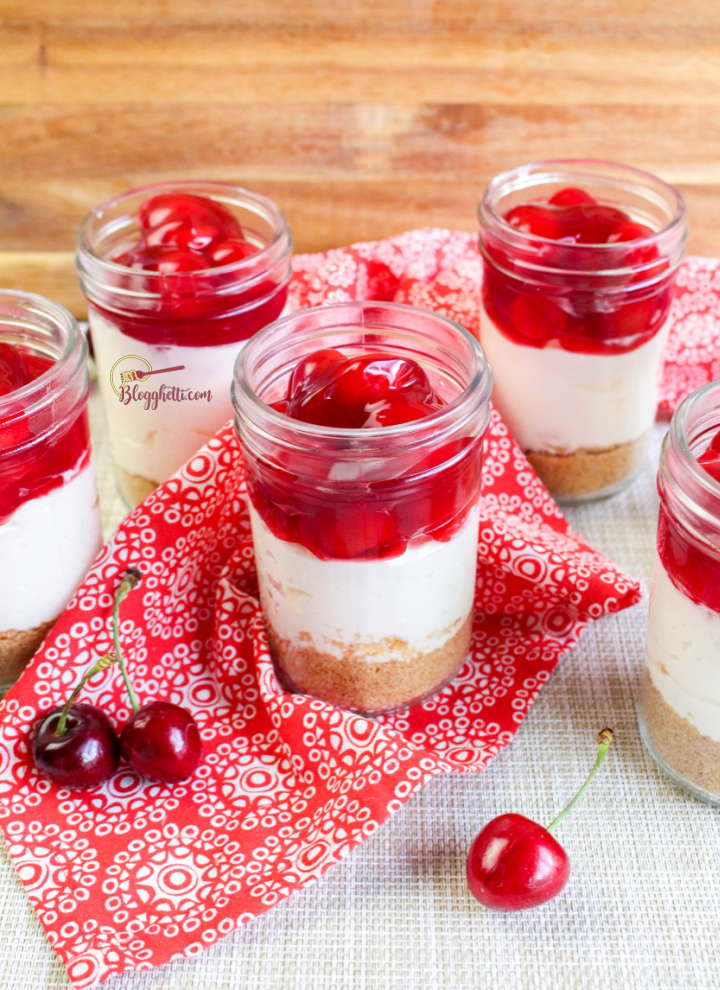
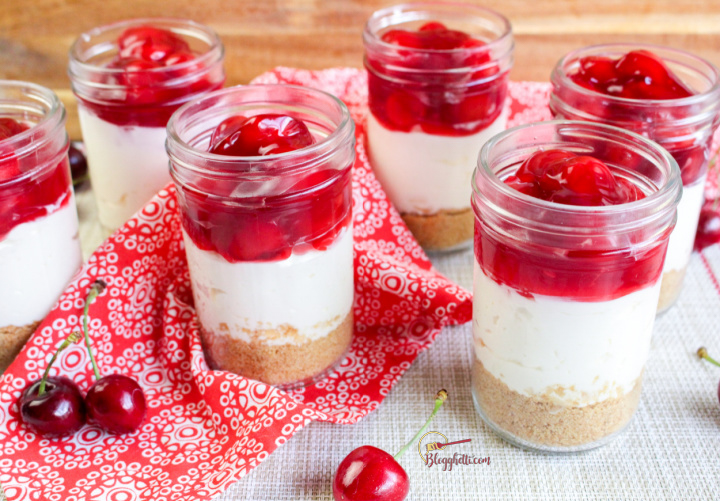
This recipe for Easy No Bake Cherry Cheesecake in a Mason Jar is the perfect summer dessert. Make the no bake cheesecakes ahead of time for a party or a backyard BBQ; or make them for any reason at all. They’re a delicious sweet treat sure to become a favorite.
I don’t know about you, but any time I don’t turn on the oven to cook or bake in the middle of summer is a reason to celebrate. So, when I saw that July 30th is National Cheesecake Day I was excited to make this very Easy No Bake Cherry Cheesecake in a Jar! Bonus for you is that my fellow Festive Foodie bloggers are also sharing their favorite CHEESECAKE recipes. So, let’s celebrate this delicious day with our favorite cheesecake recipes– from fruity to chocolatey and mini to Instant Pot, we’ve got you covered for your next cheesecake need! Find them below the recipe card on this post.
Not only are these no bake cheesecakes jars individual servings, but they are perfect to make ahead of time for parties, BBQs, because it’s a hot day, or whatever reason you want to celebrate! Double or triple the recipe, depending on how many guests you’ll have.
We love using these mason jars for these desserts, making salad dressings, and for edible gift giving.
I have made one – just one baked cheesecake in my lifetime. Time to up my game. For now, these cute cherry cheesecakes in a mason jar will have to do.
These individual desserts would also be wonderful to serve for other holidays like Valentine’s Day, Mother’s Day brunches, and even on a Christmas dessert table.
How easy are these mason jar desserts to make?
Easy! However, they do require some preparation and chill time. So plan ahead when you want to make them. They can be made a day in advance, too. I promise you the hardest part will be pulling out your food processor (this one is my favorite) and assembling it.
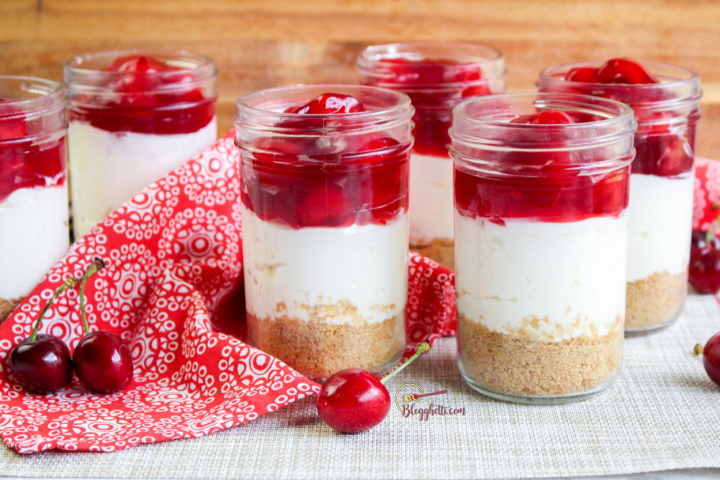
To make the sweet desserts, you’ll begin by layering a graham cracker crust in the bottom of the jars, then add the creamy cheesecake mixture, and finally topping it off with a homemade cherry pie filling. Don’t let the homemade part of the cherry filling scare you off. It’s easy, I promise.
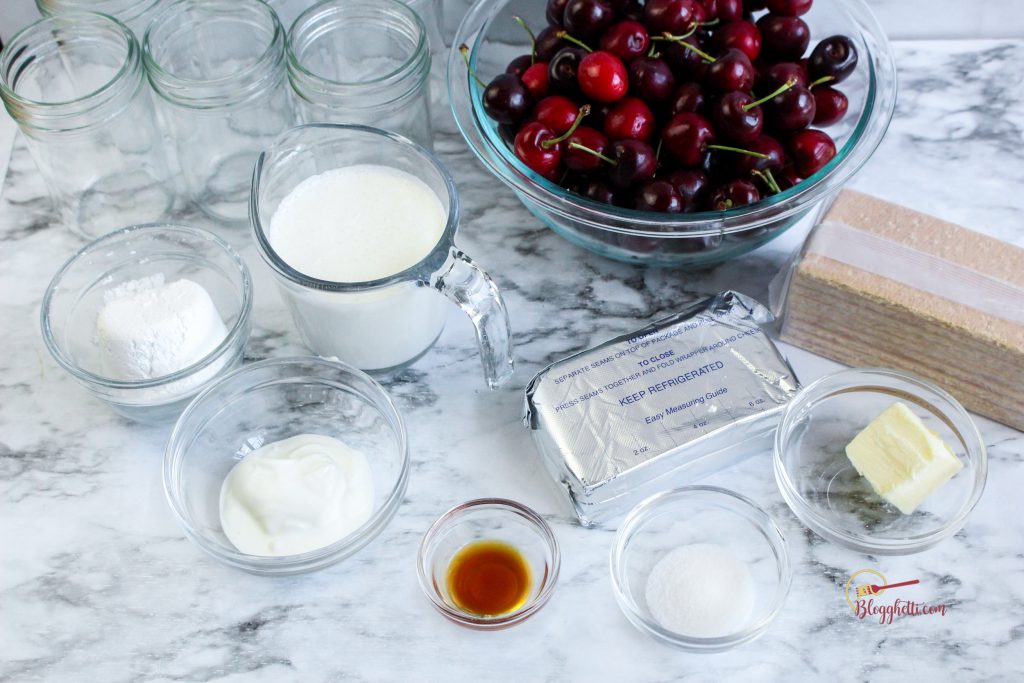
No Bake Cherry Cheesecake Ingredients
For the crust:
- graham crackers
- butter
- sugar
- Pinch salt
For the cream cheese layer:
- heavy whipping cream
- cream cheese
- powdered sugar
- vanilla extract (this is the brand I love)
- fresh lemon juice
For the cherry pie filling:
- pitted tart cherries
- sugar
- cornstarch
Instructions for Making No-Bake Cherry Cheesecakes
When making desserts that require the fresh fruit filling to be cooled before using in a recipe, I like to make that first. This way it will cool at room temperature while I am preparing the cheesecake filling and graham cracker crust.
Another tip is to chill the bowl you will be making the whipped cream before you begin the recipe. Leave it in the refrigerator until you are ready to make the whipped cream.
Cherry pie filling cooking directions:
Step 1
Start by placing the cherries into a saucepan and cover. If you can’t find pitted fresh cherries, it’s okay to use frozen whole cherries. Cook over medium heat until the cherries begin to break down and release their juice.
Step 2
Add the sugar and cornstarch, stirring to combine. Return the cherries to a simmer and reduce the heat too low. Continue cooking until the sauce has thickened, about 2 minutes. Cool completely before spooning over the cheesecake.
Cheesecake mixture directions:
Step 1
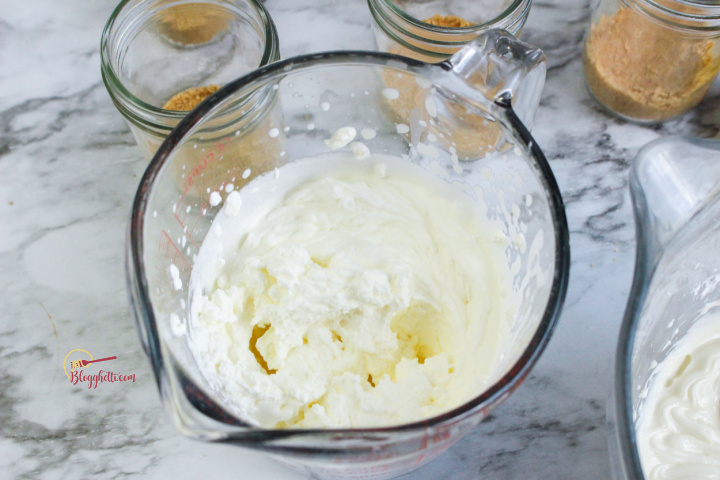
In a cold mixing bowl, use a hand mixer to beat the heavy cream until stiff peaks form. Set aside.
Step 2
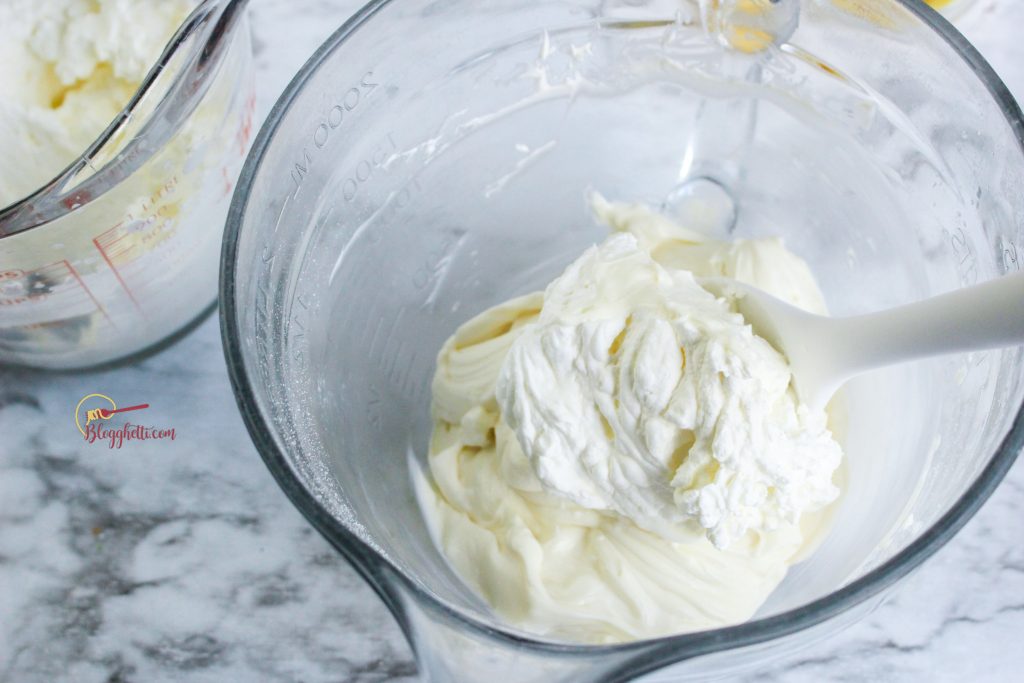
In a separate bowl, beat the cream cheese until smooth. Add the vanilla, sugar, lemon juice, and salt into the cream cheese. Continue mixing until completely combined. Into the cream cheese mixture, fold half of the whipped cream.
Once that is incorporated, fold in the remaining cream.
Making the Graham Cracker crust:
Step 1
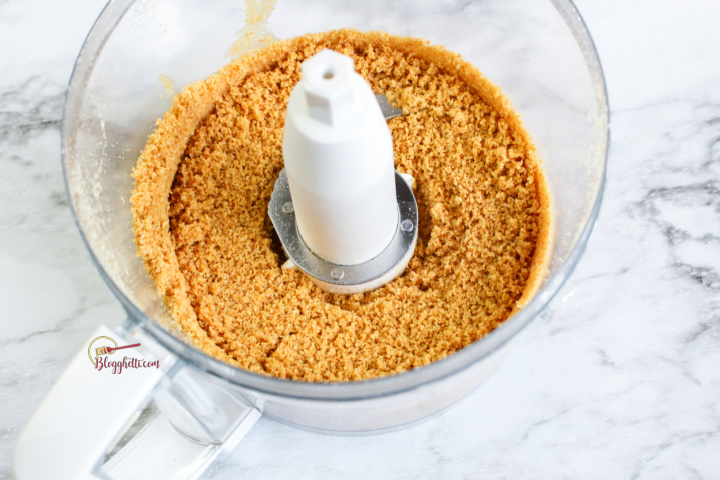
In a food processor, place the graham crackers, sugar, and salt until the crackers are finely ground.
Step 2
Add the melted butter and pulse until the mixture comes together. Set aside until ready to assemble desserts.
To assemble the Individual cheesecake desserts:
Step 1
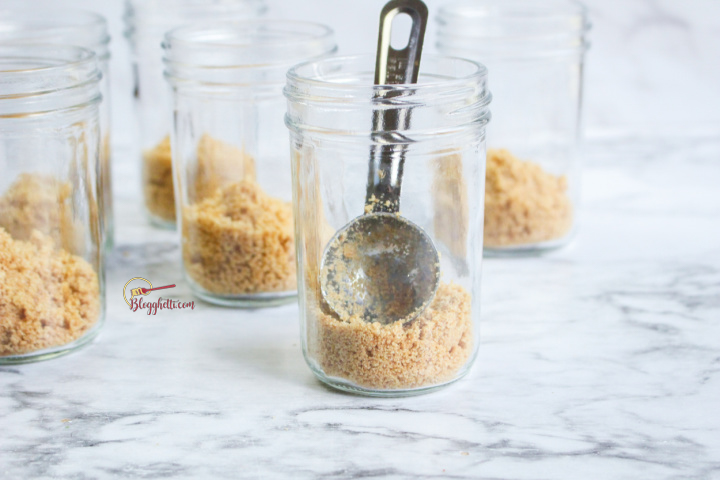
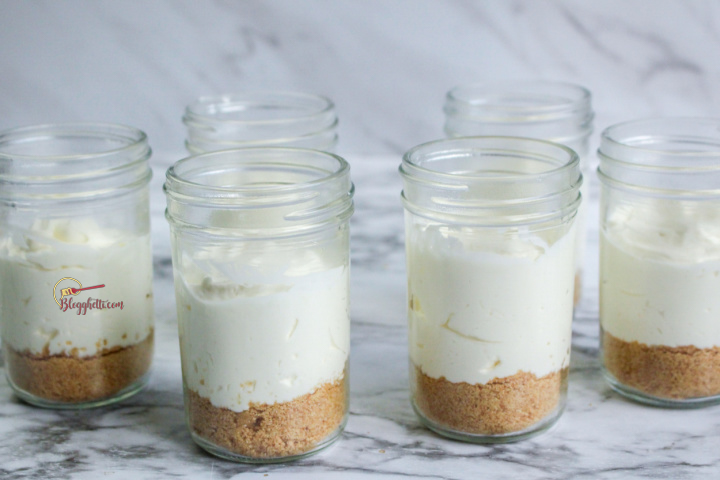
Divide and press the graham cracker mixture into the bottom of the jars, creating an even layer.
Step 2
Divide the cream cheese between the jars. (Using a piping bag to fill the jars makes it easier.)
Step 3
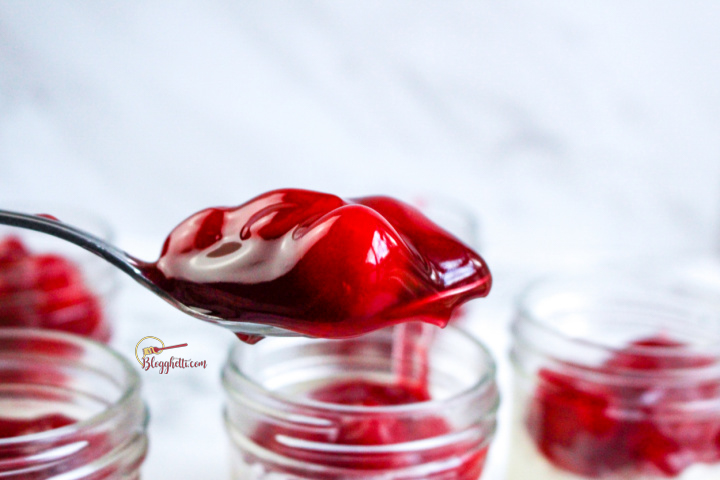
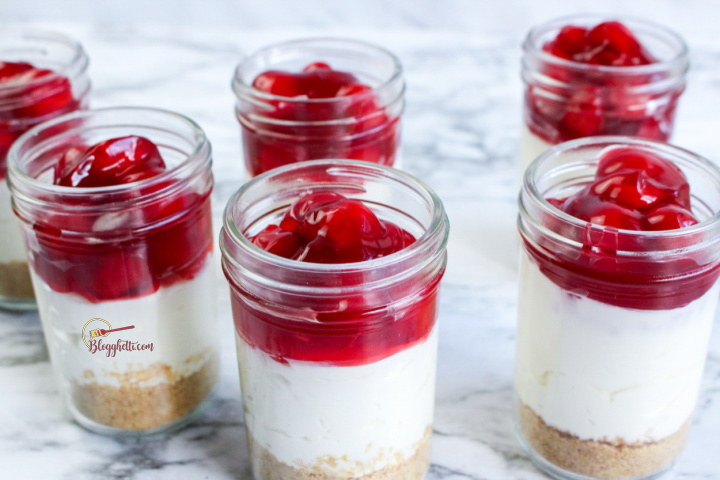
Spoon on cooled cherry filling over the cheesecake mixture.
Cover and refrigerate the jars until ready to serve or overnight. Chill for at least four hours to give the cheesecake layer a chance to set. Cherry Cheesecake in a jar for the easy dessert win!
Tips Tricks and FAQs
- Chill a large bowl when you start this recipe so it’s good and cold for whipping that heavy cream.
- Prepare the cherry pie filling first as it needs to cool completely before using.
- This dessert can be enjoyed right away, but it is best to let it chill for at least 4 hours or overnight. This helps set the cheesecake layer.
- Double or triple the recipe if you have a lot of guests.
- Use a piping bag to layer the cheesecake filling into jars – less mess.
- You can use any size jar that you would like. We used pints, but you can use smaller or bigger ones for the same great results.
- Be sure to use wide-mouth jars. These will be easier to fill and easier to enjoy.
No Bake Cheesecake Variations
- To save time you can use canned pie filling instead of making the homemade cherry filling.
- Swap the cherries with a different flavor of the fruit. Blueberries, raspberries, strawberries, peaches, etc.
- Instead of graham crackers, you can use Oreos, vanilla wafers, gingersnaps, or your favorite cookie.
Other No Bake Recipes for You to Enjoy
- No Bake Mini Strawberry Cheesecake Cups
- Easy Raspberry Cream Cheese Dessert
- Cherry Pecan No-Churn Ice Cream
- Easy Key Lime Mousse Tarts
- Raspberry Almond Cappuccino Parfaits
Easy No Bake Cherry Cheesecake in a Mason Jar
Equipment
- 6 wide mouth mason jars
Ingredients
For the crust
- 1 sleeve graham crackers
- 4 tablespoons butter, melted
- 2 teaspoons sugar
- pinch salt
For the Cheesecake filling
- 1 cup heavy whipping cream
- 8 ounces cream cheese, softened
- 1/3 cup powdered sugar
- 1 teaspoon vanilla (my favorite brand)
- 1 teaspoon fresh lemon juice
For the cherry pie filling
- 4 cups tart cherries, pitted
- 1 cup sugar
- 1/4 cup cornstarch
Instructions
- Make the cherry pie filling first as it needs to cool completely before you layer the desserts into each mason jar.
- Also. before beginning the recipe chill a large bowl in the refrigerator for using in making the whipped cream. Keep it in there until ready to make the whipped cream.
Cherry Pie Filling
- Start by placing the cherries into a saucepan and cover. If you can’t find pitted fresh cherries, it’s okay to use frozen whole cherries. Cook over medium heat until the cherries begin to break down and release their juice.
- Add the sugar and cornstarch, stirring to combine. Return the cherries to a simmer and reduce the heat too low. Continue cooking until the sauce has thickened, about 2 minutes. Cool completely before spooning over the cheesecake.
Cheesecake mixture
- In a cold mixing bowl, use a hand mixer to beat the heavy cream until stiff peaks form. Set aside.
Making the graham cracker crust
- In a food processor, place the graham crackers, sugar, and salt until the crackers are finely ground.
- Add the butter and pulse until the mixture comes together. Set aside until ready to assemble desserts.
To assemble the Individual cheesecake desserts
- Divide and press the graham cracker mixture into the bottom of the jars, creating an even layer.
- Divide the cream cheese between the jars. (Using a piping bag to fill the jars makes it easier.)
- Spoon on cooled cherry filling over the cheesecake mixture.
- Cover and refrigerate the jars until ready to serve or overnight. Chill for at least four hours to give the cheesecake layer a chance to set.
Notes
Tips Tricks and FAQs
- Chill a large bowl when you start this recipe so it’s good and cold for whipping that heavy cream.
- Prepare the cherry pie filling first as it needs to cool completely before using.
- This dessert can be enjoyed right away, but it is best to let it chill for at least 4 hours or overnight. This helps set the cheesecake layer.
- Double or triple the recipe if you have a lot of guests.
- Use a piping bag to layer the cheesecake filling into jars – less mess.
- You can use any size jar that you would like. We used pints, but you can use smaller or bigger ones for the same great results.
- Be sure to use wide-mouth jars. These will be easier to fill and easier to enjoy.
No Bake Cheesecake Variations
- To save time you can use canned pie filling instead of making the homemade cherry filling.
- Swap the cherries with a different flavor of the fruit. Blueberries, raspberries, strawberries, peaches, etc.
- Instead of graham crackers, you can use Oreos, vanilla wafers, gingersnaps, or your favorite cookie.
Nutrition
Nutritional Disclaimer
“Blogghetti” is not a dietician or nutritionist, and any nutritional information shared is an estimate. If calorie count and other nutritional values are important to you, we recommend running the ingredients through whichever online nutritional calculator you prefer. Calories and other nutritional values can vary quite a bit depending on which brands were used.

More #NationalCheesecakeDay Recipes
- Peach Cheesecake from Fresh April Flours
- Chocolate Chip Cookie Dough Cheesecake from House of Nash Eats
- Chocolate Peanut Butter Cheesecake from That Recipe
- Easy No Bake Cheesecake from Salt & Baker
- Mini Chocolate Cheesecakes from Making Miracles
- White Chocolate Raspberry Cheesecake from Devour Dinner
- Mini Chocolate Chip Cheesecakes from Cheese Curd In Paradise
- Instant Pot Vanilla Cheesecake from Karen’s Kitchen Stories
- Strawberry Cheesecake from Life Love and Good Food
- Mini Oreo Cheesecakes from Kathryn’s Kitchen Blog
- Instant Pot Vanilla Bean Cheesecake with Blueberry Compote from Hezzi-D’s Books and Cooks
- No Bake Fresh Mint Cheesecake from A Day in the Life on the Farm
- Mini S’mores Cheesecakes from The Freshman Cook
- Orange Creamsicle Cheesecake Bars from The Spiffy Cookie
- Mocha Cheesecake from The Redhead Baker
Connect with Blogghetti
Be Sure To Follow Me On My Social Media, So You Never Miss A Post!
Facebook | Twitter | Pinterest | Instagram
If you try a recipe, please use the hashtag #Blogghetti on INSTAGRAM for a chance to be featured!
Enjoy!

Cherry pie! And in a jar! Sign me up for a fridge full, please 🙂
Just perfect to take along on a picnic. Thanks for sharing.
I always make these in cupcake lliners but I love that you put them in a jar! So much fun!
These are soooo adorable! I bet the jars actually make them taste better, lol!
Oh! I love mason jar desserts and these are just perfect!!!
I love how these cheery cheesecakes are in a jar and are no-bake! I want to make these for my next bbq, they will be such a hit!
This is such a pretty dessert! I love how easy it would be to transport to a picnic in the park, and cherries are my favorite!
These were so cute and so easy to make! I love the idea of making them in mason jars! They were a fun summer treat for me and my family!
These are seriously too cute! I’m going to have to do some with blueberry filling as well and make a patriotic looking arrangement for the 4th of July next year!
That’s perfect!