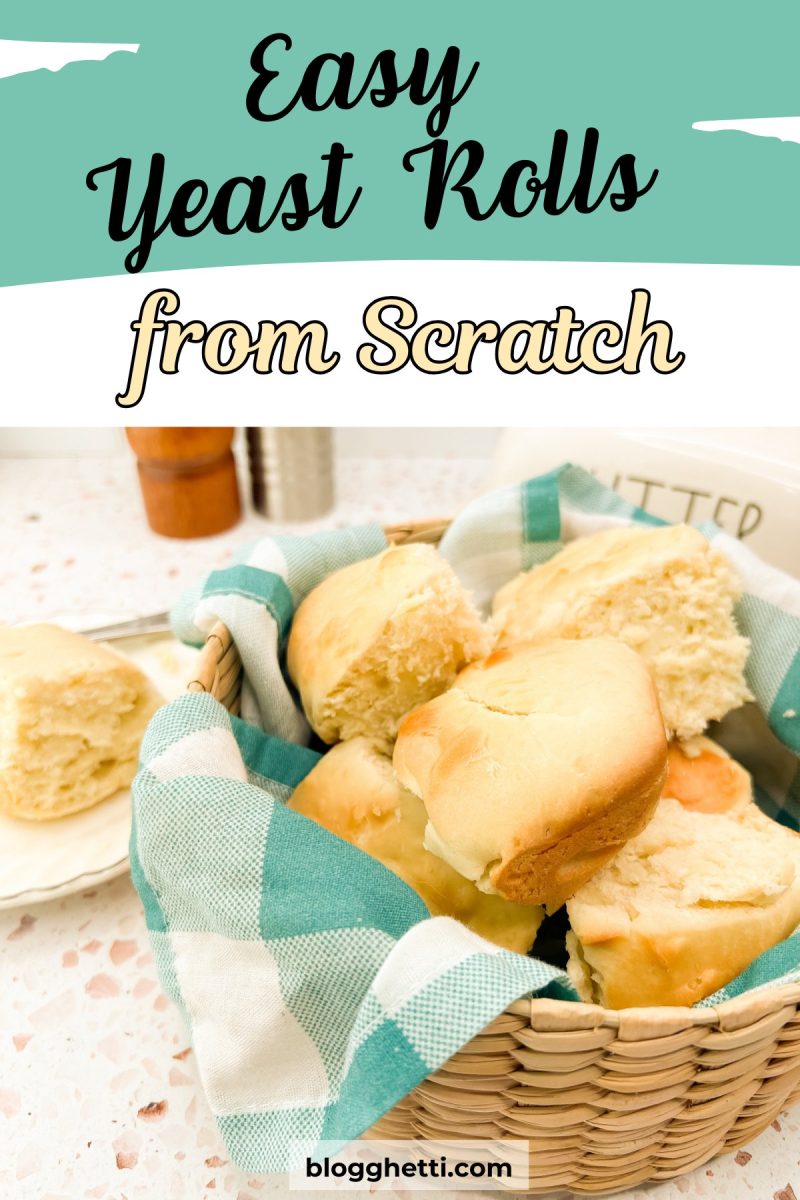
Easy Yeast Rolls from Scratch
Soft, fluffy, and lightly golden, these Easy Yeast Rolls from Scratch bring homemade comfort to any meal. With simple pantry ingredients and simple steps, this bread recipe delivers bakery-quality results with minimal effort and in under an hour. Whether you’re preparing dinner rolls for a family gathering or want fresh bread for sandwiches, these yeast rolls are perfect to serve.
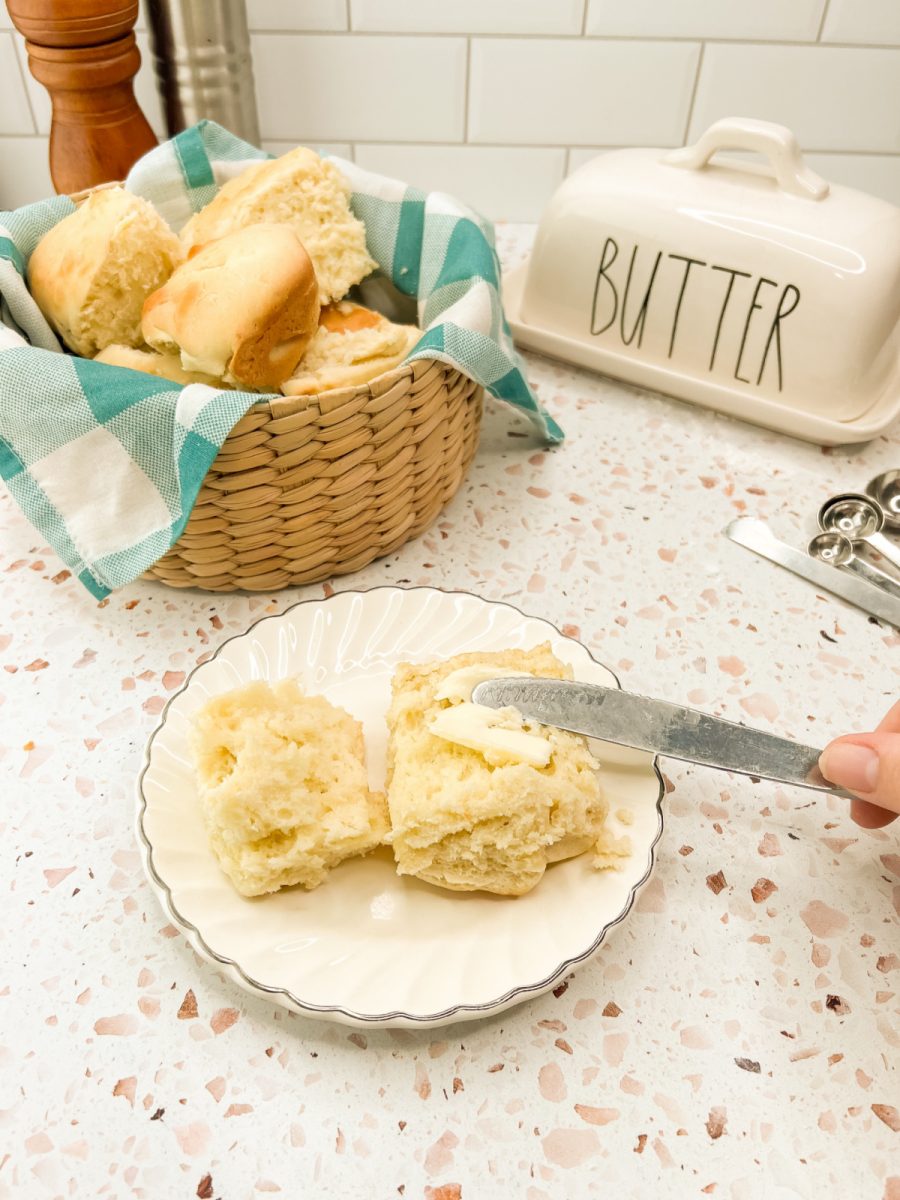
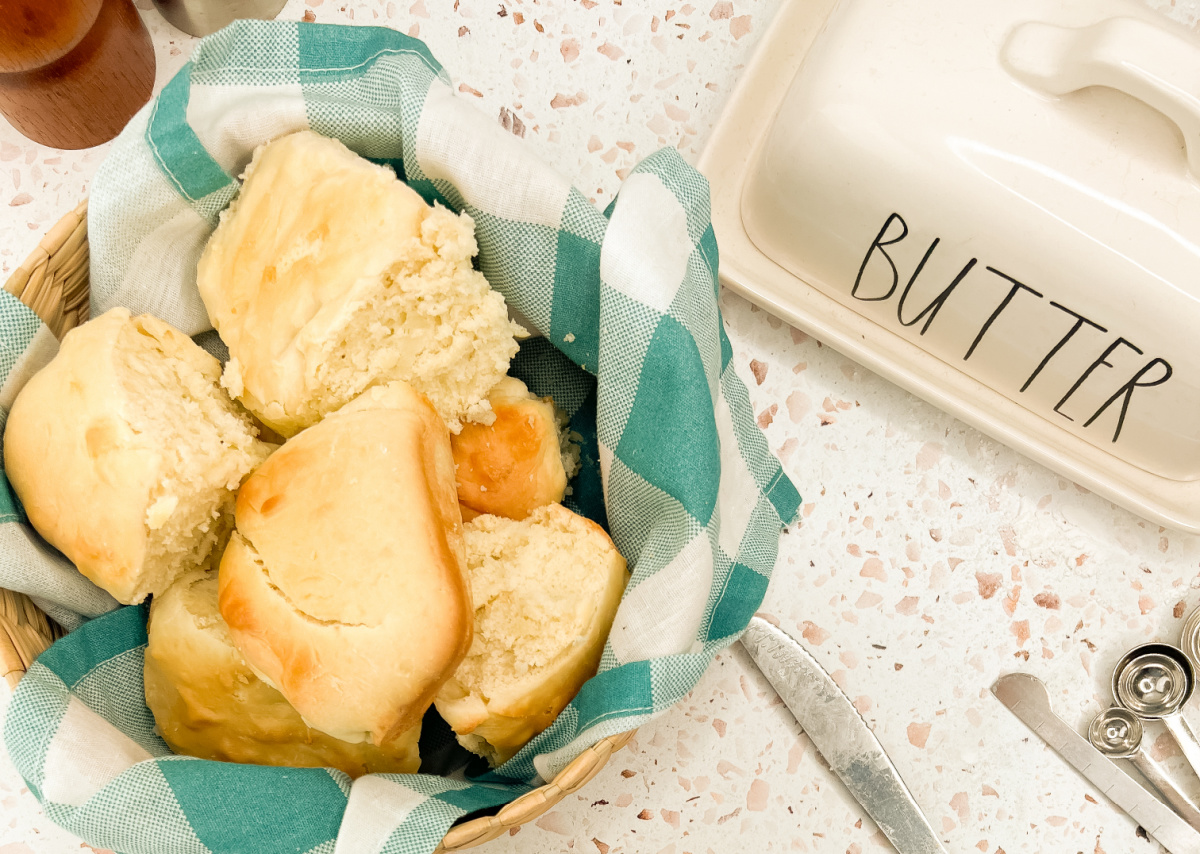
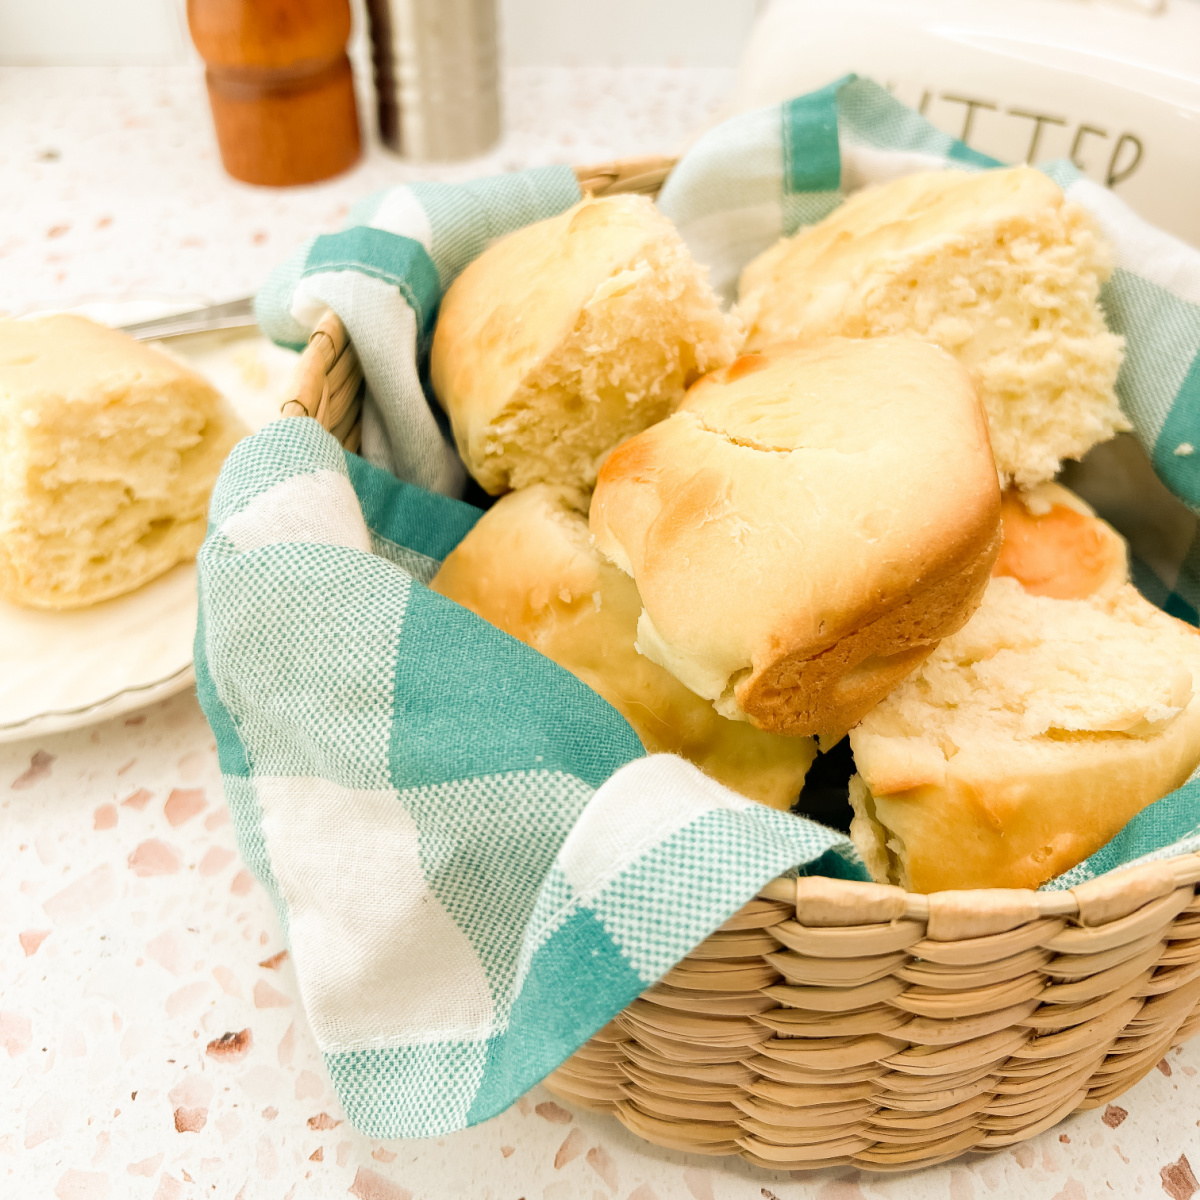
These quick and easy yeast rolls are perfect for beginners and experienced bakers alike. The dough is soft and easy to work with and requires just one rise before baking. The result is a batch of golden, pillowy rolls that are slightly crisp on the outside and tender on the inside. You can enjoy them warm with butter, serve them as a side for soups and stews, or use them for sliders.
This recipe bakes up like those restaurant style yeast buns they serve you while you’re waiting for your entree to arrive. The big difference is that you will be enjoying these easy yeast rolls with your meal since they bake up fast. My slow cooker rosemary dinner rolls are just as easy to make, even if they’re not made from scratch, and these skillet dinner rolls are on repeat with our meals. Bread is life in my family!
Easy Yeast Rolls from Scratch
Forget store-bought options; these warm, freshly baked yeast rolls are surprisingly simple to prepare and offer a superior taste and texture that will be a crowd pleaser. There will be no leftovers. The recipe uses simple pantry items such as yeast, flour, and sugar plus a few more that are common in kitchens. Unlike traditional yeast breads, these rolls require just one rise, cutting down on prep time without sacrificing flavor or texture.
Timesaving Tips and Variations
Because this recipe already has a shorter prep time, there are a few more ways to save time or to change up the flavor of the buns.
- Using a stand mixer with a dough hook makes this recipe easier to pull together.
- You can use Instant Yeast and if you do, skip the proofing step in the recipe card.
- All-purpose flour can be used in place of the bread flour.
- Add garlic powder, fresh herbs, or shredded cheese to the dough for extra flavor.
- Brush with melted garlic butter after baking for added flavor.
The satisfaction of pulling a pan of these golden, fragrant rolls from the oven is truly unmatched, making them a delicious addition to your meals.
Homemade yeast rolls are the ultimate sidekick to any meal, especially when paired with something rich and flavorful like risotto gamberi.
Frequently Asked Questions
How should I store leftover rolls?
Leftover rolls are best stored in an airtight container at room temperature for up to 2-3 days. For longer storage, you can freeze them. Ensure they are completely cooled before wrapping them individually in plastic wrap and then placing them in a freezer-safe bag or container. Frozen rolls can last for up to 2-3 months.
How do I reheat the yeast rolls?
To reheat refrigerated rolls, you can warm them in a preheated oven at 300 degrees for about 5-10 minutes, or until heated through and softened. For frozen rolls, thaw them overnight in the refrigerator or reheat them directly from frozen in a slightly lower oven temperature for a longer time, checking for doneness. A quick microwave reheat is also possible, but it may affect the texture, making them slightly tougher.
What to Serve with Easy Dinner Rolls?
These soft, buttery rolls pair well with a variety of dishes, making them a staple for any meal. Whether you’re looking for a cozy accompaniment to soup or a complement to a hearty main course, like these BBQ Ribs in a Roaster Oven, the rolls are perfect to serve.
- Slow Cooker Zuppa Toscana Recipe
- Garlic Butter Lemon Shrimp and Rice Recipe
- Sheet Pan Garlic Butter Salmon
- Chicken Green Bean Casserole Recipe
- Baked Ziti with Ground Beef
No matter how you serve them, they bring a homemade touch to any meal. Whether dipped, stacked, or simply enjoyed with slathered with this Texas Roadhouse Butter Recipe or with Grape Jam, they elevate the dining experience.
This post may contain Amazon or other affiliate links. As an Amazon Associate, I earn from qualifying purchases. For more information, see my disclosure policy.
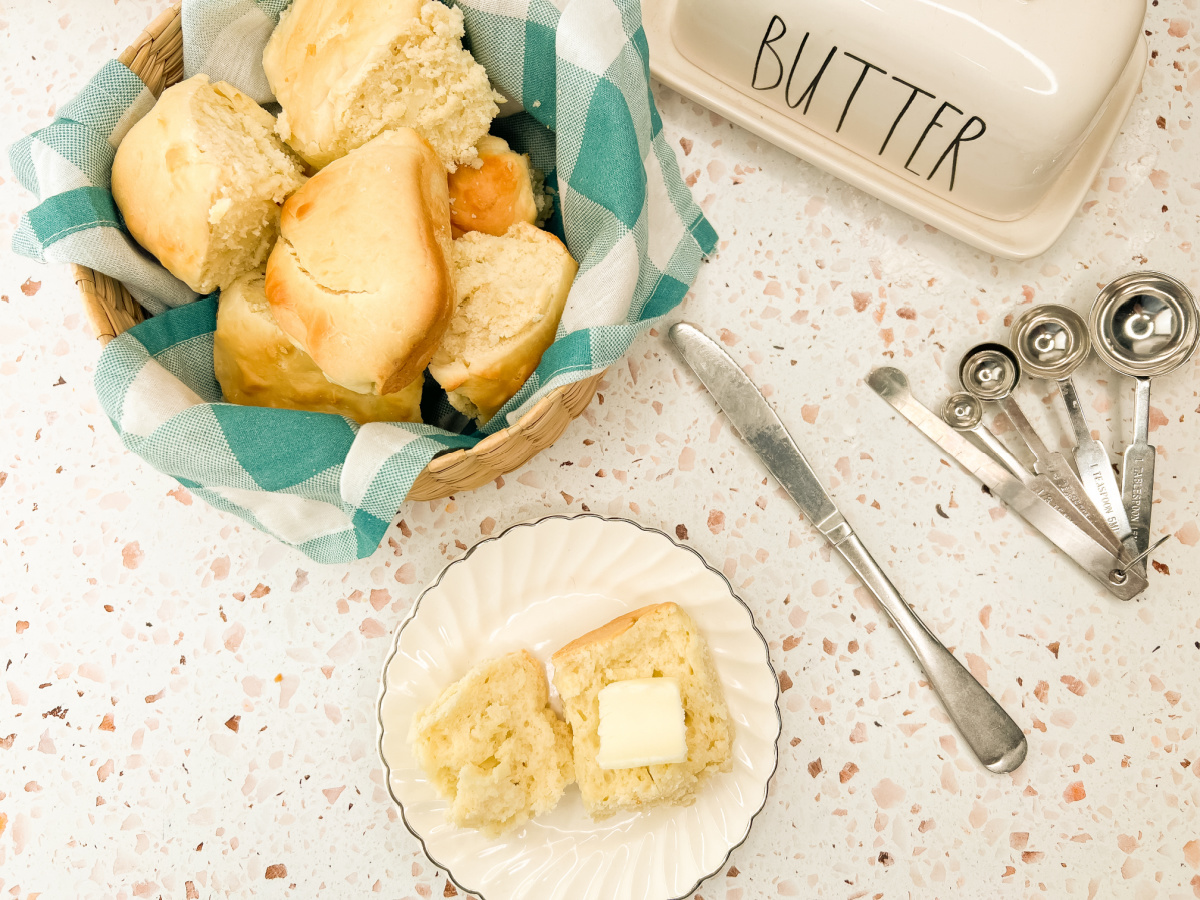
What Kitchen Tools are Used to Make Homemade Rolls?
Having the right tools on hand can make the process of making homemade bread much easier and more enjoyable. While many of these items are likely already in your kitchen, this list will help you ensure you have everything you need for a successful baking experience.
- stand mixer with bowl
- measuring cups and spoons
- wooden spoon
- clean kitchen towel
- pastry brush
- 9″x9″ baking pan
With these essential tools, you’ll be well-equipped to tackle your homemade roll-making adventure. Enjoy the process and the delicious rewards of creating your own warm, fluffy baked goods from scratch!
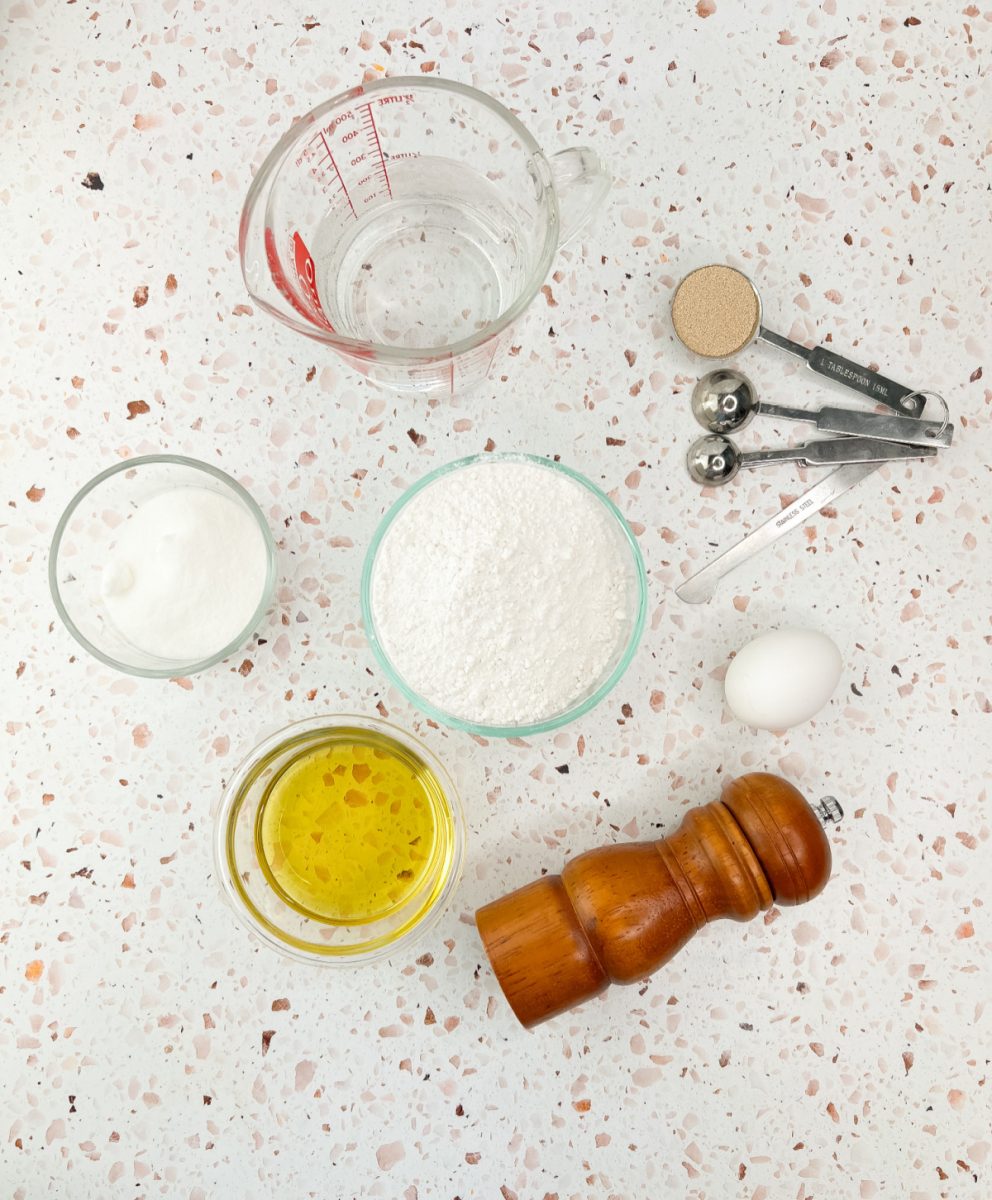
Ingredients to Make Quick Dinner Rolls
With just a few basic ingredients, you’ll be serving hot and fresh buns in no time. By keeping these staples on hand, you can whip up a batch of one-hour rolls whenever the craving strikes.
- water
- oil
- active dry yeast
- sugar
- salt
- egg
- bread flour
How to Make Easy Yeast Rolls from Scratch
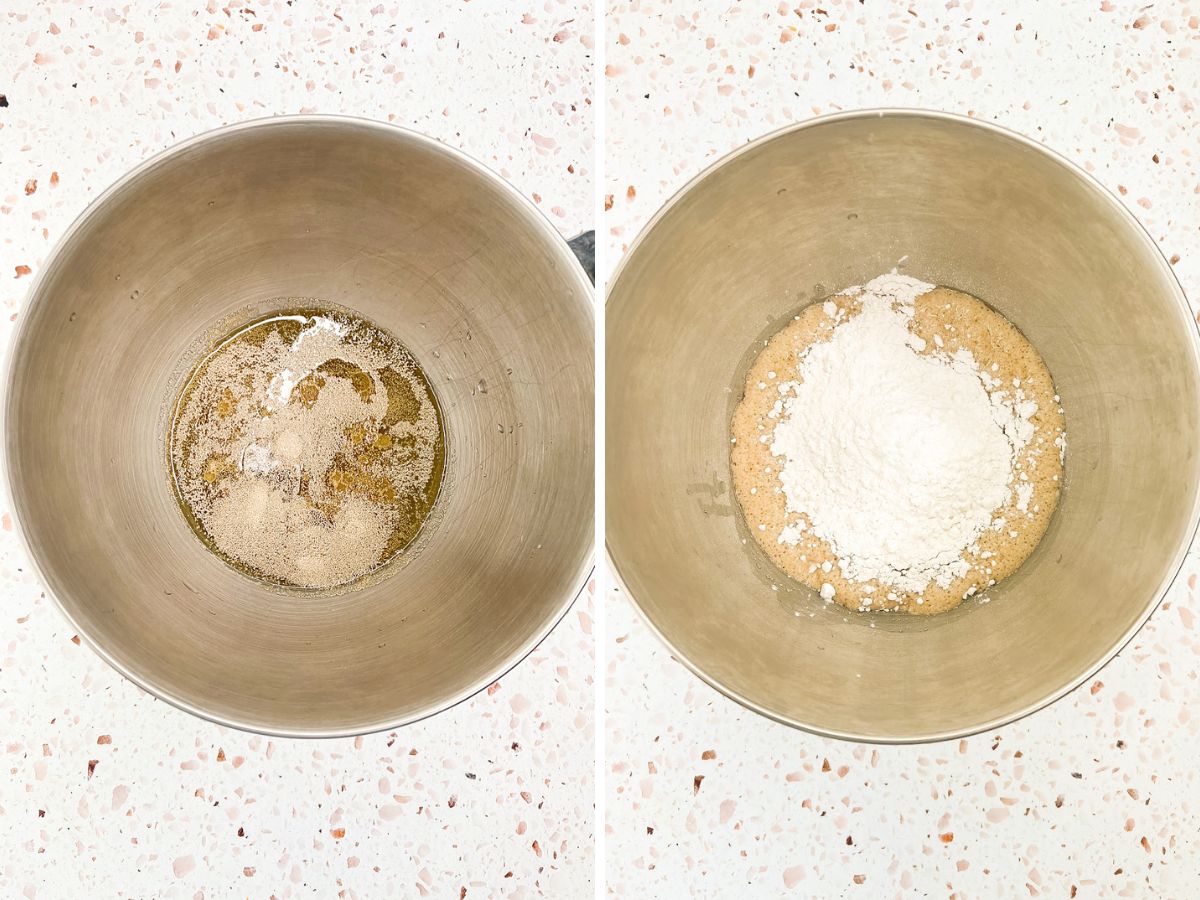
Preheat oven to 400 degrees. Spray a 9 x 9 inch baking dish with nonstick spray. In the bowl of a stand mixer with a dough hook, combine water, oil, yeast and sugar. Stir to combine and let rest for 15 minutes. Then add salt, egg, and flour. Knead with dough hook until flour is mixed in and the dough is soft and smooth.
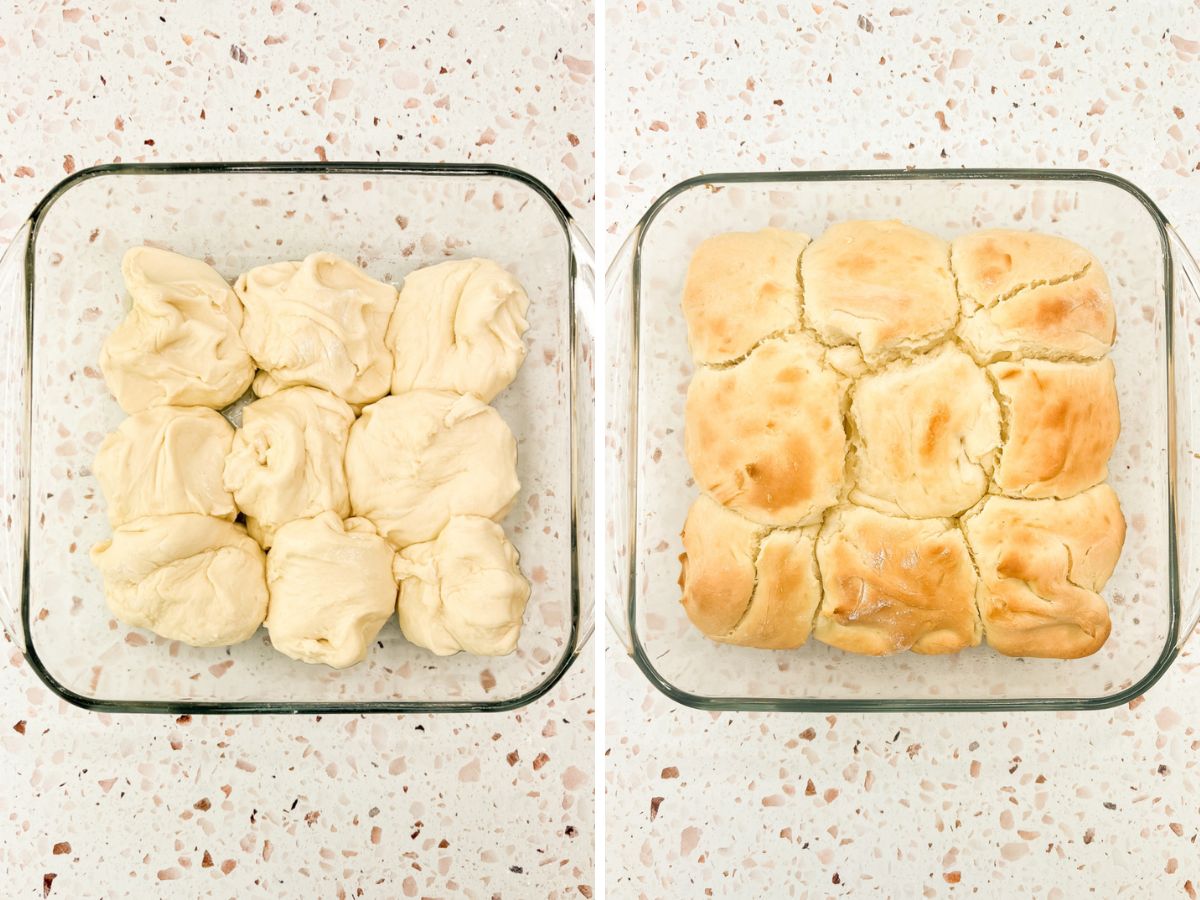
Divide dough into 9 balls and place into prepared pan. Let rest for 10 minutes. Bake 10-15 minutes until golden brown.
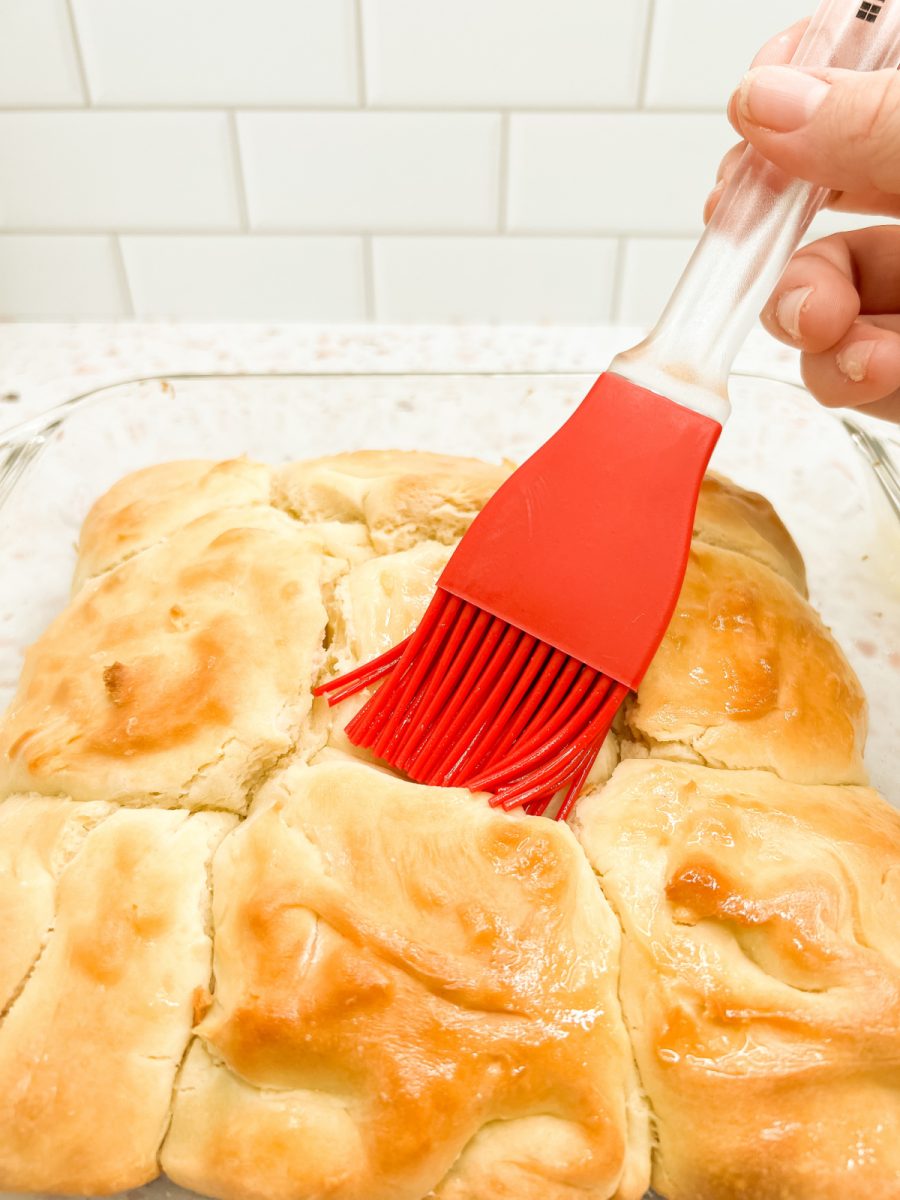
While they are still warm, brush melted butter over the tops and then serve the rolls warm. With a golden, buttery crust and soft inside, they’re the perfect addition to any dinner table.
Nothing beats the aroma of homemade bread filling your kitchen! It’s time to grab your ingredients and whip up a batch or two of this delicious, fresh baked bread.
Easy Yeast Rolls from Scratch
Equipment
- clean kitchen towels
- 9 x 9 inch baking pan
Ingredients
- 1 cup plus 2 tablespoons warm water (For active dry yeast, the water temperature should be between 105°F and 110°F for proofing)
- ⅓ cup vegetable oil (I used
- 2 tablespoons active dry yeast
- ¼ cup sugar
- ½ teaspoon salt
- 1 egg
- 3 ½ cups bread flour (can use all-purpose flour)
Instructions
- Start by preheating your oven to 400 degrees. Preheat oven to 400 degrees. Lightly spray a 9 x 9 inch baking dish with nonstick spray.
- In the bowl of a stand mixer fitted with a dough hook, combine warm water, vegetable oil, yeast, and sugar. Stir gently to combine the ingredients and dissolve the yeast. Cover with a towel and let the mixture rest for about 15 minutes.
- Once the yeast mixture is ready, add salt, a lightly beaten egg, and the flour to the bowl. Set the stand mixer to medium speed and mix the ingredients together until the dough starts to come together. Continue to knead with the dough hook for 2-3 minutes, or until the dough is smooth, elastic, and no longer sticky. You may need to scrape down the sides of the bowl as needed to ensure everything is fully incorporated.
- Once the dough has been kneaded, divide it into 9 equal portions. Roll each portion into a smooth ball and place them in a lightly greased 9×9-inch baking dish. Arrange the dough balls so they are just touching each other, as this will help them bake together in the perfect shape.
- Cover the pan with a clean kitchen towel or plastic wrap and let the dough rest for about 10 minutes. This will allow the rolls to rise slightly before baking.
- After the dough has rested, place the baking dish in the preheated oven and bake for 10 to 15 minutes, or until the rolls are golden brown on top. The rolls should have a soft, fluffy texture on the inside with a lightly crisped exterior.
- Once the rolls are done baking, remove them from the oven and let them cool for a few minutes before serving before brushing with melted butter. Serve warm.
Notes
- Using a stand mixer with a dough hook makes this recipe easier to pull together.
- You can use Instant Yeast and if you do, skip the proofing step in the recipe card.
- All-purpose flour can be used in place of the bread flour.
- Add garlic powder, fresh herbs, or shredded cheese to the dough for extra flavor.
- Brush with melted garlic butter after baking for added flavor.
Nutritional Disclaimer
“Blogghetti” is not a dietician or nutritionist, and any nutritional information shared is an estimate. If calorie count and other nutritional values are important to you, we recommend running the ingredients through whichever online nutritional calculator you prefer. Calories and other nutritional values can vary quite a bit depending on which brands were used.
Enjoy!


I would love these rolls with a bowl of soup!