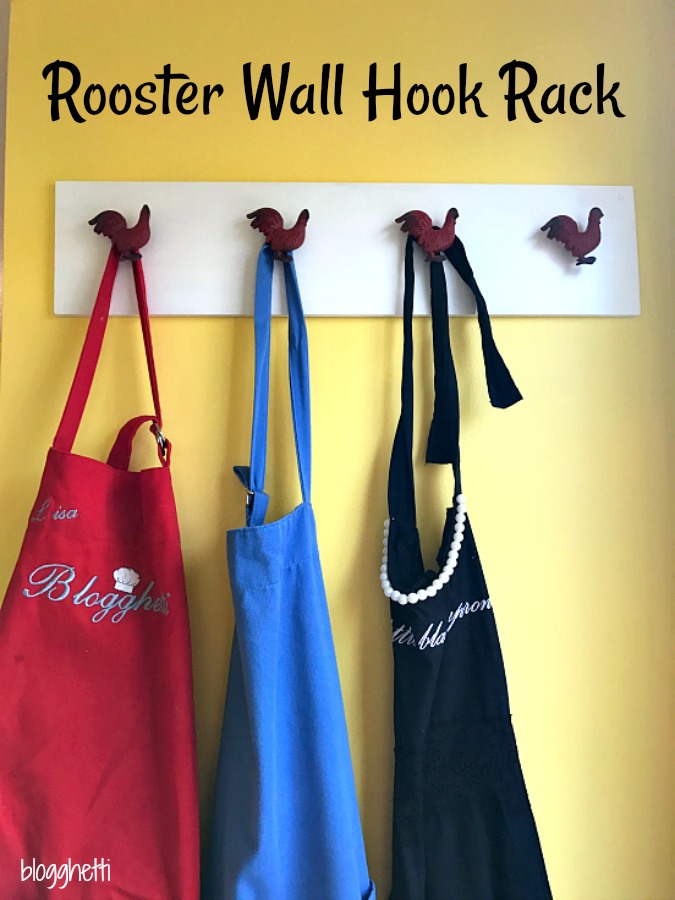
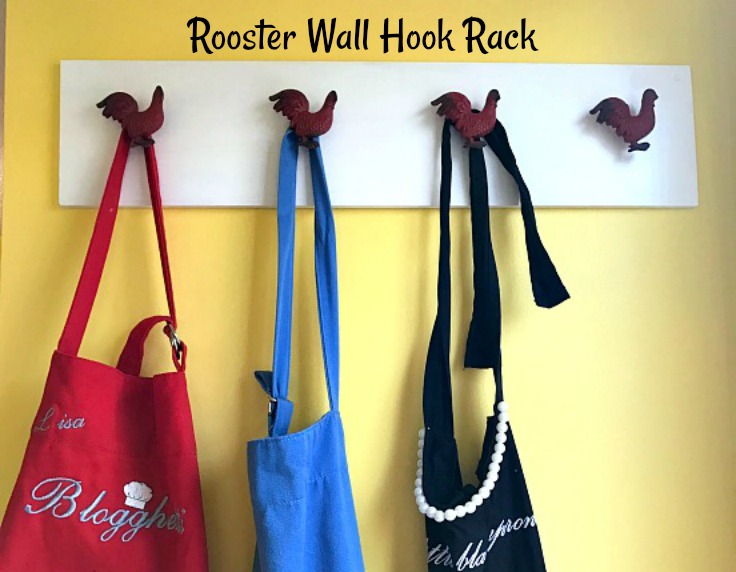
DIY Rooster Wall Hook Rack
This simple and quick DIY Rooster Wall Hook Rack was made using scrap wood and took only a couple of hours to complete. The result is a cute wall hook rack that can used to hang your aprons or other items that you want to display.
This is one DIY project that came about from going into Hobby Lobby without a purpose; which I do all the time. It’s not the safest or most inexpensive way to shop as I nearly always come out of there with items that I purchased because either they were irresistibly adorable or I paid practically nothing when you factored in the 40% off coupon. I call it a win-win and I am sure my husband will totally disagree, and I am okay with that.
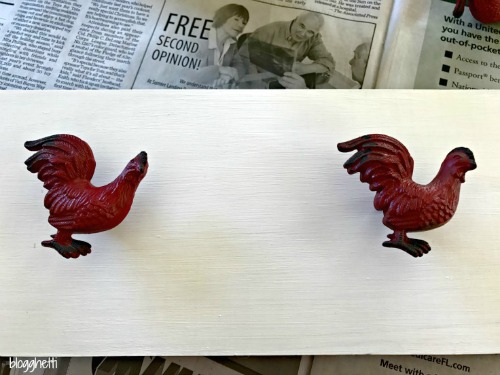
On one of those trips to Hobby Lobby, I found the cutest rooster hooks which happened to be marked 50% off of their original prices. If you have shopped at this store before, then you know sales like this are common and is one of the reasons I love this store. I had no idea what in the world to do with these hooks – nothing in my house had to do with roosters but they were red and I have accented that color in my kitchen. They only had four hooks, 50% off, and red was the accent color in my kitchen – Do you see where I am going with this? The hooks came home with me.
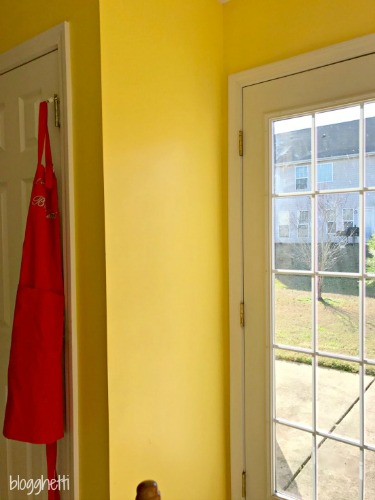
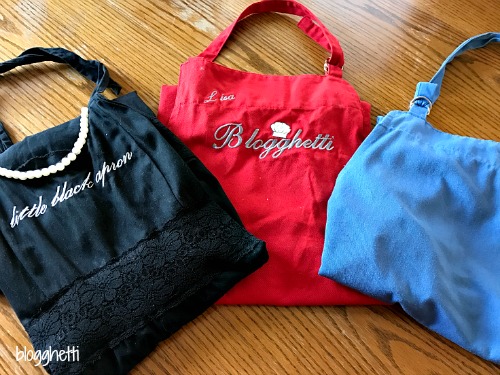
I decided to make a rack to hang my aprons. I was hanging them on the door-stop of one of the pantry doors, and it would always get caught so the door never closed properly.
DIY Wall Hook Rack Instructions
Supplies I used:
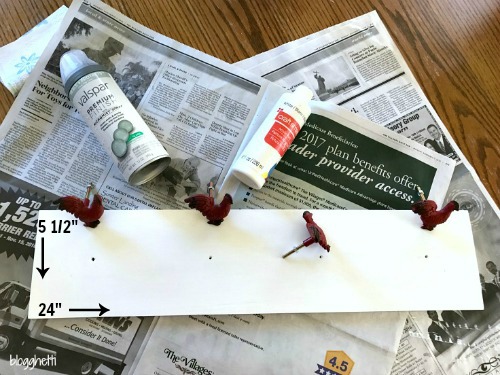
1 – 5 1/2″ x 24″ piece of wood (1/2″ thick)
4 hooks of your choice (be sure the hooks have a “screw end”)
white craft paint
clear top coat spray
2 wood screws
drill
grinder
fine grit sandpaper
file (or coarse sandpaper)
tape measure
Steps to Make:
I found a half-inch thick piece of wood in our scrap wood box, no extra trimming was needed for the height or length. I drilled holes where I wanted the hooks to be and sanded it smooth using fine grit sandpaper. Then painted the wood with 2 coats of white craft paint. Sprayed it with a clear top coat to give it a glossy finish.
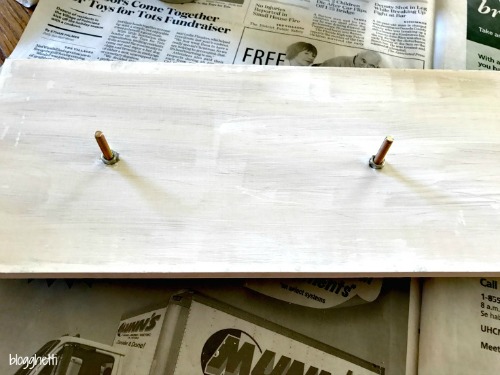
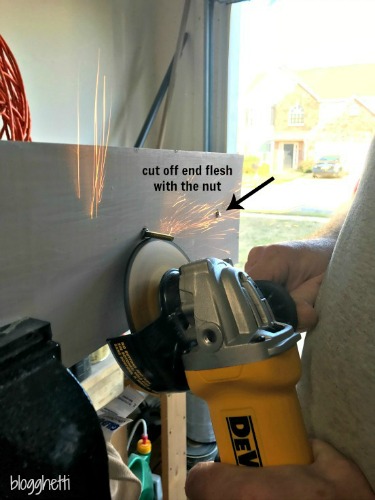
After the paint was dry, I inserted the hooks into the holes and tightened the nut on the back. My husband cut off the ends of the hooks so that they would be flesh with the nut. Using a file (or coarse sandpaper), I filed the end smooth so that there were no rough edges.
Next, I used two wood screws to secure the rack to the wall. There are other ways to hang the rack up, this was just the direction I chose.
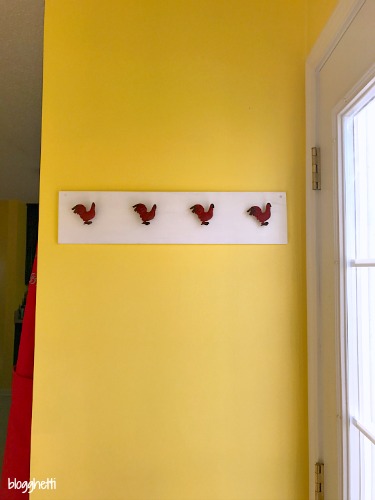
Finally, I hung up the aprons and stood back to admire the job well done. I am very happy with the end result. It was an easy project to do and the only cost was the hooks as everything else we already had on hand.
Connect with Blogghetti! Be sure to follow me on my social media, so you never miss a post!
Facebook | Twitter | Pinterest | Instagram
REMEMBER TO SUBSCRIBE TO BLOGGHETTI NEWSLETTER FOR FREE AND RECEIVE FRESH RECIPE NOTIFICATIONS DELIVERED INTO YOUR INBOX EVERY WEEK!
FREE EMAIL SUBSCRIPTION
Enjoy!


These hooks are adorable!
Thanks, Sinea!
Great solution for your aprons! I love roosters. I just discovered your blog from linking up at Happiness is Homemade. I pinned your project and I followed you on twitter. If you are interested, I shared a printable #50. 🙂
Thank you Allyson!I’m heading to check it out.